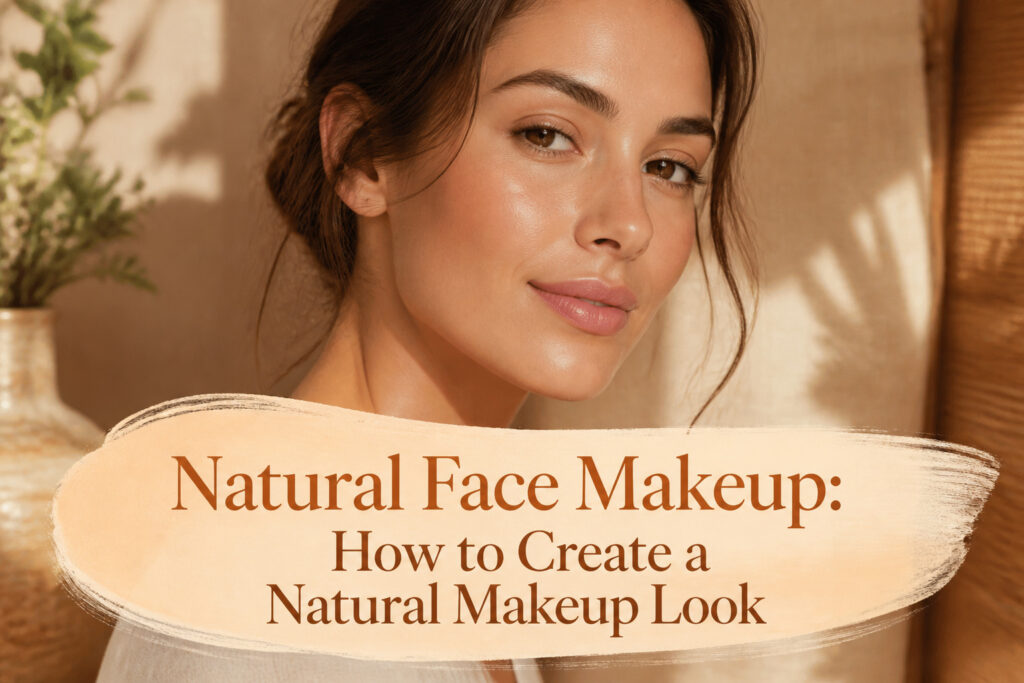
Natural face makeup is skin that looks like skin: even, soft, and deliberately unfinished. The catch is that every layer below has to be thin enough to let light move the way it should, or the whole thing turns patchy by noon. I learned that after years of watching foundation settle into dry spots I could have prevented with a fingertip press of moisturizer instead of rubbing it in.
Prep Your Skin
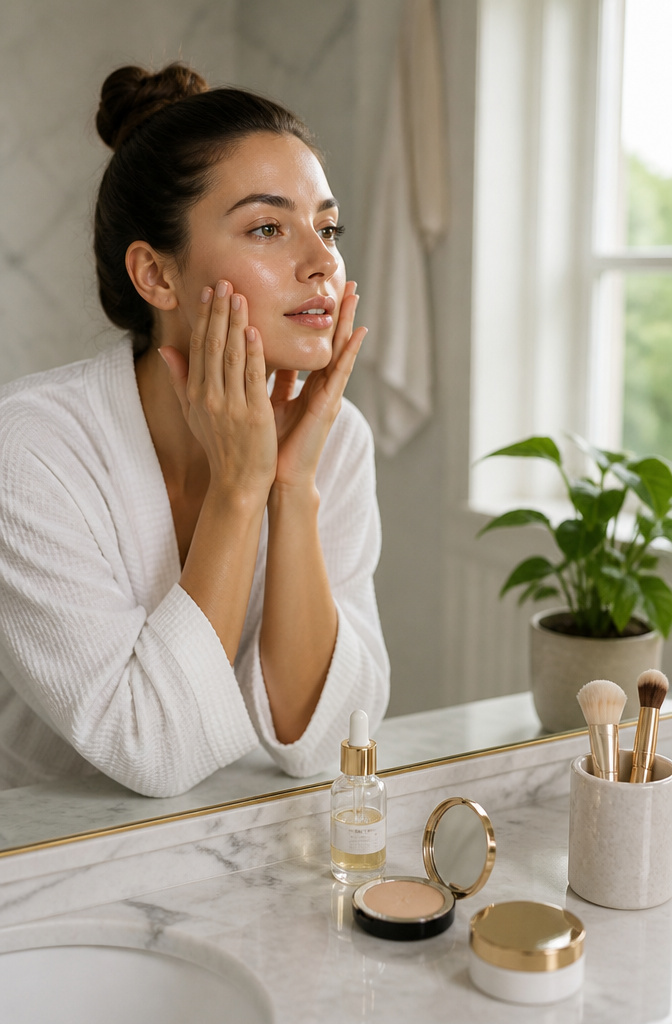
A clean, hydrated face is the only base that matters for natural face makeup. I learned this the hard way after years of watching foundation settle into dry patches by noon, the dewy finish I wanted turning patchy and strange.
Press the moisturizer in with your fingertips rather than rubbing. This keeps the formula from displacing into fine lines and lets it absorb evenly. The skin plumps, softens, and holds a smooth surface that lets every layer sit flush against it.
When moisturizer goes on properly, tinted moisturizer or foundation blends without fighting you and that natural, dewy finish holds longer. Without this step, you are covering skin that is already working against you.
Apply Primer
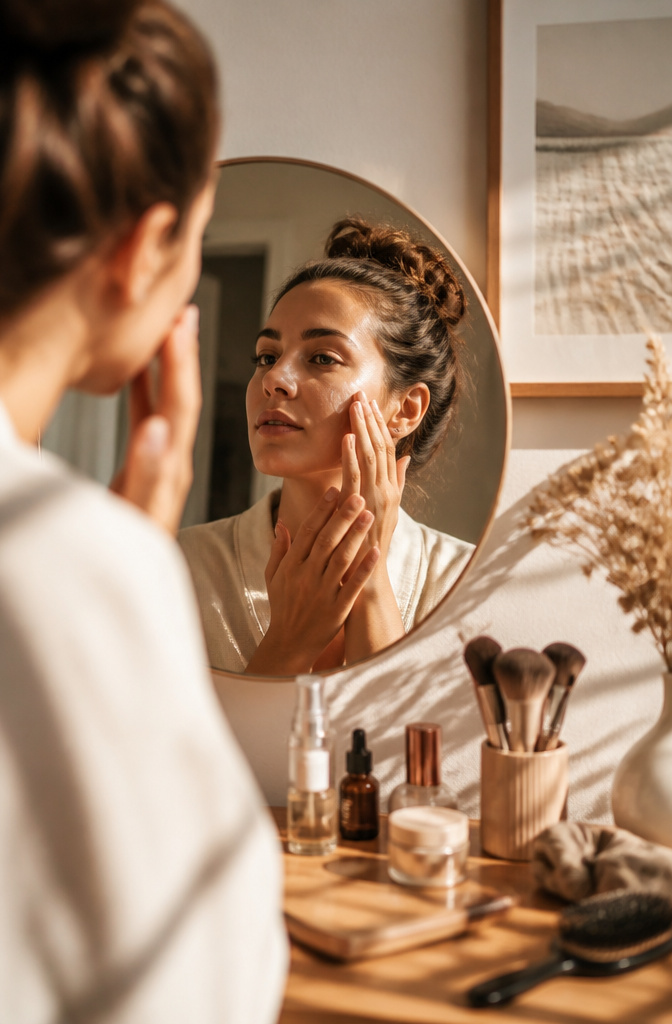
A hydrating primer with a thin, serum-like texture wins over heavy silicone formulas for natural face makeup. The silicone sits on top of the skin and flattens the glow you’re after, while the lighter kind sinks in and lets light move the way it should. I warm a pea-sized amount between my fingertips, then press it across my forehead, cheeks, nose, and chin. The eyelids get the same treatment so shadow holds without creasing later. Let it sit a few minutes before building anything on top. That wait is what gives the thin, buildable layers that follow something to actually hold onto.
Conceal
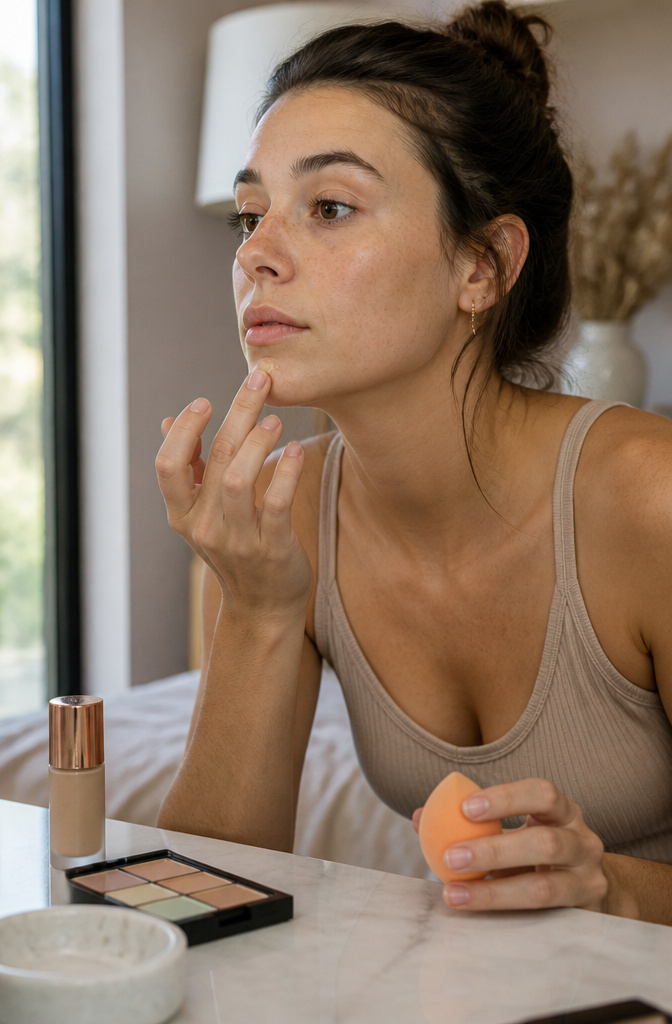
A concealer works harder when it does less. I learned that the winter my chin wouldn’t stop breaking out and I kept layering on more each morning, watching the flaking start by noon. Targeted coverage beats all-over masking every time. The variation in your actual skin, the faint freckles and uneven tones, is what keeps a natural face makeup look from reading as a mask.
Color-correcting concealer goes on before foundation, straight onto the dark spot or blemish, and the amount should stay small. Enough to neutralize, not enough to create a raised bump of product. The barely-there finish depends on letting your own texture show through everywhere else. I press it in with a fingertip, wait a thirty-count, then blend the edges with whatever foundation sponge is already damp. The concealer stays where it belongs. The rest of the face breathes.
Foundation
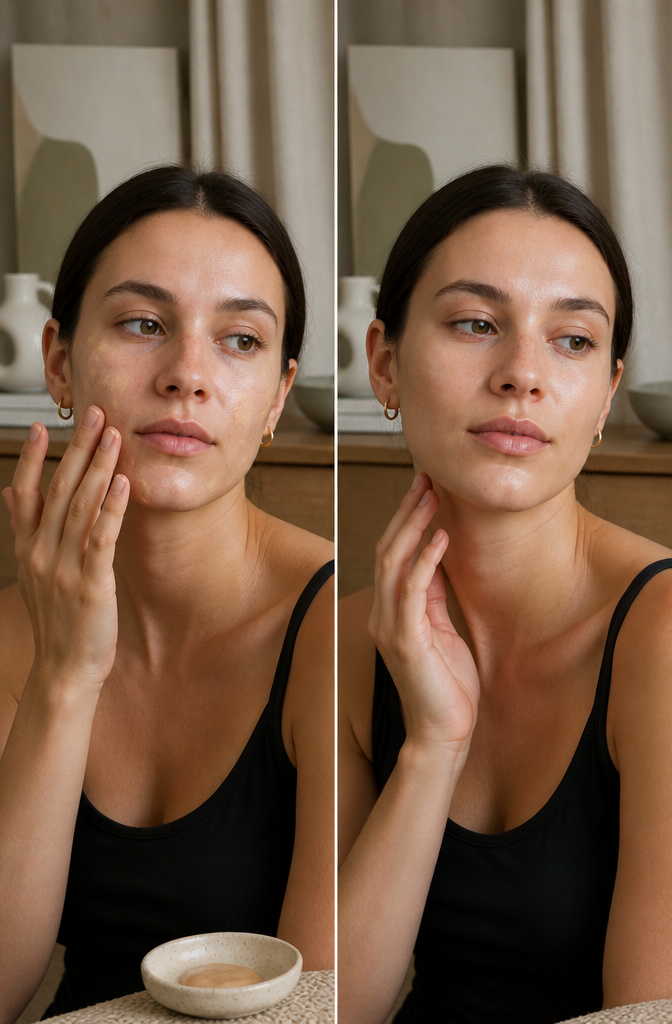
A lightweight foundation or tinted moisturizer gives the coverage you need without the mask-like finish that heavier formulas leave behind. The tinted sunscreen route does double duty for daytime, evening tone while sitting sheer under whatever comes next.
Cream and liquid formulas melt into skin for that second-skin effect, whereas powder sits on top and catches light in ways that read as makeup from across a room. The texture matters more than the price point; I’ve watched a $12 tinted moisturizer outperform a $60 compact simply because the formula matched the goal.
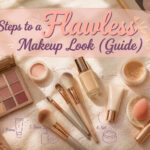
Upward strokes, not downward, especially under the eyes. The direction matters more than most people think; dragging skin down stresses tissue that already battles gravity. I warm the product on the back of my hand first, then press it in with fingertips or a damp sponge depending on what the day holds. Fingertips give more control for spot placement; the sponge wins when I’m in a hurry and need the blend to happen fast.
The no-makeup makeup look lives or dies at this step. Too much coverage and you’ve built a wall; too little and you’re still managing redness at noon. The sweet spot is usually one thin layer, then walking away.
Blush
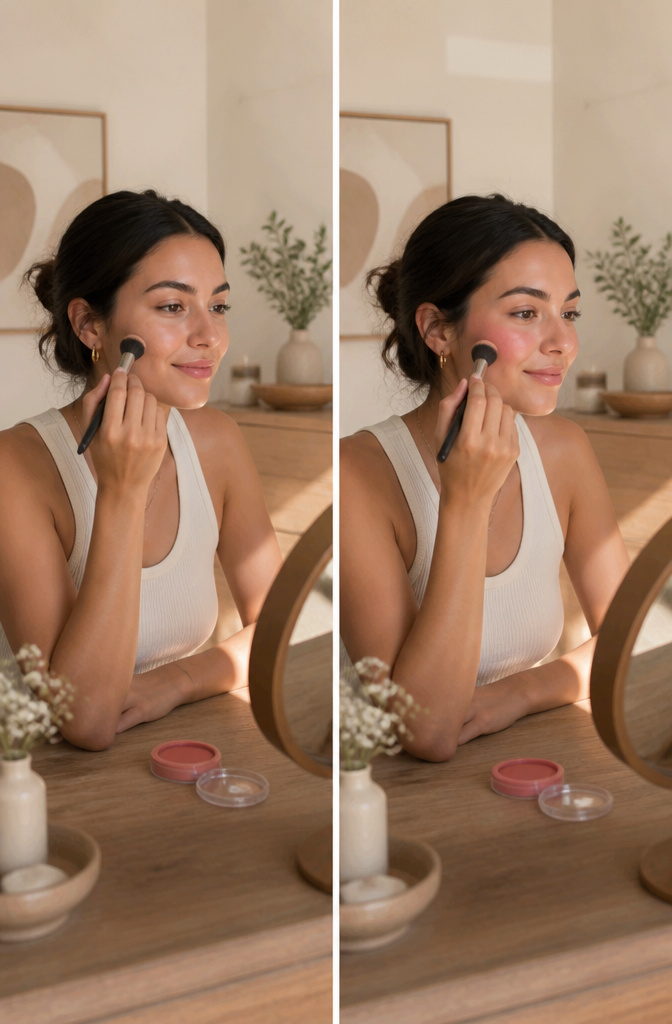
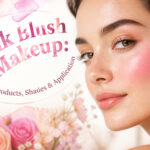
Cream blush changed the game for me once I stopped treating it like powder. The dewy finish you get from a cream formula sits on skin in a way powders never manage, especially over a tinted moisturizer or any light base. That lit-from-within look sources talk about is real, but only if you stamp rather than sweep.
I learned the placement from watching my own face in morning light. The apples of your cheeks lift when you smile, and that is exactly where the color belongs. Start there, then blend upward toward the hairline. The upward direction matters more than most people think. It keeps the face from looking dragged down, which becomes more noticeable the closer you look.
The tool is half the technique. A dense blush brush deposits color evenly without streaking, which is the difference between looking naturally flushed and looking like you tried. I press, lift, press again, rather than dragging across the skin. No sweeping. The stamp motion builds color in layers you control, and starting light means you can add more instead of removing what went wrong.
Brows
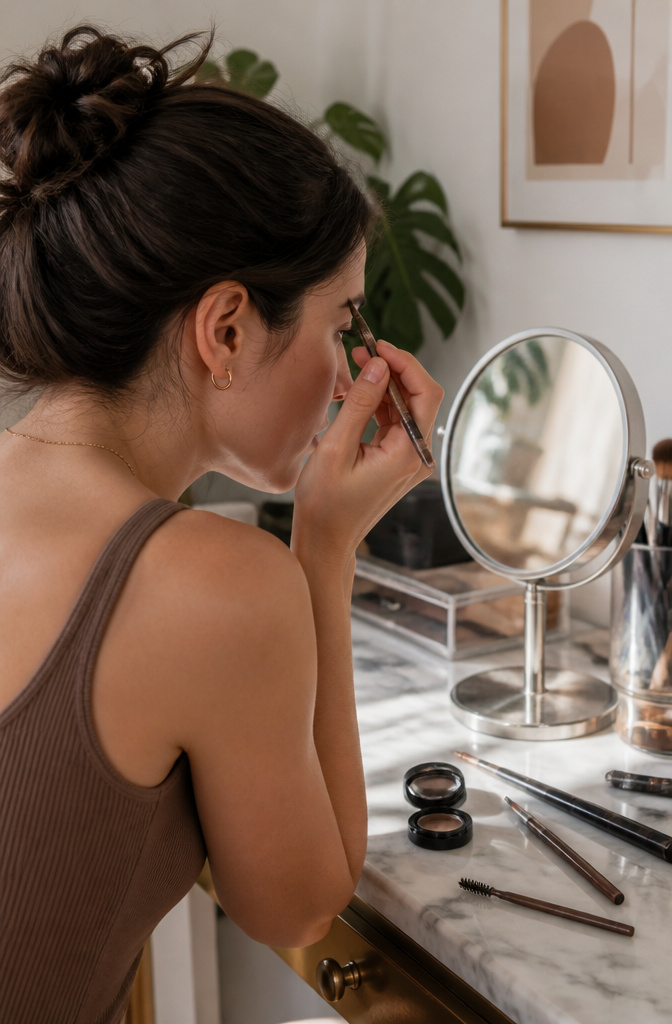
Sparse brows tend to grab attention before anything else on a face, and not the kind you want. A brow pencil can fix that without announcing itself, but the technique matters more than the product. Light, hair-like strokes aimed at the sparse patches mimic actual brow hairs far better than drawing a solid line underneath or on top. Heavy outlining leaves a painted look that fights against every other natural step in your routine. The flicking motion, quick and short across the skin, builds density where you need it and stops before you cross into Instagram-brow territory. I learned this the hard way after years of treating brows like coloring books; the difference between believable and obvious is pressure, not pigment.
Eyes
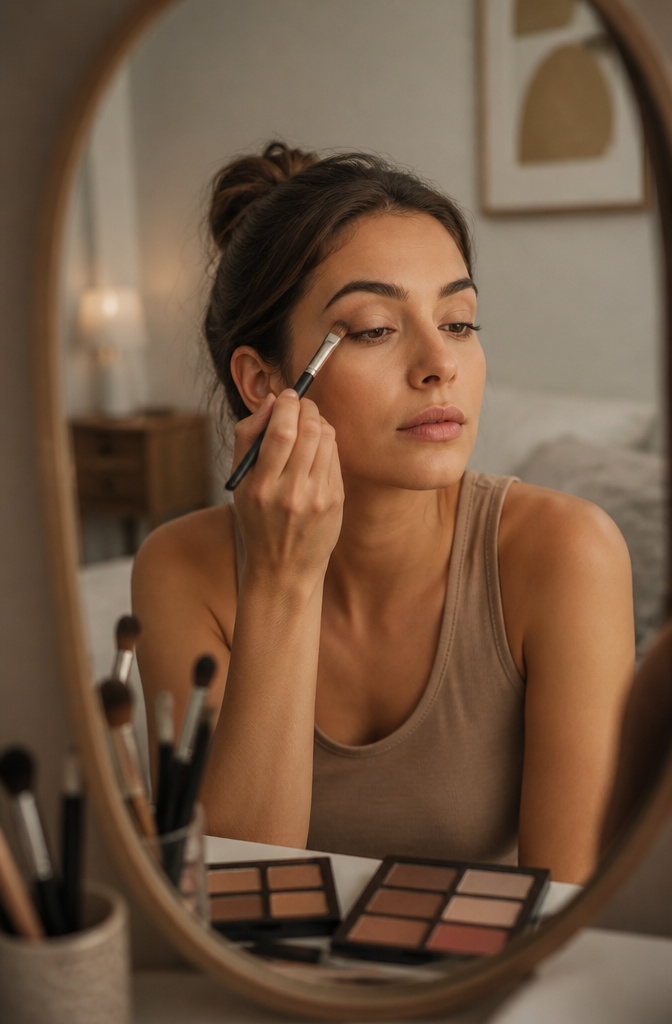
Neutral eyeshadow shades sit right where they should for natural face makeup: visible enough to define, quiet enough to disappear. Soft browns, taupes, and muted rose do the heavy lifting without announcing themselves. I learned this the expensive way, buying palettes packed with shimmers that read as effort from ten feet back.
A flat brush lays color across the lid in two thin passes. Blend the edge with a clean brush until the line between skin and shadow is something you feel rather than see. The crease takes a shade half a tone deeper; I stop before it looks like a crease at all.
Mascara comes last and sparingly. One coat, wiggled from root to tip, keeps lashes separated rather than clumped. Waterproof formulas hold the curl but fight removal; I reach for a tubing mascara on days when I want the look gone with warm water and no rubbing.
The browns and taupes that work best pull slightly gray or slightly warm, never both. Rose reads as healthiest on cooler skin tones. What reads as "no shadow" on one face registers as bruised on another; the test is daylight at arm’s length.
Lips
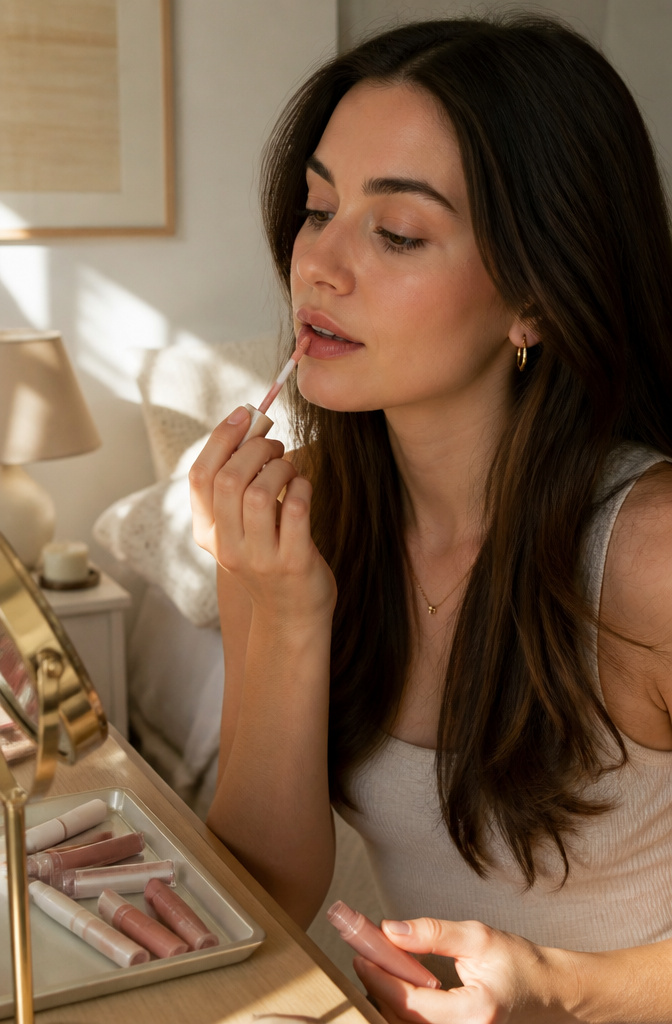
Lipstick tends to read as a costume on an otherwise bare face. The hard line and opaque pigment fight the soft work you have already done, so I skip it entirely for a natural look and reach for something that adds life without announcing itself.
The move is a sheer lip balm or gloss for hydration and a hint of color. Let a thin layer of balm sink in first if your lips run dry, then press the gloss to the center of your lower lip and close your mouth to spread it outward. That concentration at the middle gives the fuller, more dimensional effect without any liner or overdraw. Nude pink or soft peach keeps the whole thing in the same quiet register as the rest of your face. It is the difference between looking finished and looking made up.
Setting Spray
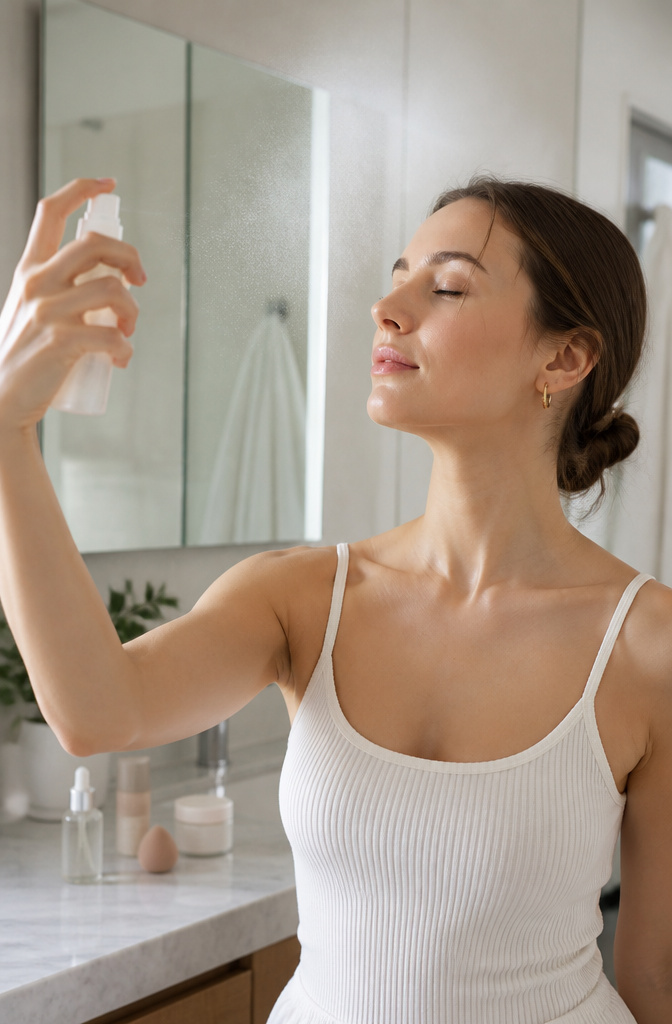
Thin layers are what separate a morning face from an afternoon touch-up. I learned that the hard way after piling on primer, then foundation, then powder, and watching it all slide off by lunch. The fix is in the finish: a fine setting mist held about eight inches back, sprayed evenly across the face with eyes closed, then left to air-dry for roughly a minute. That distance matters. Too close and you get drips that break down what you just built; too far and the droplets never land where they need to. Press a setting powder only where you shine, usually the T-zone and chin, before the mist goes on. The powder grips, the mist seals, and the whole stack holds. Eight inches from face to bottle is the number I finally measured and now keep in my head like a password. Start thin at every layer below and this last one actually has something worth locking in.
Natural vs No-Makeup Makeup
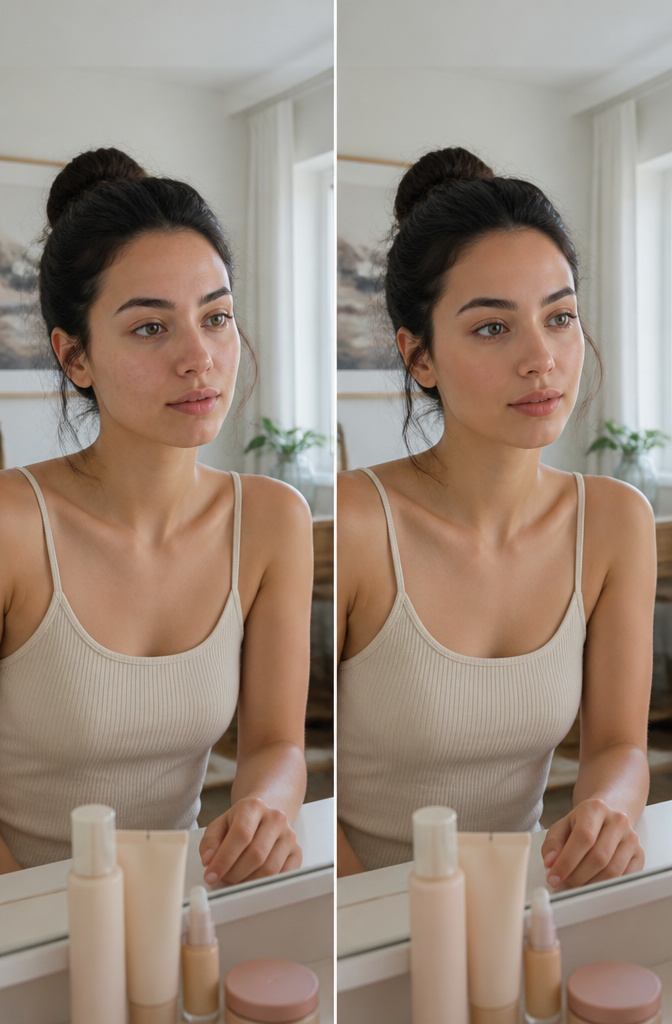
Natural makeup and no-makeup makeup sound like the same promise, but they pull in slightly different directions. Natural makeup lets your real features lead while evening out tone and adding soft definition. No-makeup makeup tries harder to disappear entirely, mimicking bare skin so closely that someone looking at you might genuinely think you skipped products that morning.
The distinction matters when you are standing in front of a mirror deciding how much effort to put in. A natural look might mean a tinted moisturizer that still lets freckles show, a cream blush that reads as color rather than flush, and a brow pencil that fills gaps without drawing new arches. No-makeup makeup compresses that further: skin tint matched exactly to your neck, no color on cheeks or lips that departs from what you woke up with, lashes curled but not coated.
I have seen both approaches labeled as "natural face makeup" in tutorials, which creates the confusion. The products overlap heavily; the difference is in intent and in how far you push coverage down toward invisibility. If you want to look healthy and polished for a video call, natural makeup wins. If you want someone to ask what skincare you use instead of what makeup you bought, no-makeup makeup is the aim.
Clean Ingredients
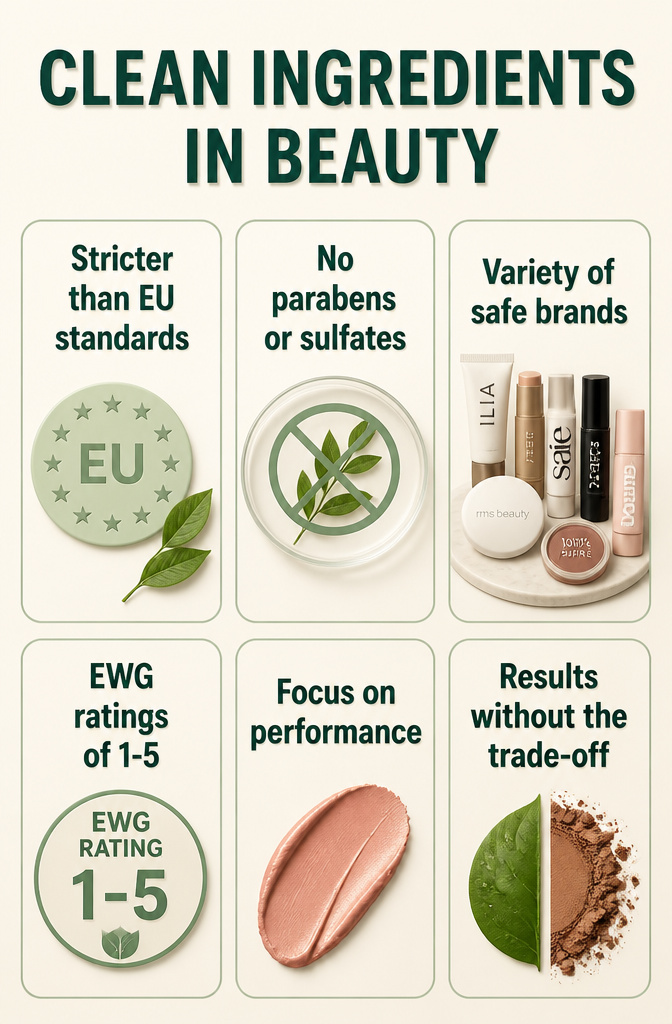
The clean ingredient lists on these brands are stricter than what EU regulations require, which surprised me when I started comparing labels. Jones Road, founded by Bobbi Brown after she left her namesake company, formulates without parabens, phthalates, sulfates, petrolatum, PEGs, cyclic silicones, EDTA, or BPA. EWG ratings of 1–5 across their line make the safety profile easy to scan before buying.
My own testing settled on a short list of brands that perform without the usual chemical load:
- Merit Beauty: The Great Skin Serum works as primer, and the Perfecting Complexion Stick covers without the silicone slip that conventional formulas rely on
- Saie: CitySet spray actually sets makeup without aerosol propellants; their GlossyBounce in Bounce is the lip finish I reach for most
- ILIA: Multi-Stick in At Last blends cream color that stays put on cheeks
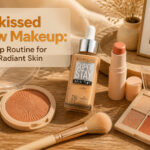
- Kosas: The Sun Show Bronzer adds warmth without the talc question hanging over most powder bronzers
- Well People: Expressionist Curing Mascara is the one non-toxic tube that does not flake by 3 PM
- RMS Beauty: ReDimension Hydra Dew Luminizer gives the dewy highlight that used to require straight mica-and-silicone formulas
- 100% Pure and Axiology round out the options for pigment derived from fruit and mineral sources rather than synthetic dyes
Conventional makeup still carries the load of ingredients these brands prove unnecessary. The shift is less about purity for its own sake and more about results without the trade-off.
Application Techniques
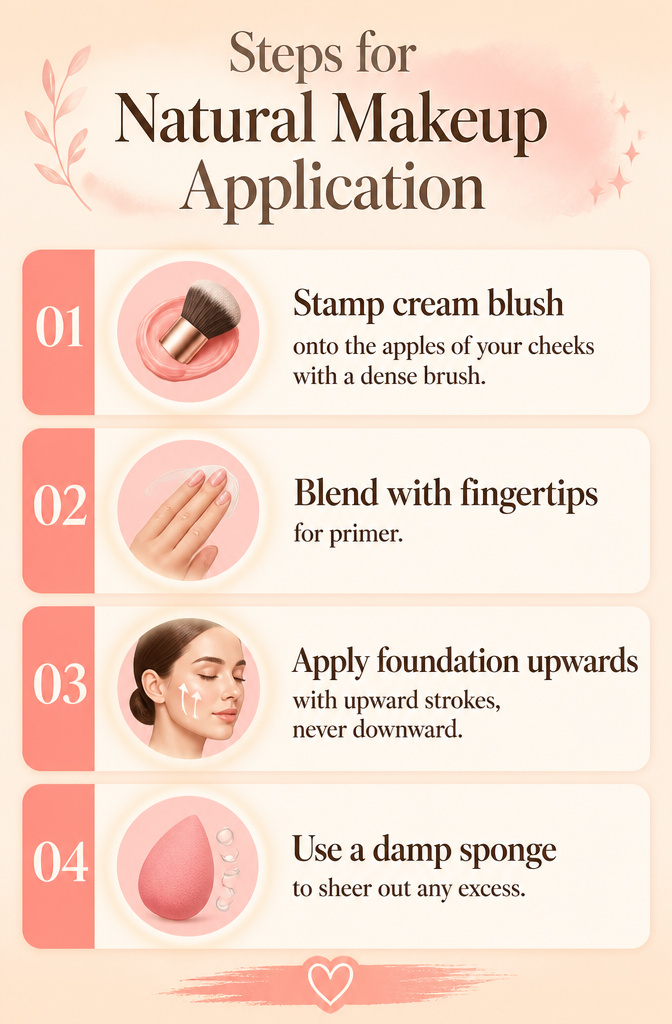
A light hand separates natural face makeup from the obvious kind. The color you deposit should look like it woke up on your skin, not like it traveled there by brush.
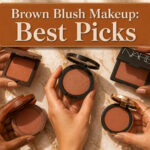
Stamp cream blush onto the apples of your cheeks with a dense brush instead of sweeping it. Stamping presses pigment straight in without streaking, so the flush reads as internal rather than applied. Blend the edges with whatever tool is already in your hand, but let the center sit untouched.
For primer, fingertips do the blending your skin wants. The warmth of a finger melts the product into the surface more evenly than a brush can manage, especially around the nose and under the eyes where texture collects.
Foundation goes on with upward strokes, never downward. Dragging color down the face pools in fine lines and, over time, stresses skin that is already fighting gravity. Upward strokes lift the visual plane and keep the finish weightless. A damp sponge sheers out any excess so you stop before you think you need to.
Cream vs Powder Products
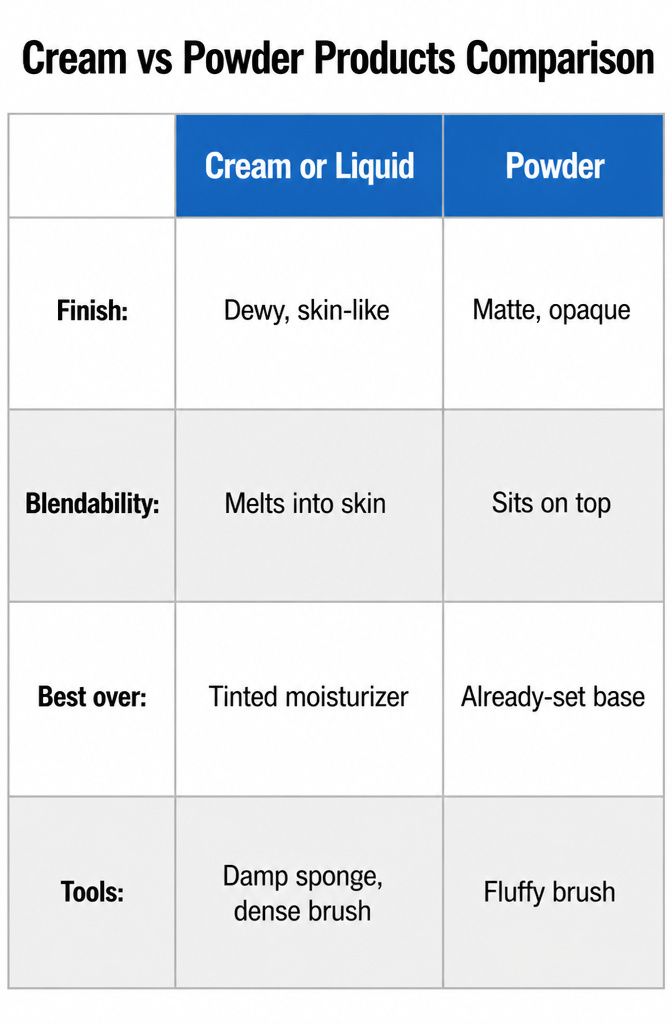
The finish on your base product matters more than the coverage level. A lightweight foundation or tinted moisturizer with a dewy finish blurs skin without erasing it, while matte formulas sit on top and read as makeup from conversational distance. The same rule applies to blush: cream blush melts over whatever base you’ve already put down, whether that’s a tinted moisturizer or a cream foundation, where powder drags, settles, and needs more building to look like anything at all.
| Cream or Liquid | Powder | |
|---|---|---|
| Finish | Dewy, skin-like | Matte, opaque |
| Blendability | Melts into skin | Sits on top; can streak |
| Best over | Tinted moisturizer, cream foundation | Already-set base |
| Tools | Damp sponge, dense brush | Fluffy brush |
For highlighter, a cream formula pressed in with a damp sponge sheers out to a lit-from-within sheen rather than a stripe. The sponge does the work of thinning the product; your finger or a dry brush leaves too much deposit. Cream and liquid formulas win for natural face makeup because they fuse with skin instead of floating on it. The exception is setting: a dewy-finish setting spray locks everything in place without undoing the texture you just built.
DIY Natural Makeup
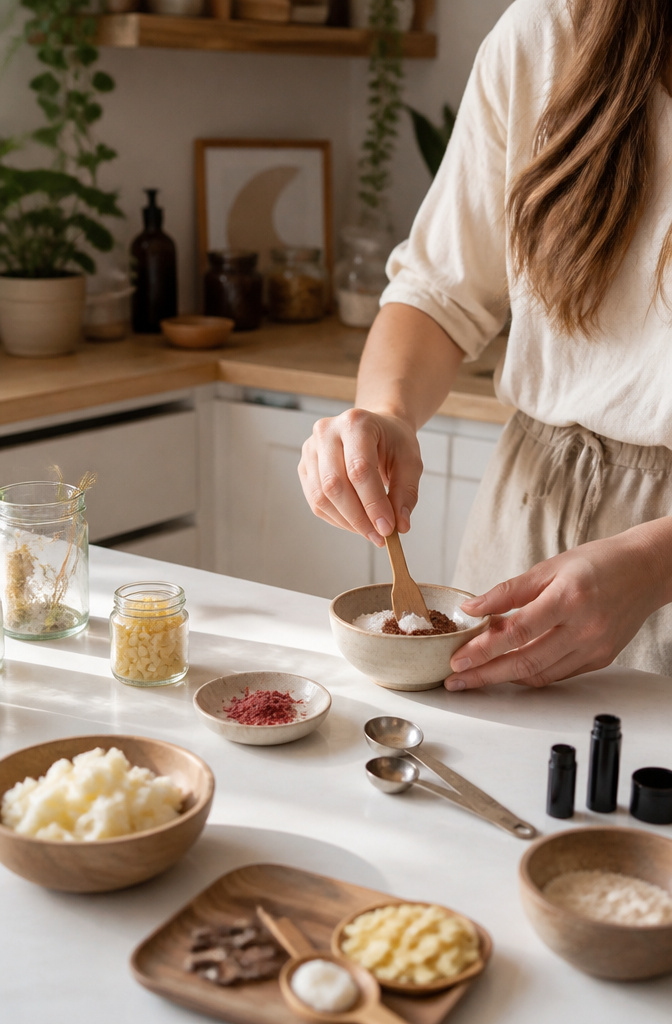
Store-bought clean beauty has limits, and the ingredient lists on some of those products still run longer than I’d like. Making your own natural face makeup at home is an option that keeps the control entirely in your hands, though the sources that cover it are sparse for good reason: the projects are finicky and the results are mixed.
From what I’ve gathered, the most practical starting points are basics like tinted lip balms or loose powder, using ingredients you probably already have around the house. Cocoa powder for pigment, arrowroot for base, a little shea butter for creaminess. One of the few people documenting this consistently notes that makeup was the toughest natural swap she ever attempted, harder than toothpaste or lotion bars. That tracks. Homemade foundation separates, homemade mascara flakes, and the color matching never quite lands.
The real value here is in the experiment itself, not in replacing your whole routine. If you want to spend an afternoon mixing a single lip tint that actually feels good going on, that’s a solid project. For daily natural face makeup you can rely on, the commercial clean brands have the edge on stability and finish.
Skin Preparation Routines
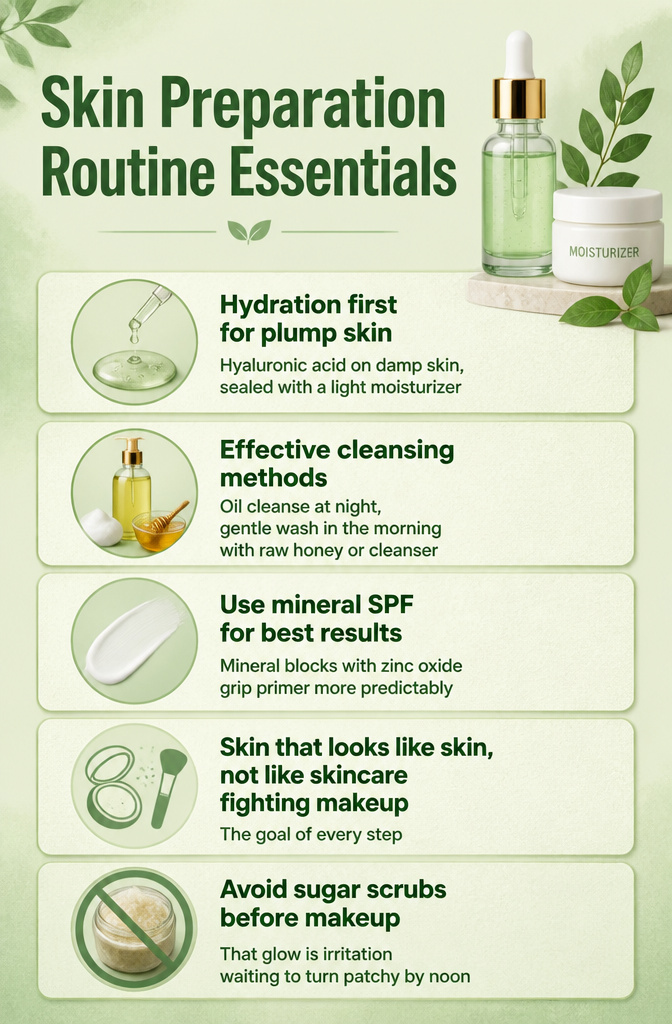
Natural face makeup sits on skin that either cooperates or fights back, and the difference is what happens before the first drop of foundation. Hydration comes first because plump skin accepts sheer coverage without flaking or pooling. A hyaluronic acid serum on damp skin, sealed with a light moisturizer, gives that smooth canvas the 35-54 reader is scanning ingredient lists to find. Cleansing matters next, but the method shapes the result: oil cleansing at night dissolves sebum and makeup without stripping the barrier, while a morning wash with raw honey or a gentle cleanser resets the surface without the tight, reactive finish that makes tint sit unevenly. Sun protection closes the routine, though the real test is whether the SPF plays well under product. Chemical screens can shift or pill; mineral blocks with zinc oxide tend to grip primer more predictably, and they are what I reach for when the goal is skin that looks like skin, not like skincare fighting makeup. Skip the sugar scrub the morning of: that glow is irritation waiting to turn patchy by noon.
Frequently Asked Questions
What is the difference between natural makeup and no-makeup makeup?
Natural makeup lets your real features lead while adding soft color and definition on cheeks, eyes, and lips. No-makeup makeup pushes further toward invisibility, using sheer coverage matched exactly to your neck and skipping visible color so someone might think you wore nothing at all. Both use overlapping products; the split is in intent and how far you drive coverage down.
How can you make natural makeup last all day?
Start with a hydrating primer and build up thin, sheer layers rather than one heavy coat. Press setting powder only where you shine, usually the T-zone and chin, then seal with a fine mist held eight inches from your face and left to air-dry for about a minute. That distance prevents drips that break down your work, and the thin stack underneath gives the mist something worth locking in.
Should you use powder or cream products for a natural finish?
Cream and liquid formulas win because they fuse with skin instead of floating on top, giving that second-skin effect that reads as real from across a room. Powder sits on the surface, catches light wrong, and can streak or drag over a dewy base. The exception is setting: a light dusting of powder before your setting spray can extend wear without adding visible texture.