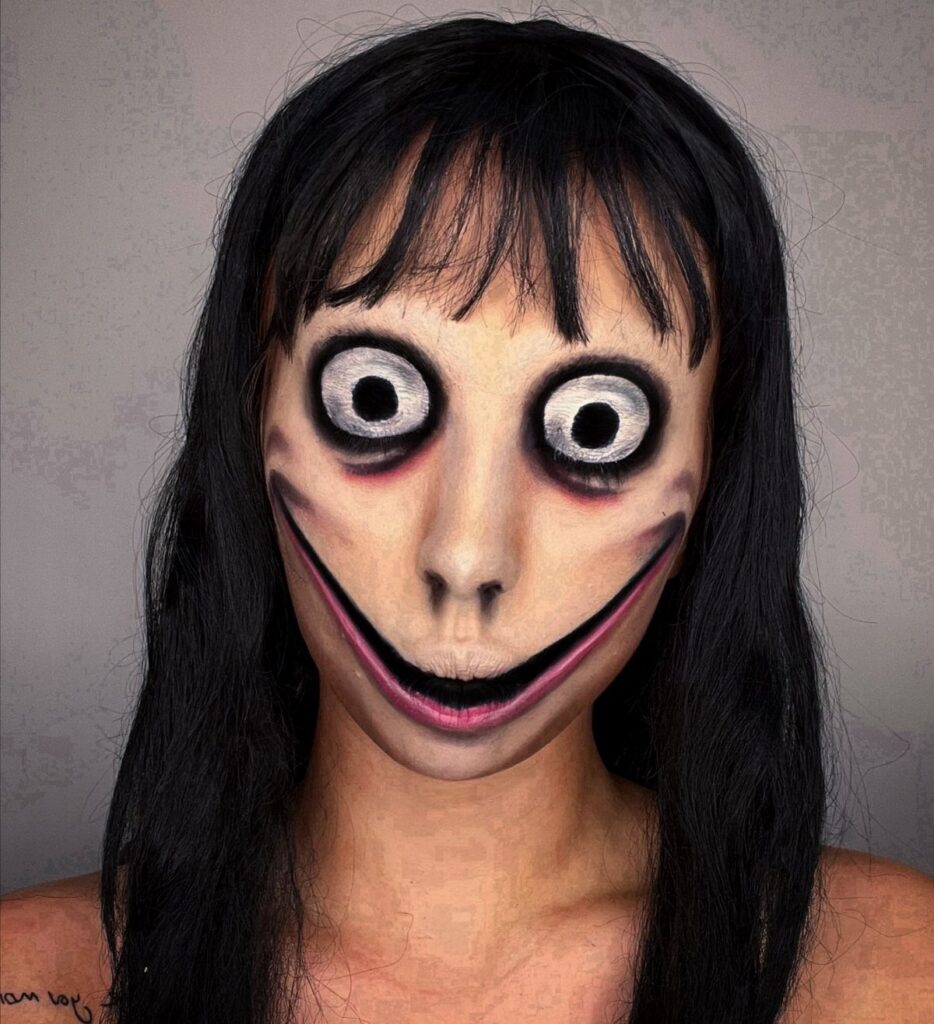
The ideas here run from a white base and a flat expression for a ghost to full-body black coverage for the demon, so the real choice is how much patience and time you have.
Steady hands and a spare afternoon of practice suit the detailed looks like the creepy doll or Day of the Dead; a first-timer or a child does better with something simpler, like the Frankenstein’s green upper face.
1. Zombie Face Paint
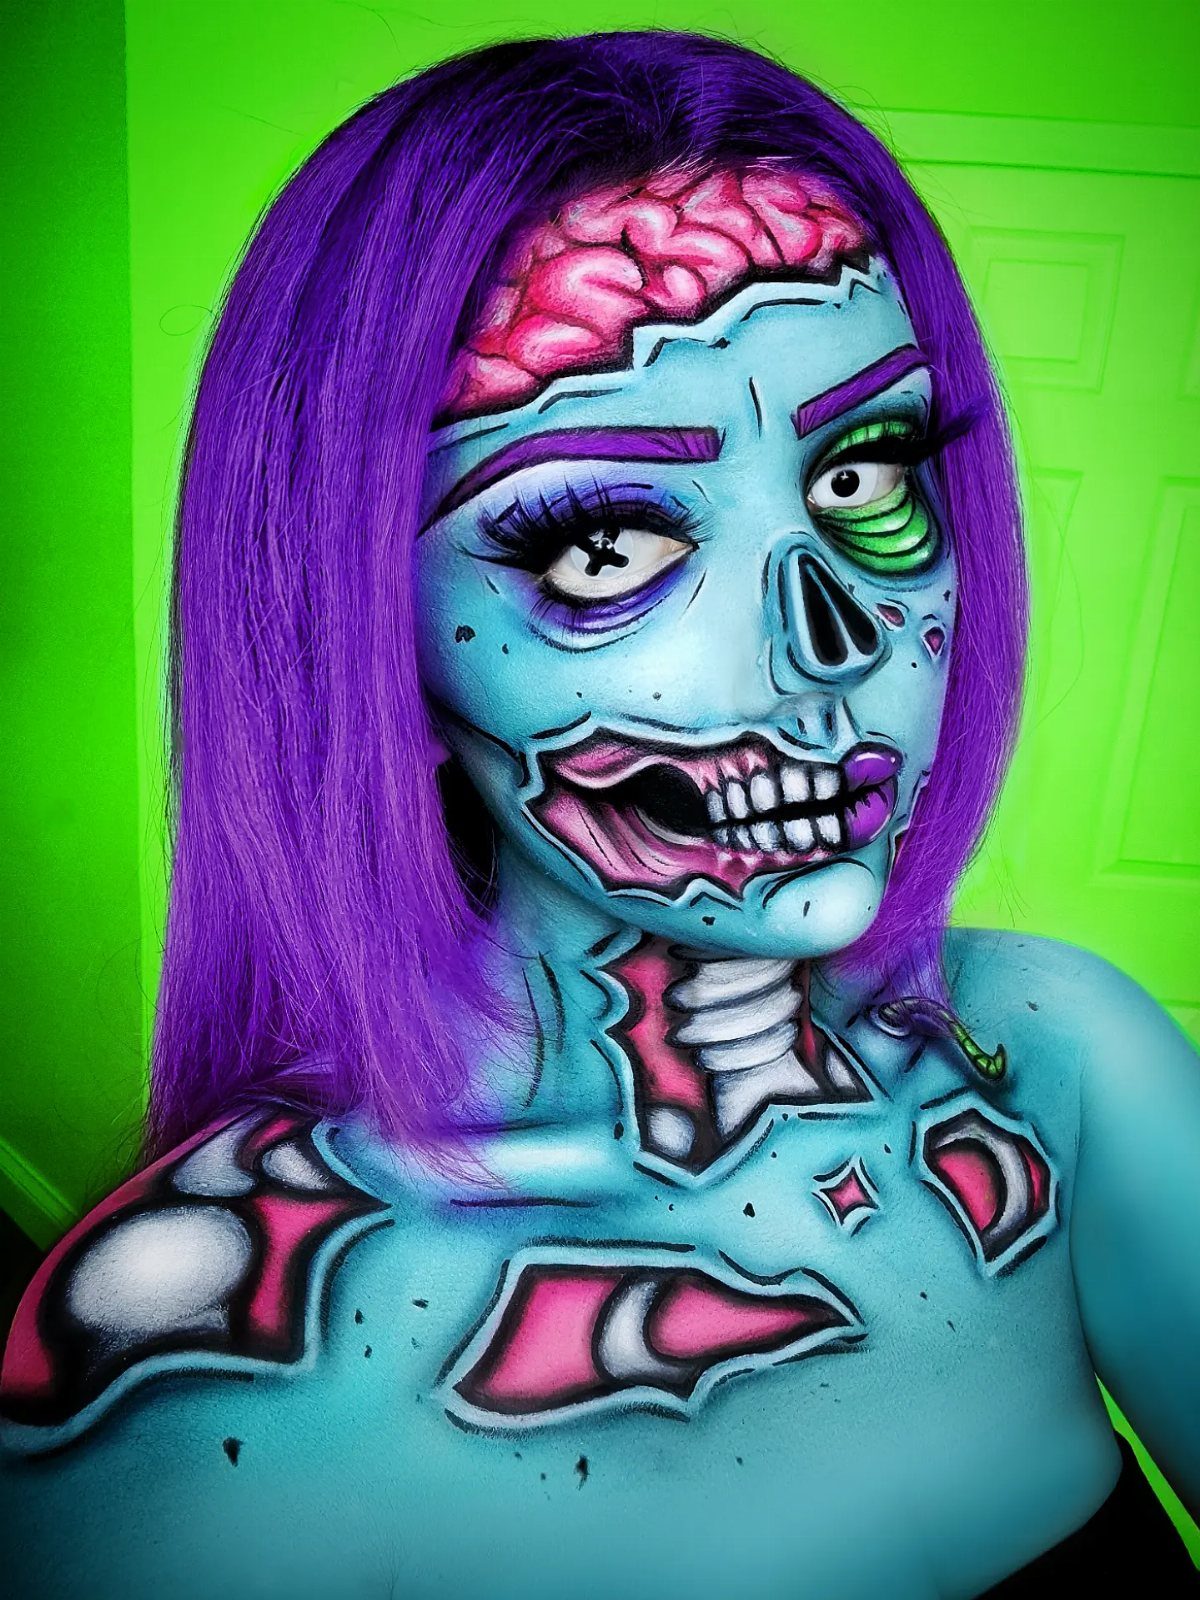
Blue skin is the detail that makes this zombie work. A flat blue base across the face reads as "undead" from across a room, and the purple hair backs it up.
The exposed brain and skeleton make it a showpiece, and they take more time than a basic zombie. If you’re short on time, stop at the blue base and add one brain shape on the forehead.
Sponge the blue on a little at a time so it looks even, then add the details on top.
2. Vampire Face Paint
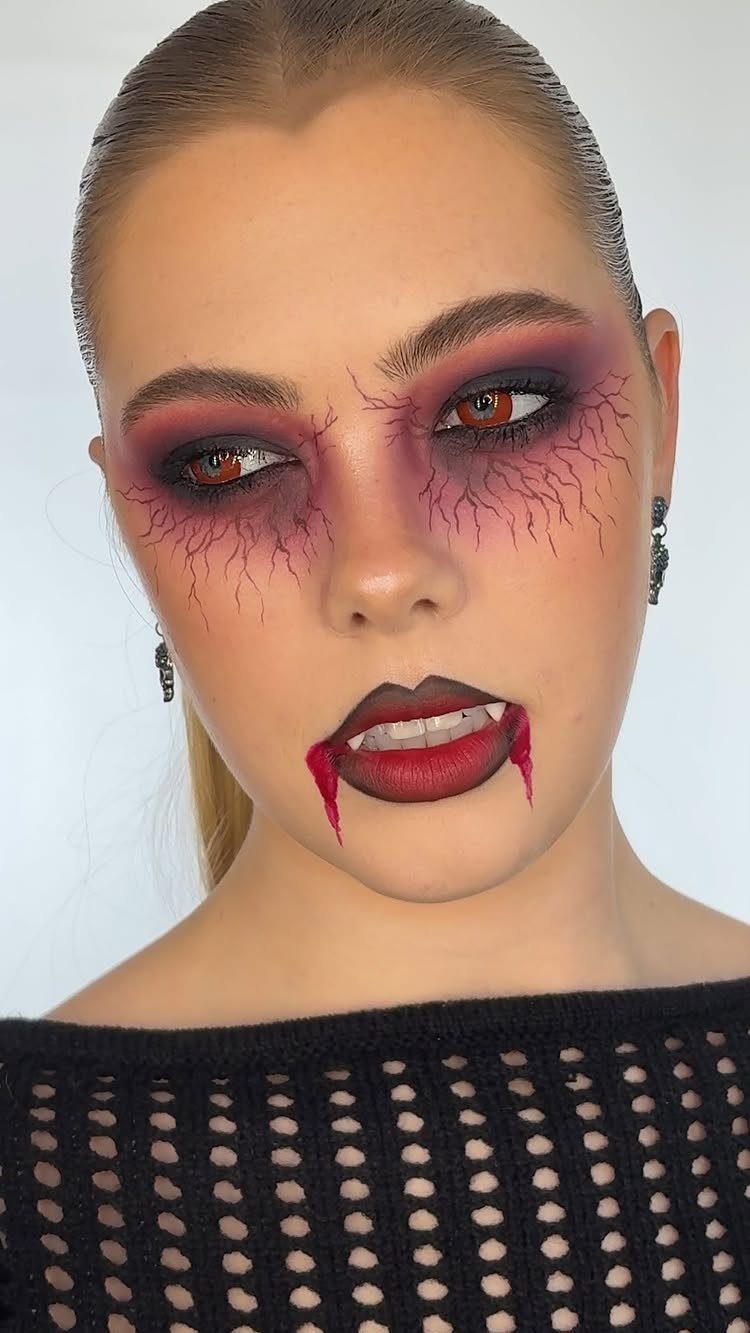
Fangs and dripping blood carry this look, and both are cheap. Red-tinted eyes and faint veins on the skin push it from costume-party vampire to something properly unsettling.
Keep the skin pale and let the red sit near the eye sockets and on the lips. A little blood at the corner of the mouth looks scarier than a lot of it.
Prosthetic fangs are worth wearing, but I’d skip them for young kids, who tend to pull them out within minutes.
3. Sugar Skull Face Paint
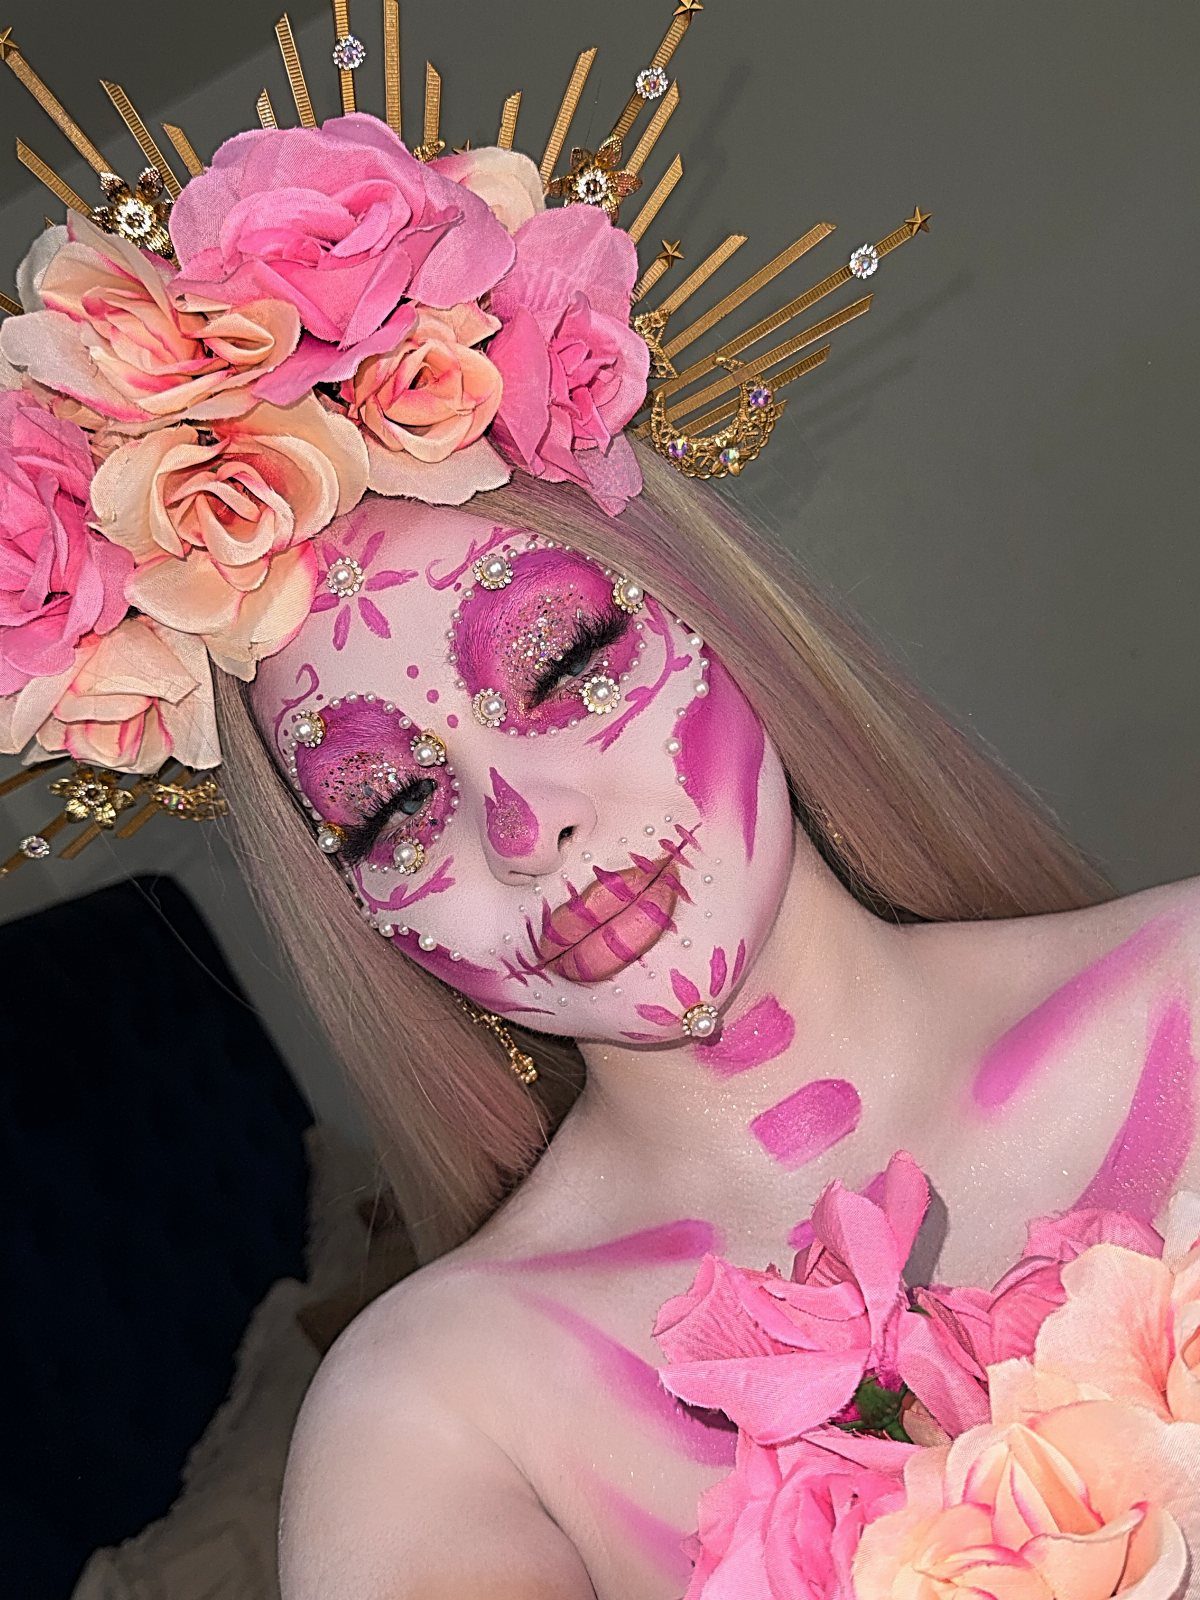
Pink and white sugar skull paint is the prettiest option here, and it still reads clearly as a skull. A white base with pink detail keeps the face bright instead of grim.
A flower crown does half the work. Roses with gold spikes frame the design and tie it to the Day of the Dead tradition behind it.
Start with the white base, then add the pink in sections so the design stays tidy.
4. Witch Face Paint
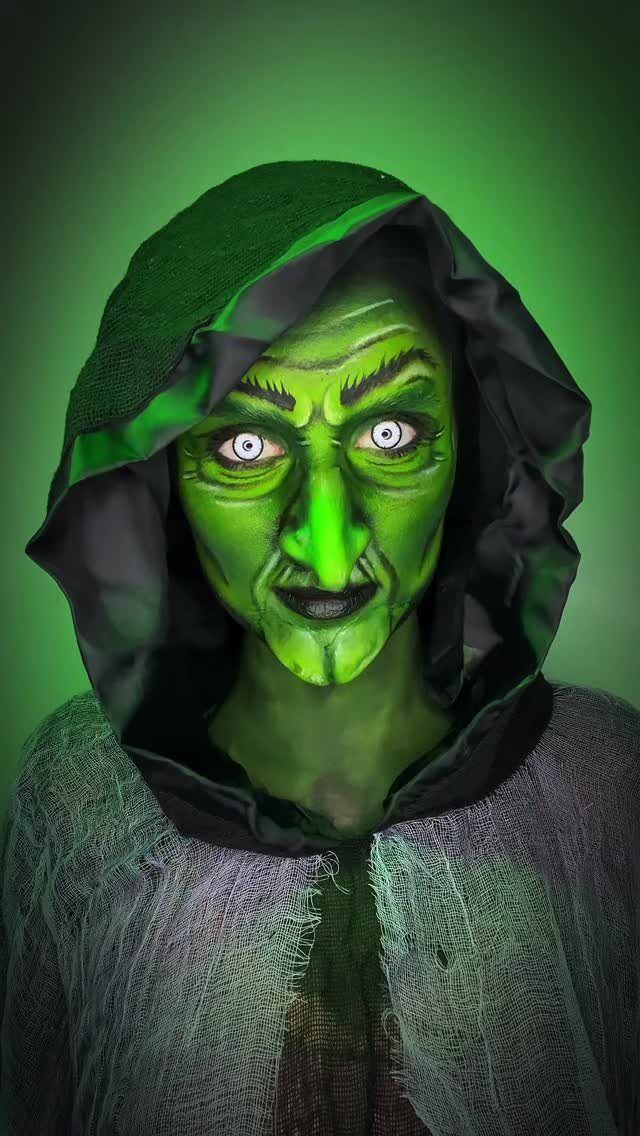
Green skin and a long, crooked nose are what make a witch unmistakable, so spend your effort there. A prosthetic nose does more than any amount of shading.
White contact lenses push the look further, but they are optional, and I’d leave them out for anyone who isn’t used to wearing contacts.
A dark green hooded cloak and tattered grey fabric finish it without extra paint. This one suits adults who want drama over detail.
5. Frankenstein Face Paint
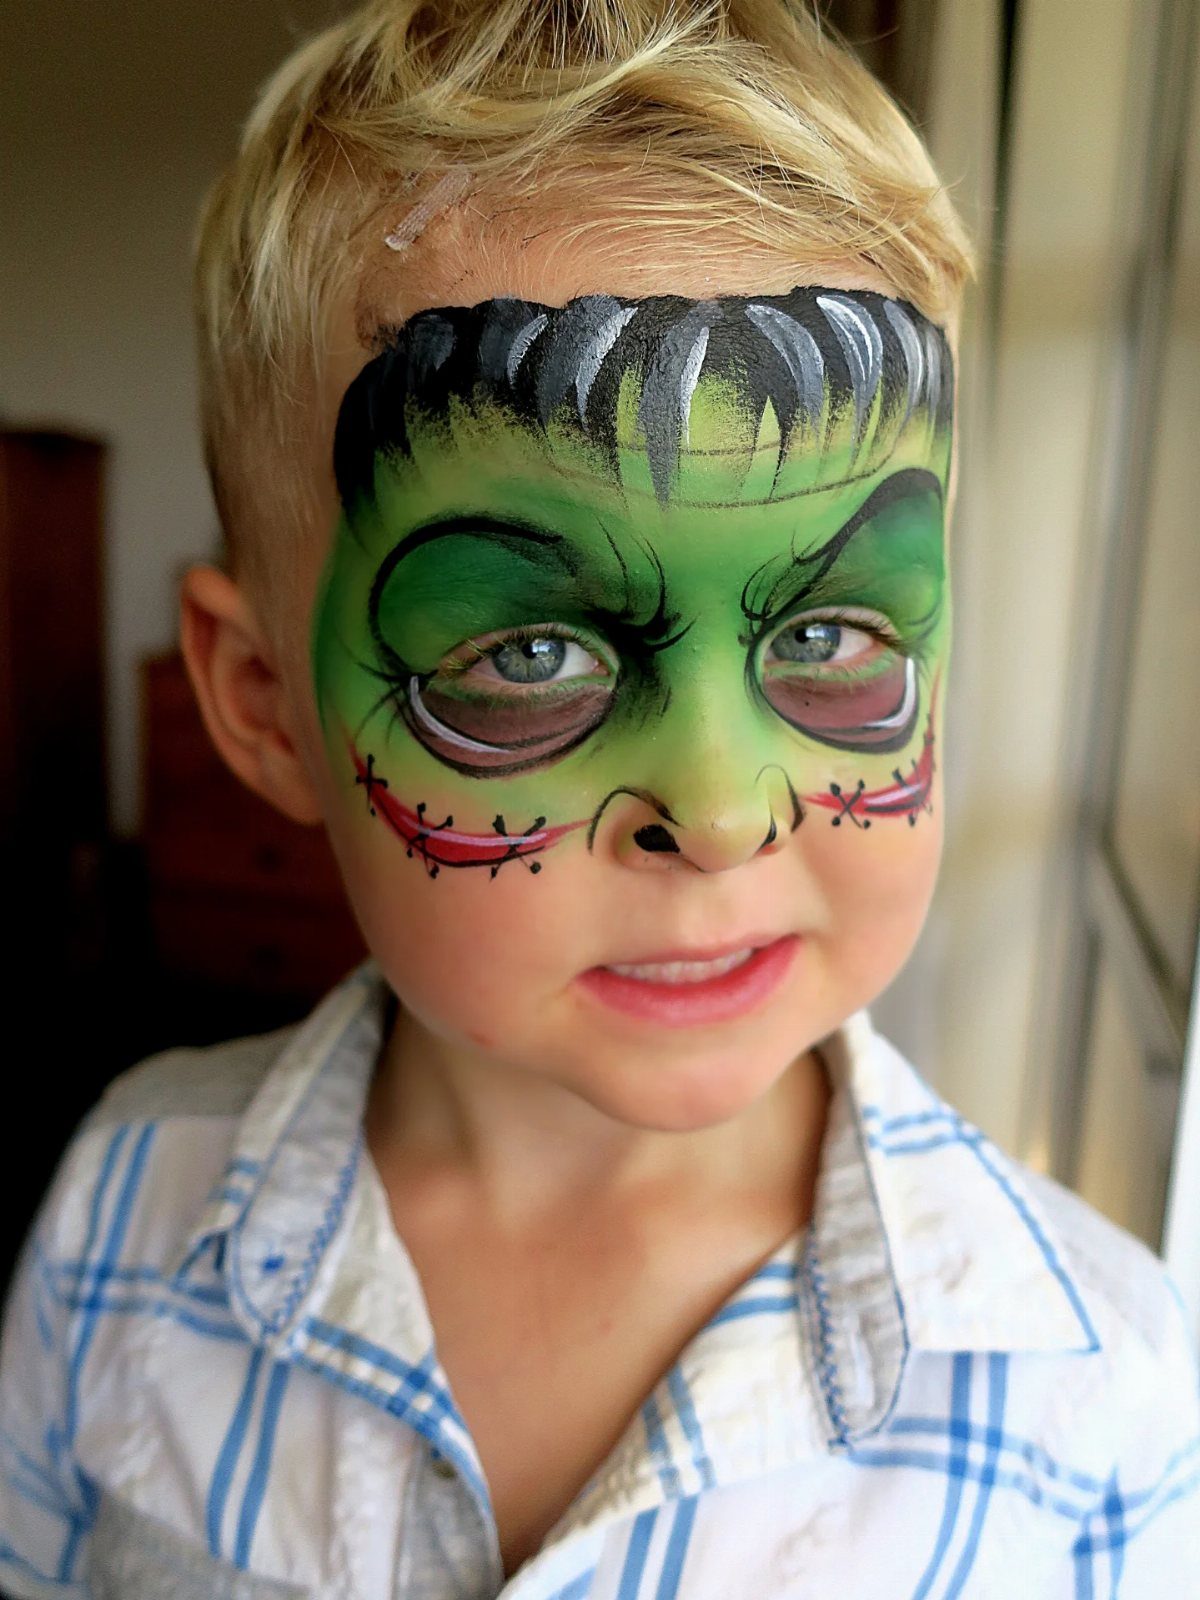
Green paint across the upper half of the face is all a Frankenstein needs, which makes it a good first choice for kids. Red stitch marks on the cheeks add the classic monster detail.
Keep the stitches simple: a straight line with a few short crossbars is enough, and a steady hand with a fine brush or red face-paint pencil handles it.
Because only the top of the face is painted, it stays comfortable for a child to wear all evening.
6. Spider Webs Face Paint
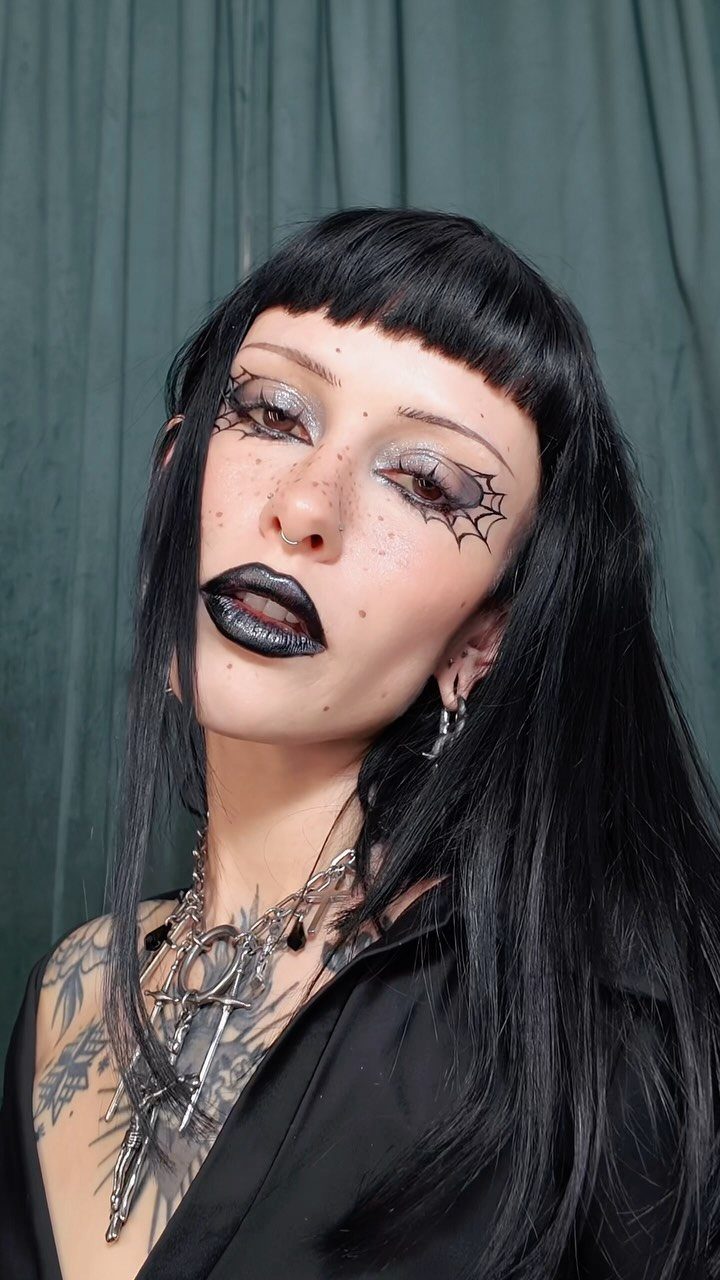
Draw a few lines radiating out from each eye, then connect them with curved strokes.
A black eyeliner pencil or fine brush gives the cleanest lines. Keep the webs thin; heavy lines smudge and lose the delicate look.
It’s a good pick for beginners and teens, and fast to finish.
7. Scarecrow Face Paint
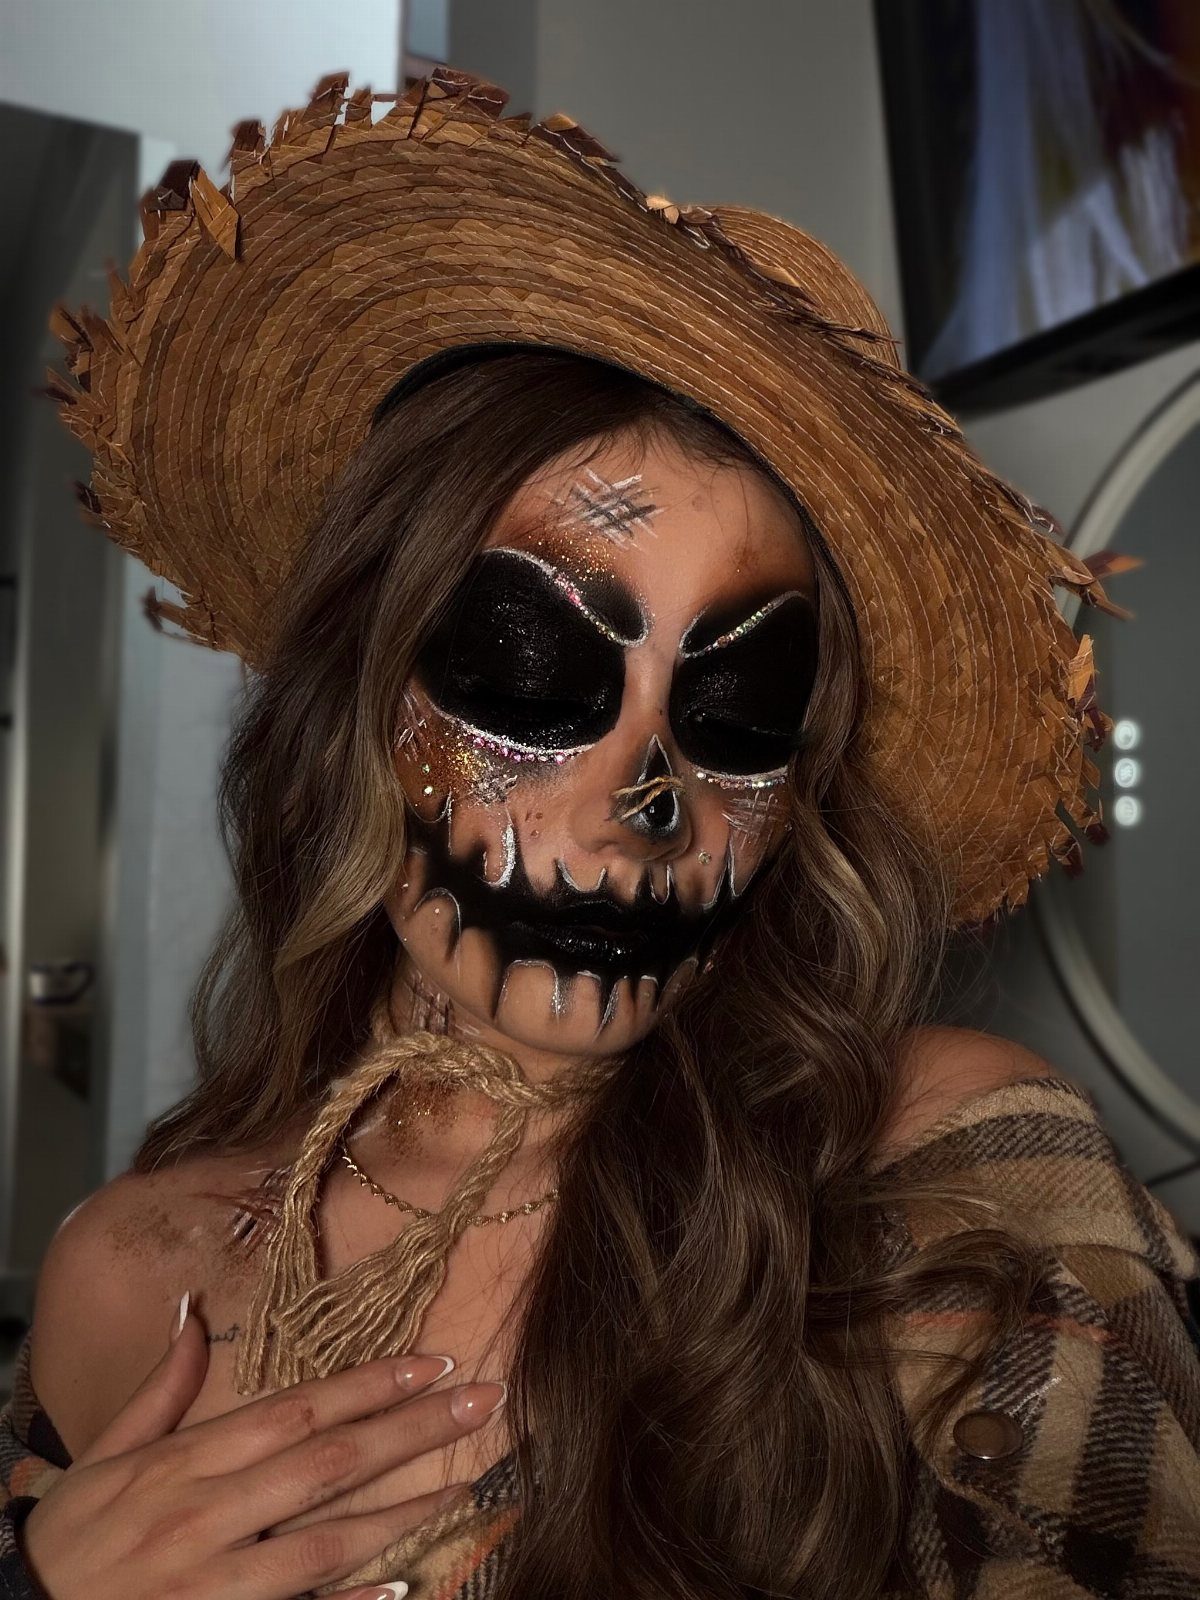
Draw the stitches as short vertical lines across the lips, and keep them uneven so they look hand-sewn.
It’s friendly enough for kids and easy enough for a first-timer.
8. Day of the Dead Face Paint
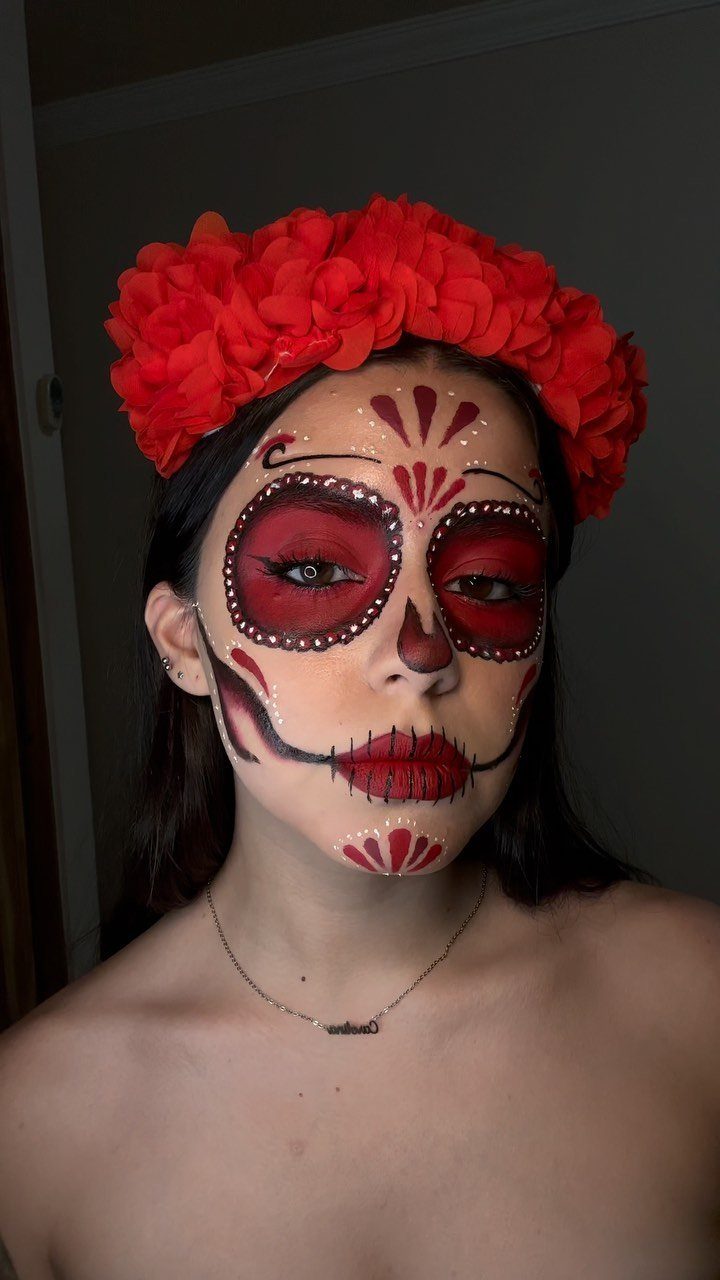
Red flowers carry this version, and a flower crown in the same shade ties the face and the costume together. Day of the Dead paint celebrates life as much as death, so color belongs here more than gloom does.
Work in sections: base first, then the main shapes, then the fine detail last. A plain top and a simple necklace keep attention on the face.
This one takes more patience than most on the list, so give it extra time.
9. Skeleton Face Paint
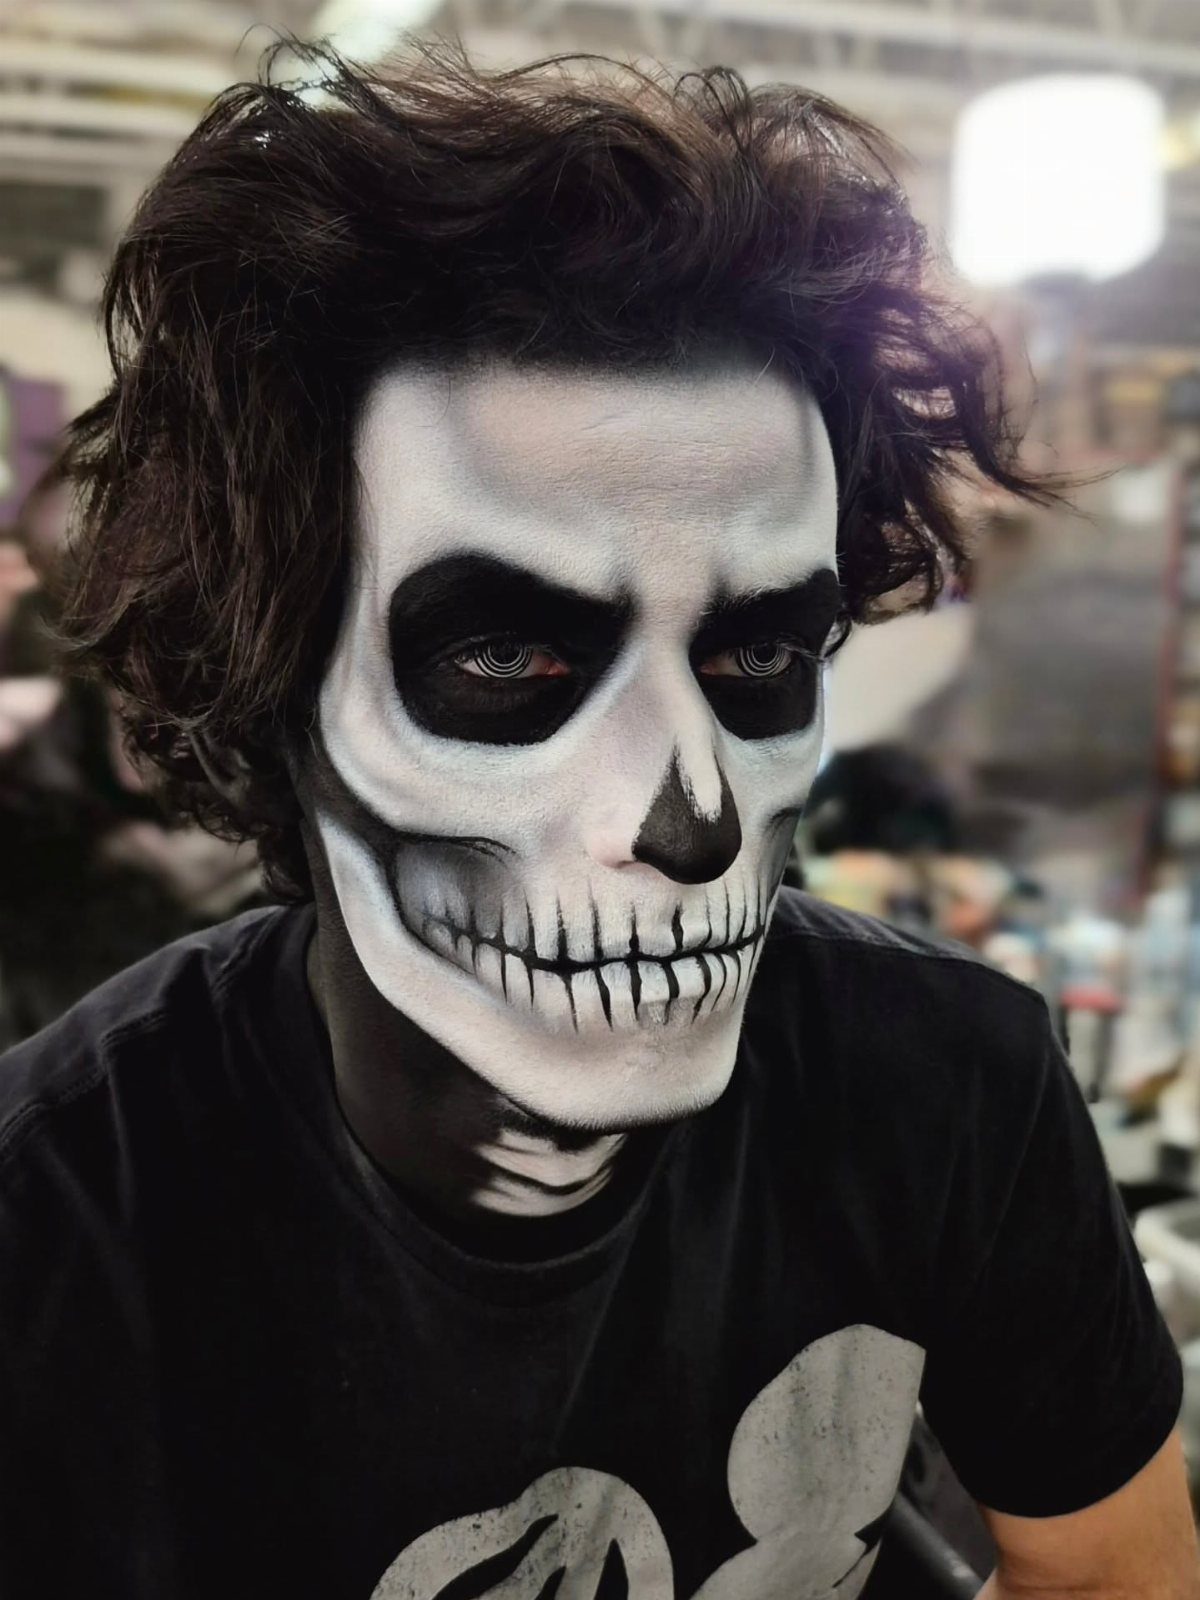
Black and white are all a skeleton needs, which keeps the cost low.
Then add the teeth as straight lines across the mouth and a few cheekbone shadows. Messy hair suits it fine, so there’s no styling to fuss over.
I’d pick this for anyone who wants a classic look in under half an hour of practice.
10. Ghost Face Paint
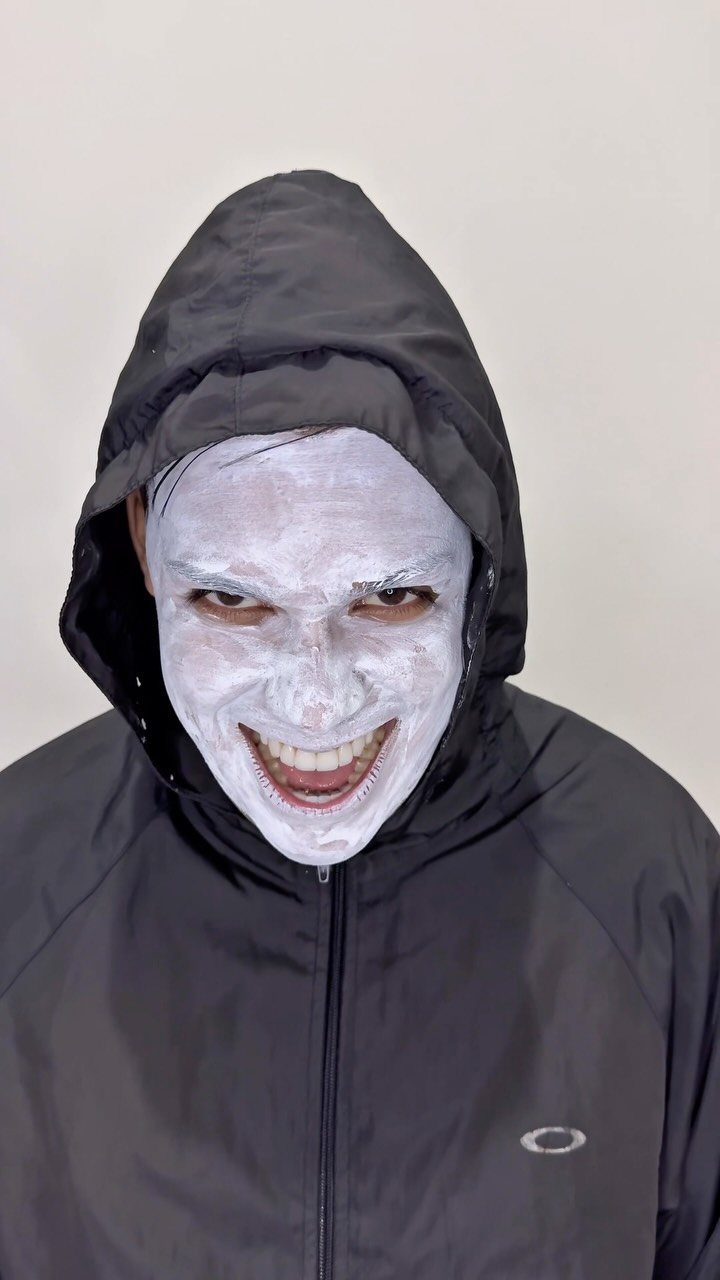
A white base and some shadowed, hollow-looking eyes are enough for a ghost. Cover the face evenly, blend it at the hairline and jaw so there’s no hard edge, and let the eyes stay dark.
A black hooded jacket makes the pale face stand out sharply. It’s the least demanding design on the list, and the one I’d hand to a reluctant teenager.
11. Creepy Doll Face Paint
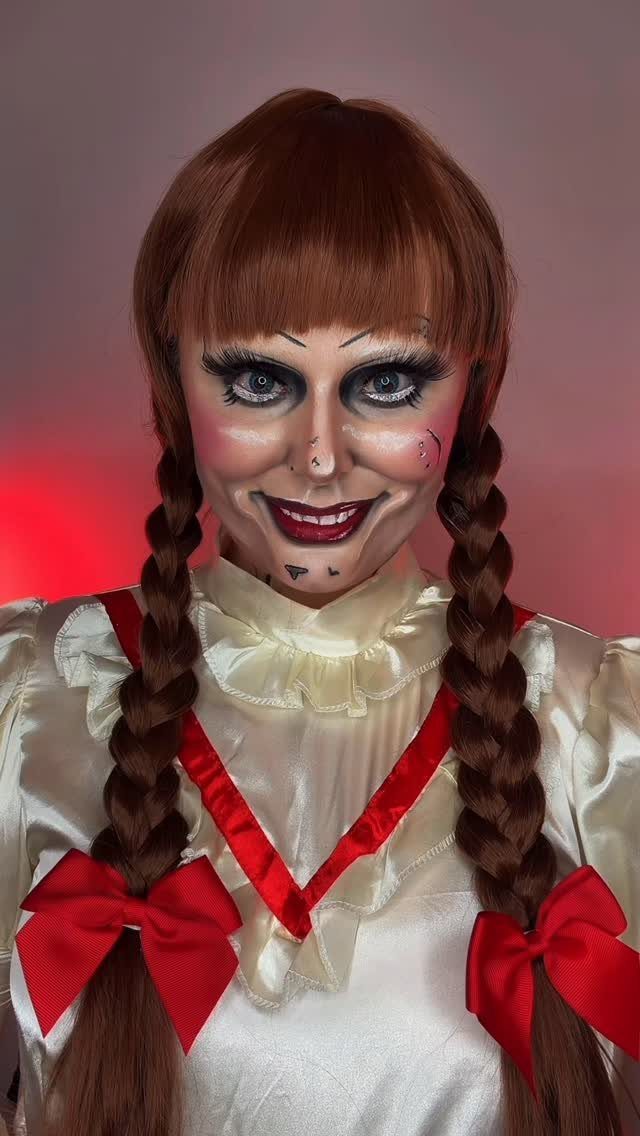
Creepy doll makeup depends on the styling as much as the face, so plan the outfit first.
Keep the face porcelain-pale and a little too neat, since stiff, tidy features are what unsettle people. Perfect symmetry is hard, so go slowly.
This look suits adults and older teens better than young kids, because it takes patience.
12. Mummy Face Paint
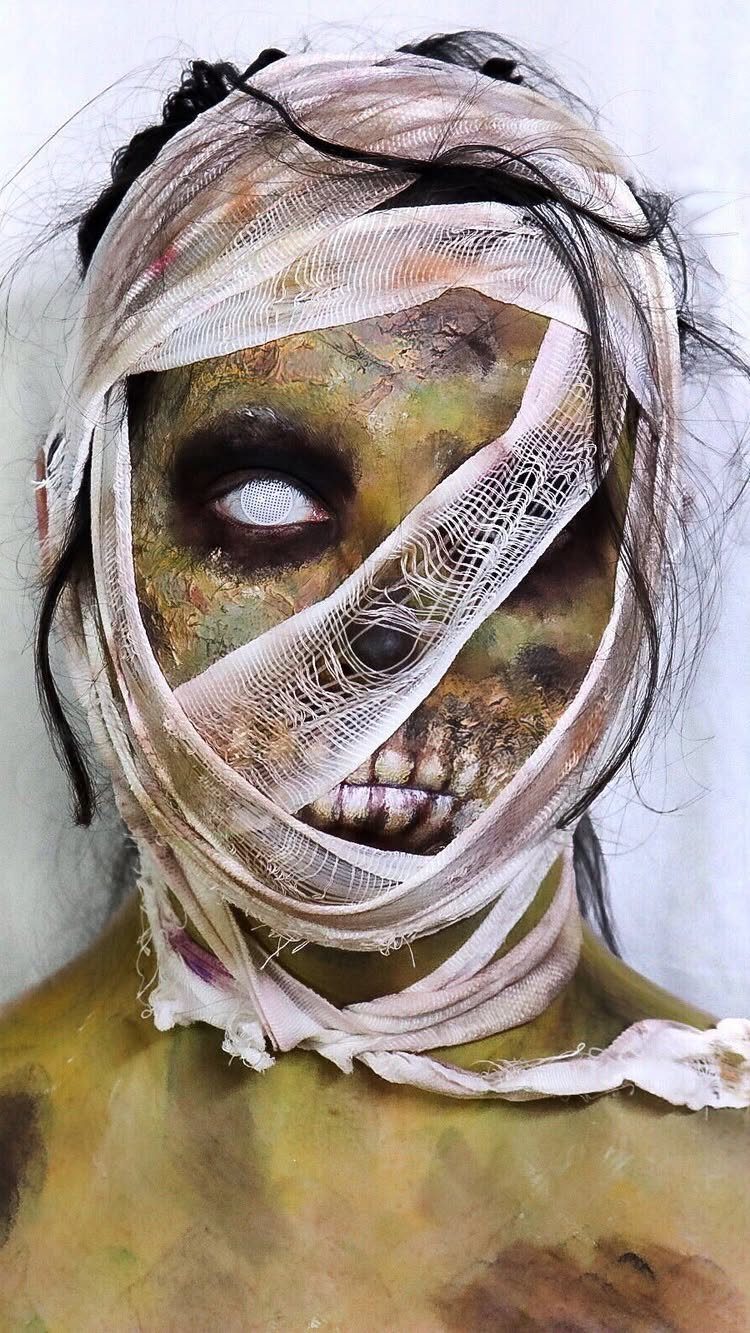
Gauze bandages wound around the head and neck are what make a mummy, and they cost very little. Wrap loosely and unevenly, leaving gaps so the skin shows through.
Decayed green paint worked into the gaps between the bandages gives a mummy look its age. White contact lenses push it further, but as with the witch, I’d skip them unless you already wear contacts.
Secure the wrapping with a few small safety pins at the back.
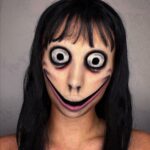
13. Scary Smile Face Paint
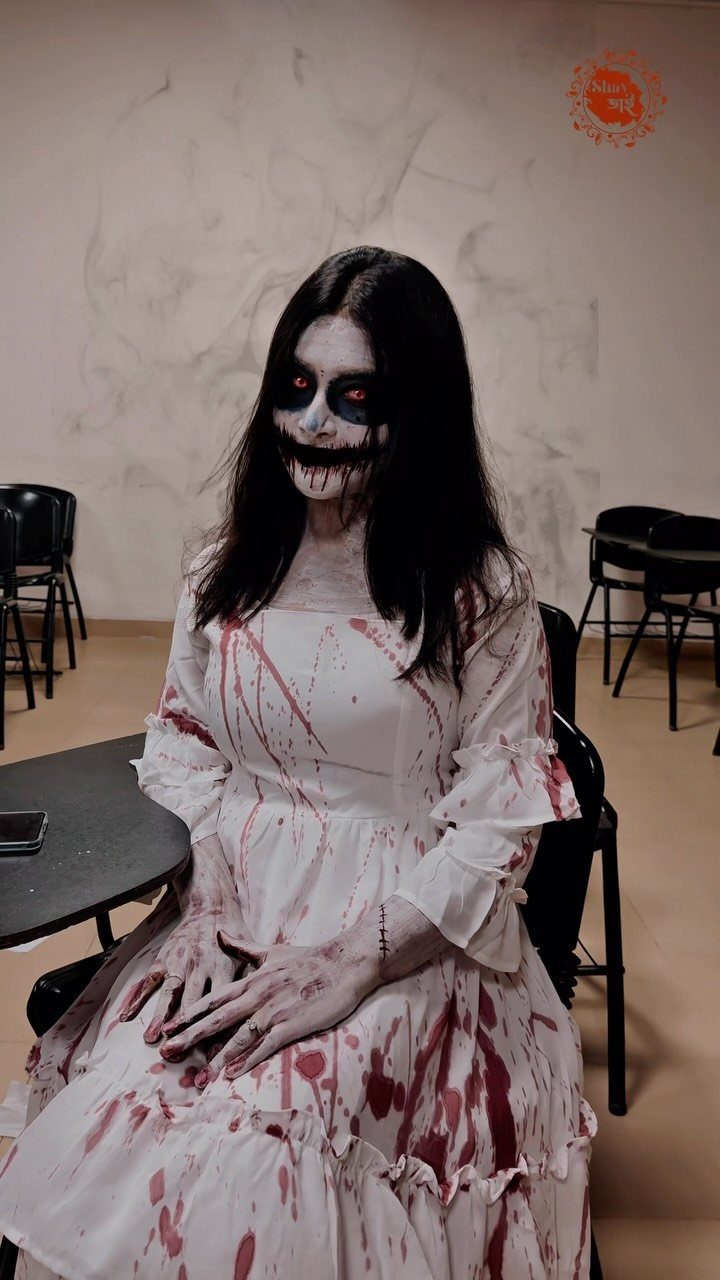
A wide black smile over a white face is the whole design, so spend your time on the mouth. Draw the curve first with a black pencil, then fill it in with a fine brush so the edges stay crisp.
Because the face is plain white, the look works with almost any costume. A white dress with a few red stains suits this look well, since the contrast keeps the smile as the focal point.
Make the smile wider than feels natural; the stretch is what unsettles people.
14. Eerie Clown Face Paint
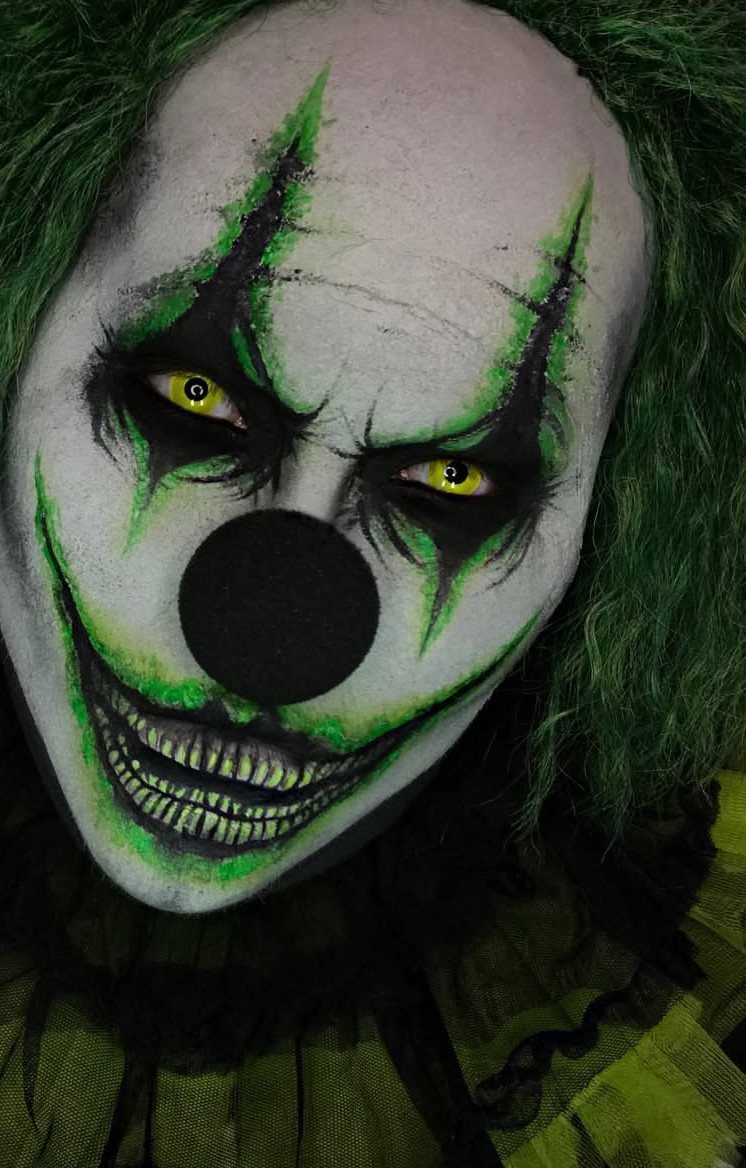
A ruffled collar in green and black finishes the look without more paint. This one asks for a steady hand, so I’d pick it for adults and teens.
15. All-Black Demon Face Paint
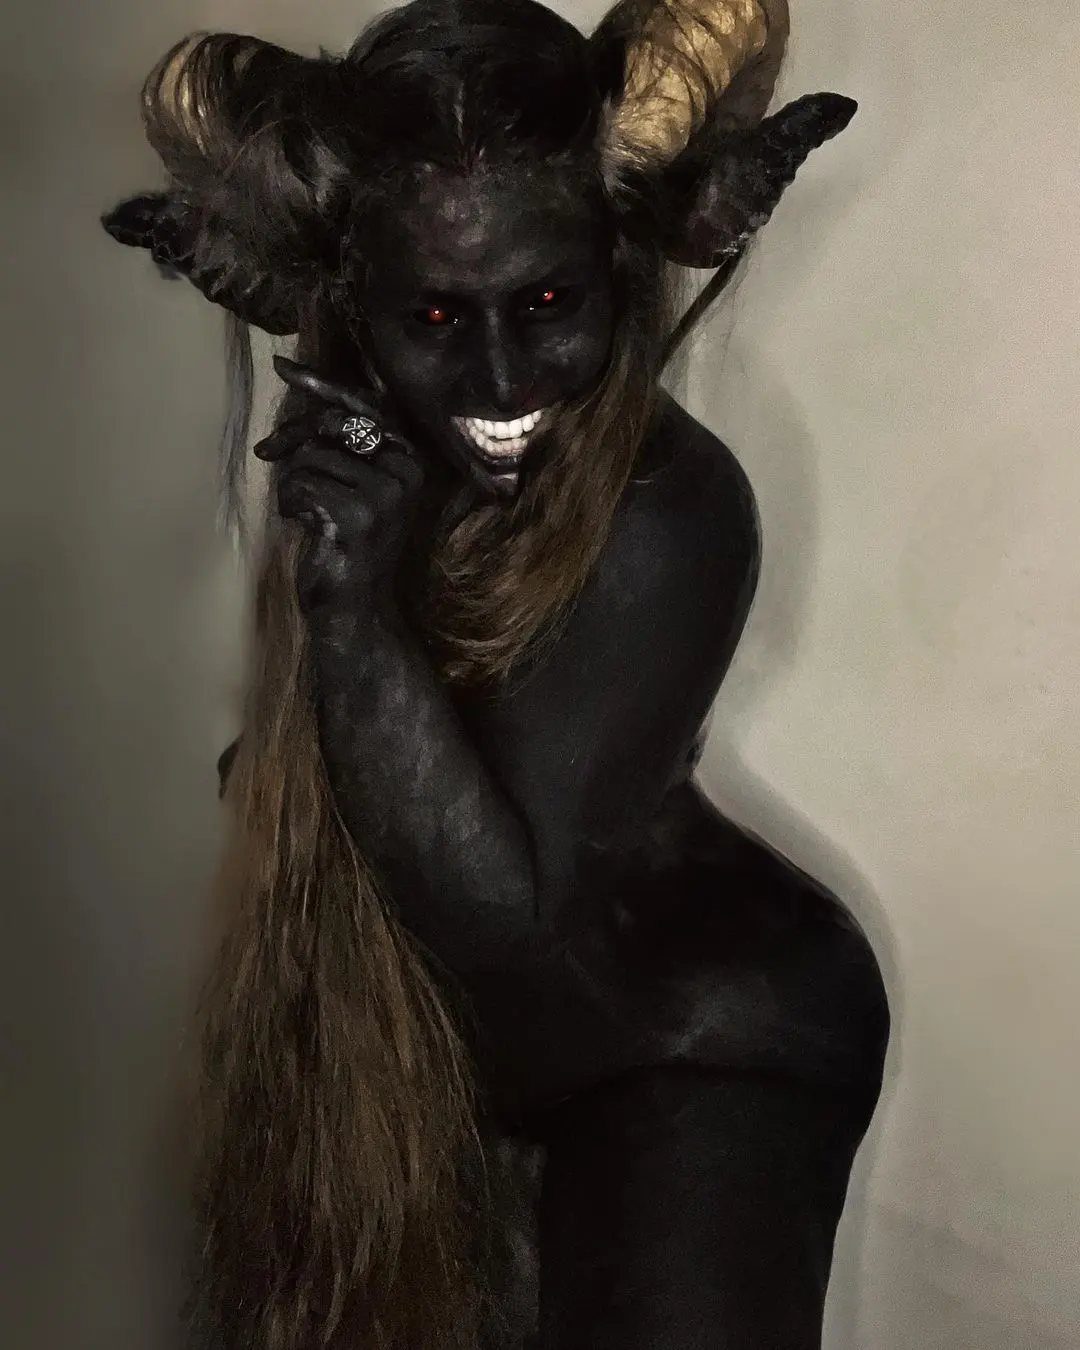
Full coverage in pitch black is what makes this demon, and it takes more paint than a face-only look. Cover the face and any exposed skin evenly, and check the neck and hairline for gaps.
Large horns and glowing red eyes do the rest.
Budget extra time for this one, since body coverage is slow.
16. Red Devil Face Paint
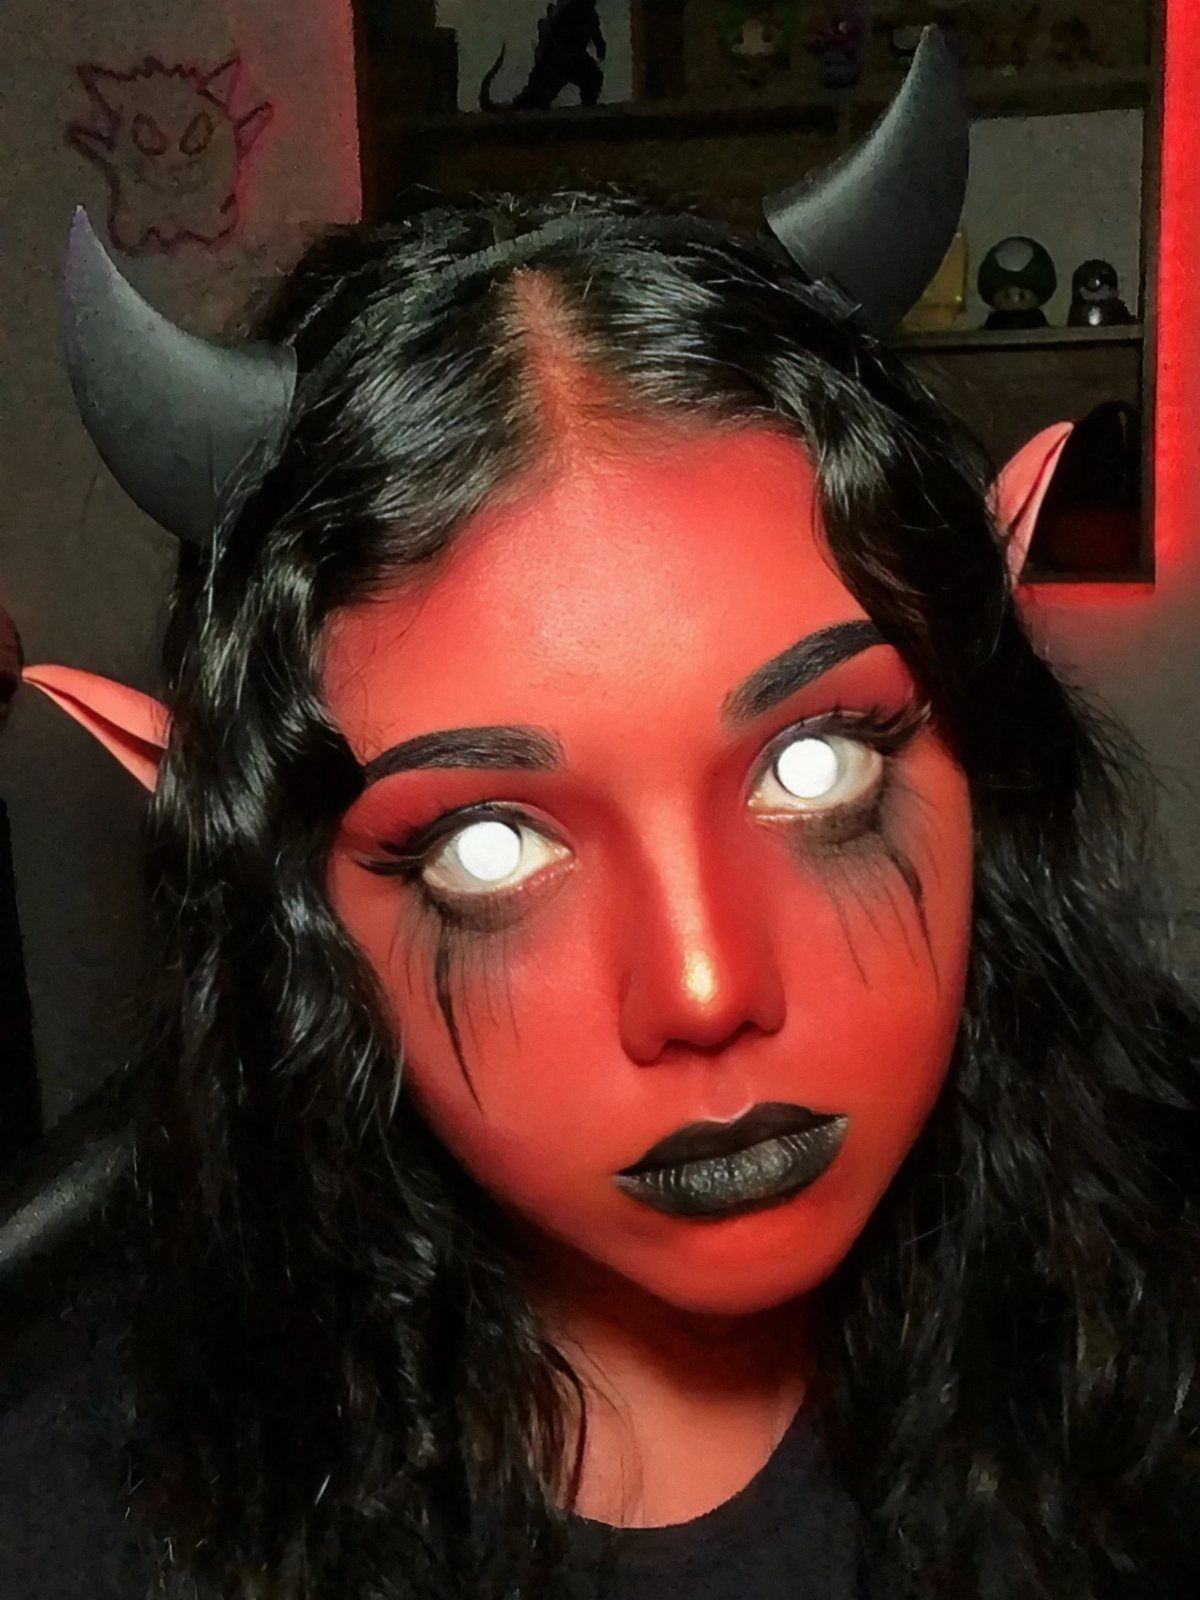
Red paint with black lips is a classic devil look, and the contrast between them does the work. Lay down the red base evenly, then add the black lipstick last so it stays sharp.
A black horn headband is the cheapest way to get the horns, and it comes off easily, which suits kids and teens.
A face paint costume doesn’t have to be complicated to make an impact! This simple look pairs a bright red lip with lines across the cheek and a spot of red on the nose to achieve a Pennywise-inspired look.
Materials Needed for Face Painting
Stencils are the shortcut for any design with fine, repeated detail, like teeth or eye sockets.
Start with a white base coat, press the stencil flat against the skin, and tap color through the openings using a barely damp sponge that has picked up paint.
Keep the sponge barely damp, because too much water makes the edges bleed under the stencil.
For the basics, I’d buy quality face paint rather than craft paint, since it’s made for skin and gives better coverage.
Solid whites, deep blacks, and muddy skin tones are the colors that carry most scary designs, so start with those.
A few brushes in different sizes, a sponge, and your stencils cover nearly everything. Check the ingredient list on any paint before it goes on skin, and look for products labeled for face use.
Tips for Applying Face Paint
Start with a clean, dry face so paint lays down evenly and doesn’t streak over oils or moisturizer.
Put on the base layer first, then build color in thin passes. Layering thin coats gives deeper color than one thick coat, and it cracks less.
Let each layer dry a moment before adding the next, or the colors will muddy together. Save black and fine lines for last so they stay sharp.
If you’re new to this, follow a simple step-by-step guide for your chosen look before the night itself. Practice on your arm or a spare afternoon shows you how much paint you actually need and which steps take longest.
Removing Face Paint
Start with gentle soap and warm water, or a makeup remover, and work in slow, soft circles.
Press a damp cotton pad soaked in remover onto the paint and leave it for 10–15 seconds, which gives the pigment time to loosen before you wipe.
Skip harsh scrubs. They irritate skin that has already been covered for hours, and they spread pigment instead of lifting it.
Use a soft cloth or cotton pads, and switch to a fresh one as they pick up color.
Rinse well, pat dry, and follow with moisturizer. If any redness or itching shows up, stop and let the skin rest.
Frequently Asked Questions
What is some good Halloween face paint?
Most scary designs come down to 3 colors: a flat white, a true black, and a muddy, gray-brown skin tone for anything that should look dead or decayed.
Craft paint can irritate skin and cracks as it dries, so I’d pick a product sold for faces; it blends better and gives fuller coverage. Zombies, vampires, skeletons, and sugar skulls all work well from that base.
What are the top scary girl costumes?
Witches, vampires, and zombies are the usual picks. For a witch, green skin gets most of the attention, but a prosthetic nose with a crooked bridge sells the character better than any amount of contouring.
How to make a spooky face?
Use dark colors, exaggerated features, and strong contrast. Start with a white base, then add black around the eyes or mouth; that’s the quickest route to a spooky face.
What are some easy and scary painting ideas?
Ghosts, skeletons, and spider webs are the easiest.
A ghost needs only an even white base blended at the hairline and jaw, with dark eyes. Thin lines fanning out from each eye, then curved strokes linking them, make a convincing web with very little paint.