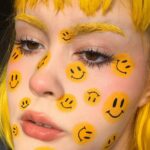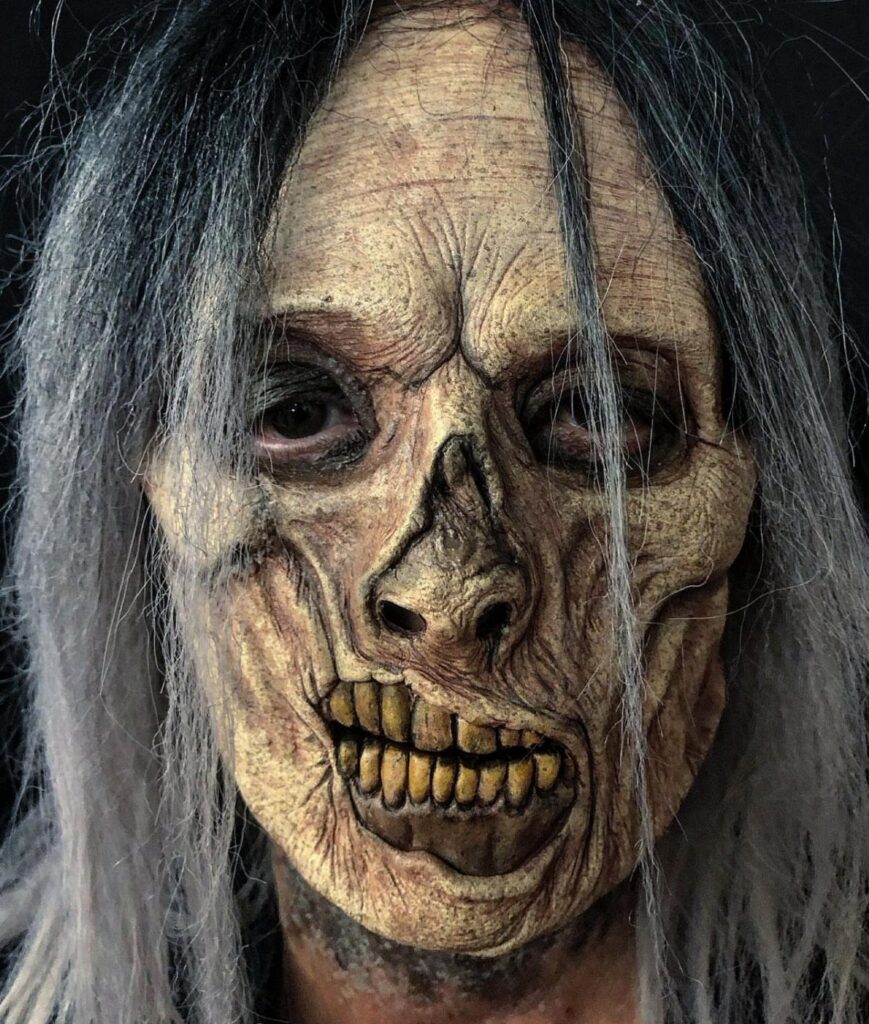
Your budget and your patience decide which of these looks is yours, because the ideas run from a simple black eye effect to full half-face gore and zombie makeup.
Simple shading and surface marks wipe off when you slip, while raised texture and prosthetic pieces demand layers and time.
For a first attempt, I would pick the black eye effect or a few fake cuts, since both lean mostly on color, and save zombie and half-face gore looks for later.
1. Zombie Makeup
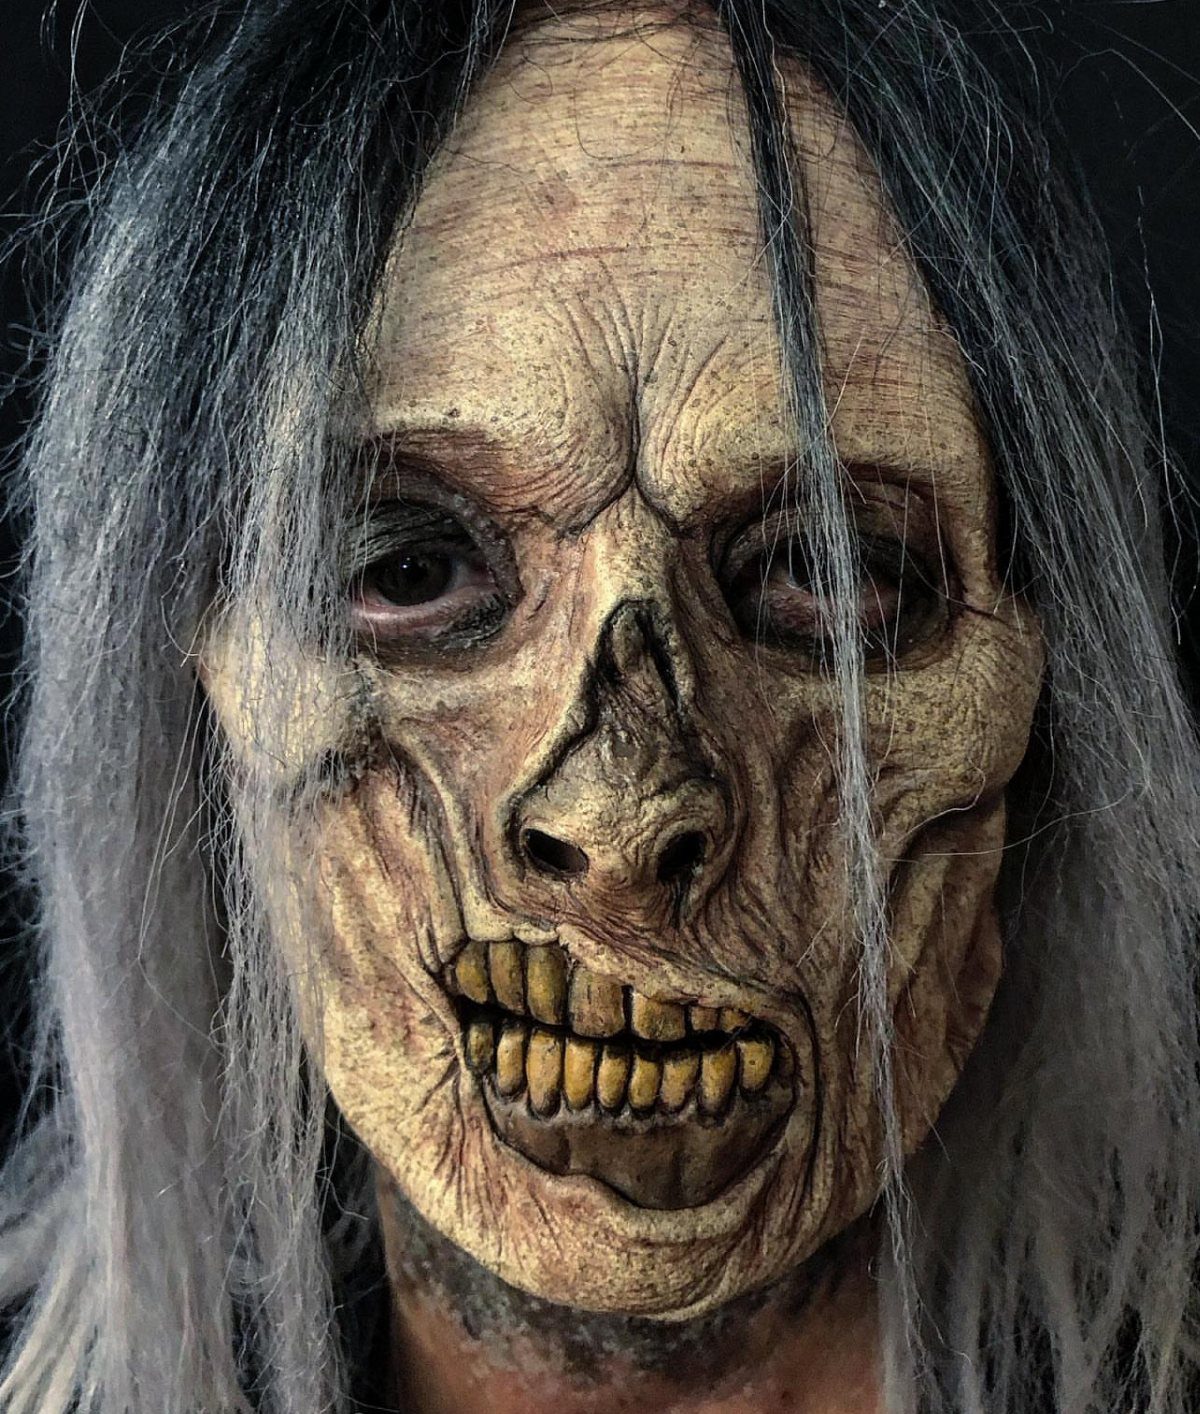
Pale skin, sunken eyes and yellowed teeth do most of the work in a zombie face.
Start with a pale base and darken the eye sockets, then let the cheeks and temples fade toward grey so the skin reads as hollow.
For a beginner on a budget, I would put the effort into shading, not prosthetics. A full textured, wrinkled skin mask gives the strongest zombie effect, but treat it as an upgrade, not a requirement.
Tooth color is cheap to add and changes the entire look.
2. Burns and Scars
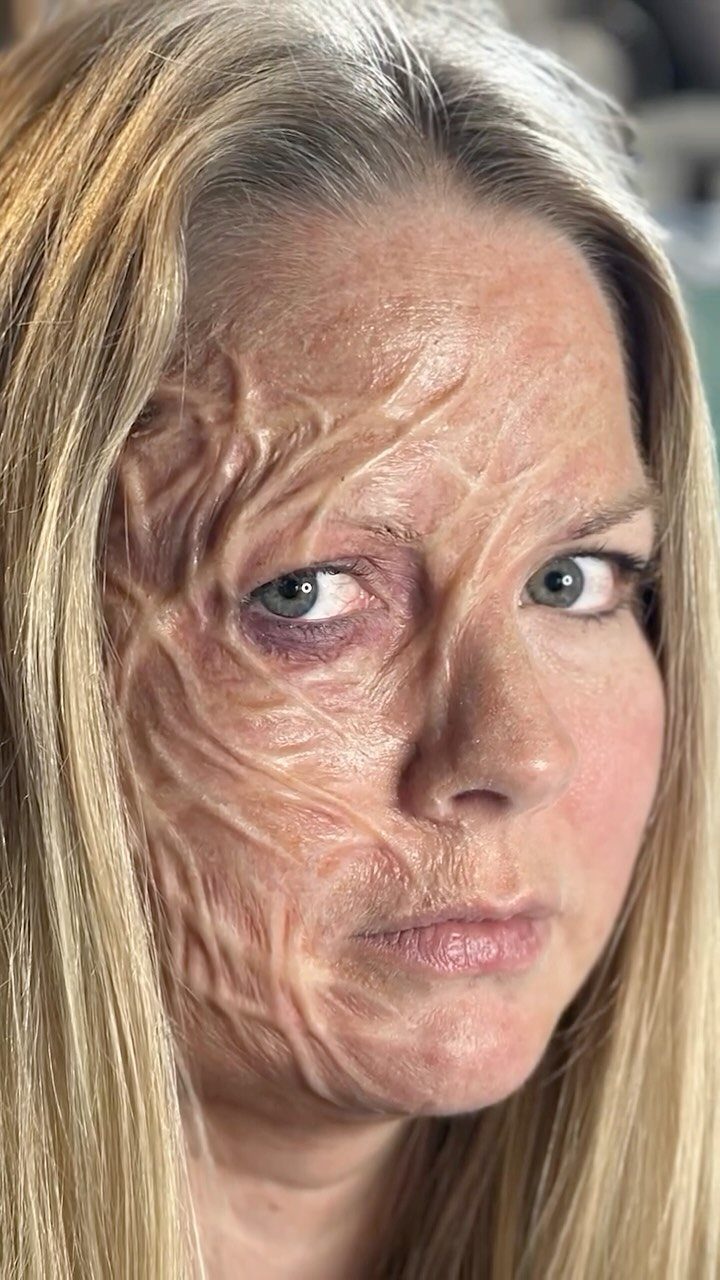
Half a face of burn texture reads as dramatic, and the one-sided placement is what makes it easier.
Keeping the effect on the right side leaves the other side clean, so the contrast sells the damage and you have less area to cover.
Wrinkled, pulled skin is the detail I would copy first. Build the texture in layers and keep the edges uneven, because a sharp outline gives the effect away at once.
Expect this one to take more patience than a simple cut.
3. Fake Wounds and Cuts
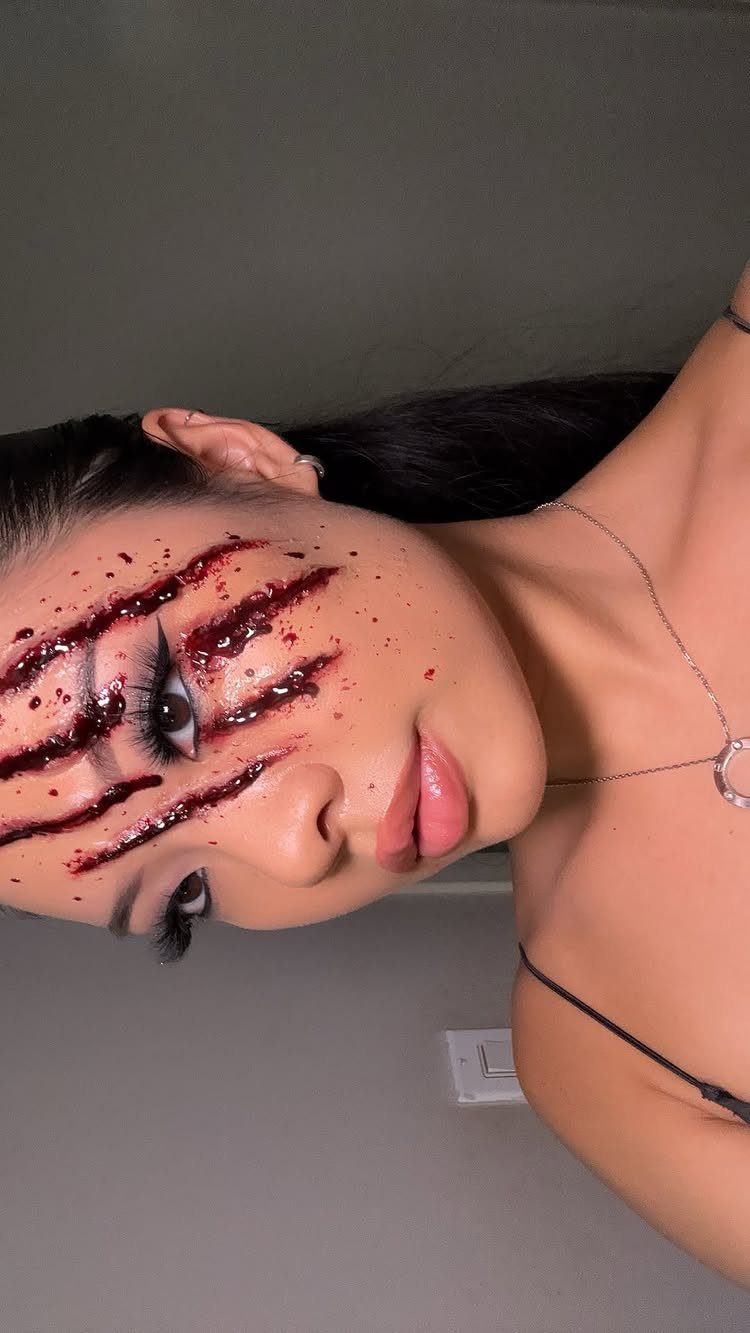
Claw marks are my pick for a first wound, since a few parallel scratches look convincing without any sculpting. Keep the lines roughly parallel but vary their length and width.
Red marks with darker blood in the deepest part give depth cheaply. Let some blood run downward, because gravity sells it.
Cuts and scratches suit a short evening, since there is little to build and mistakes wipe off.
4. Fairies Makeup
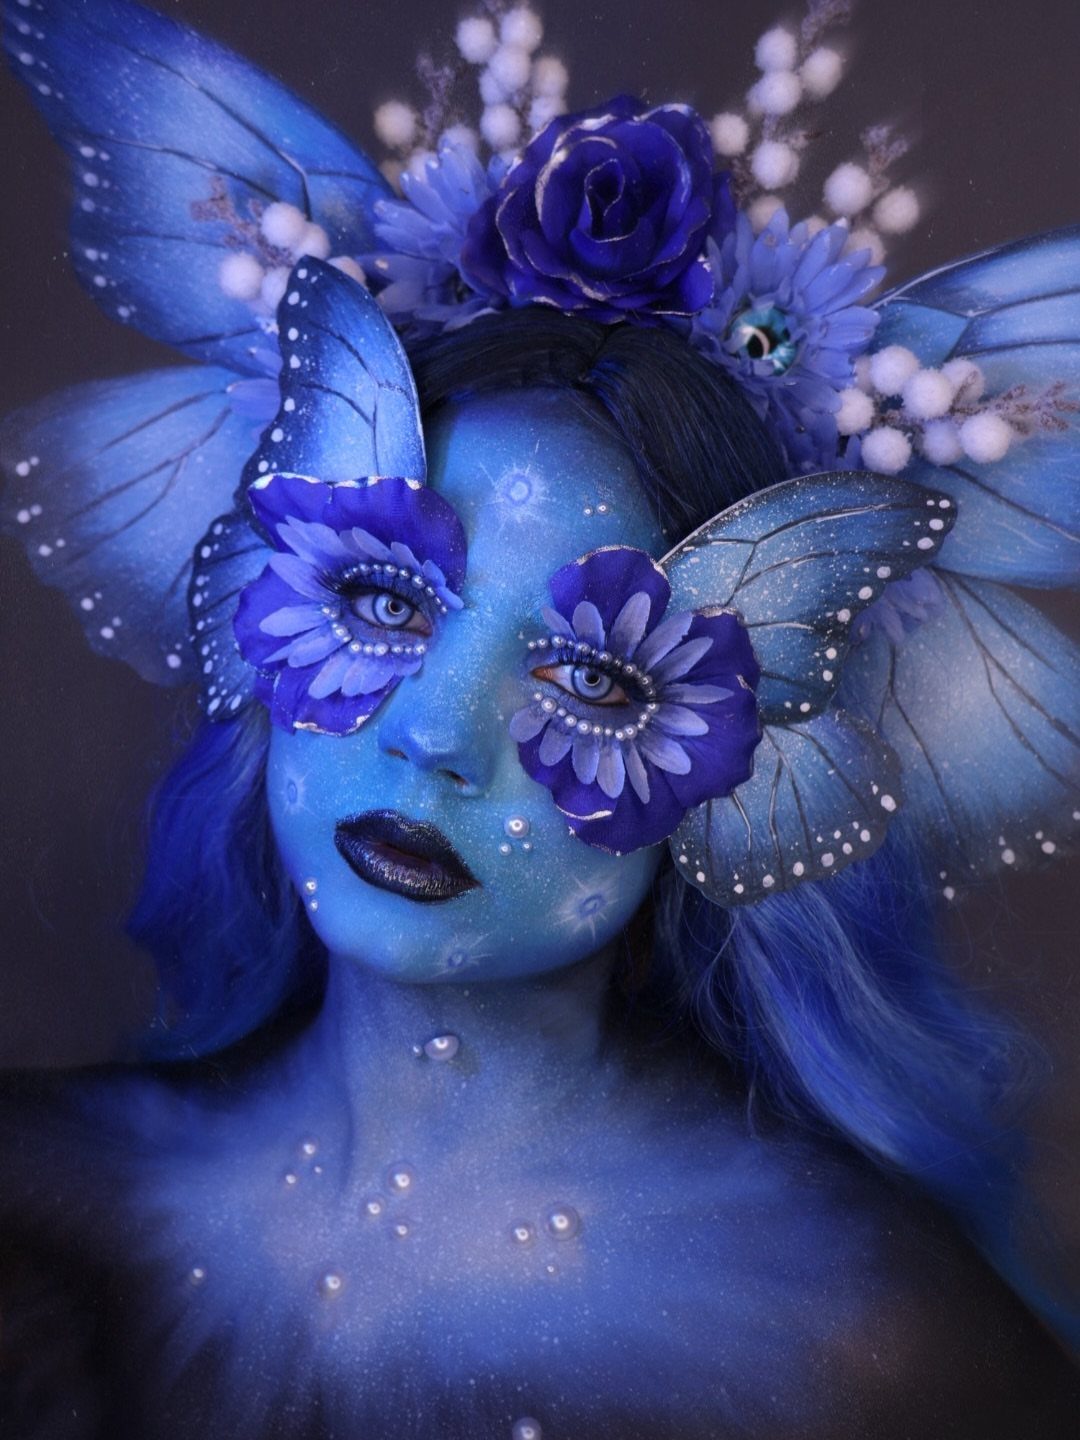
Fairy makeup is the gentle option on this list, and a single strong color carries it.
I would choose one dominant shade and add detail in lighter or darker versions of it. A floral crown and wings finish the character with little extra effort.
Blend the face color down the neck so it does not stop at the jaw.
5. Half-Face Gore Makeup
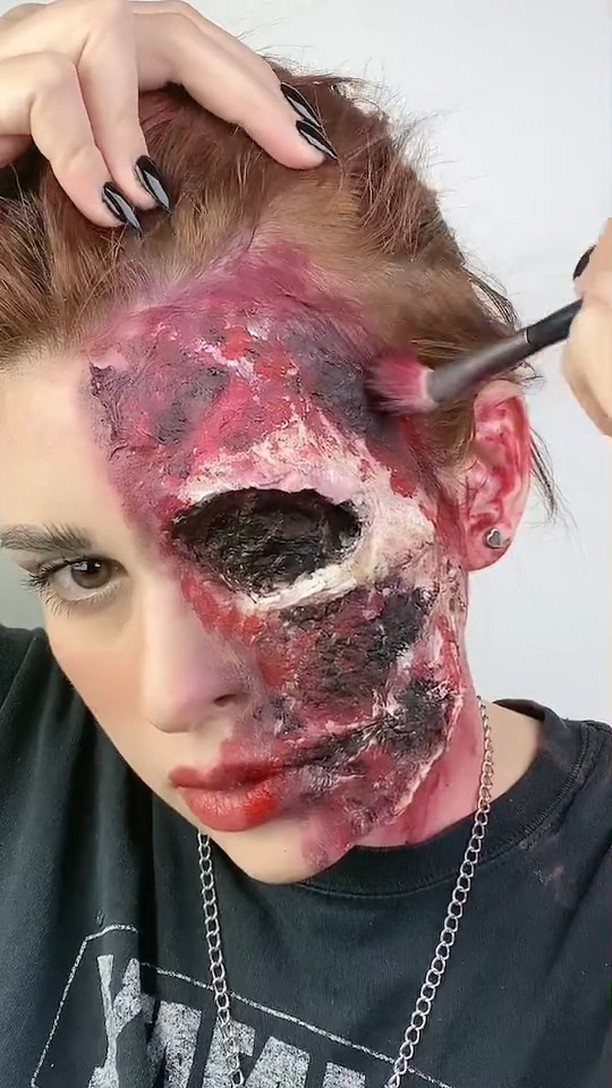
Split-face gore means one half stays normal while the other looks torn apart. Liquid latex, scar wax and fake blood are the products to gather.
Wax builds raised edges, latex gives stretched, peeling texture, and blood goes on last so it pools in the wound. Work on the side you can reach comfortably with your dominant hand.
6. Black Eye Effects
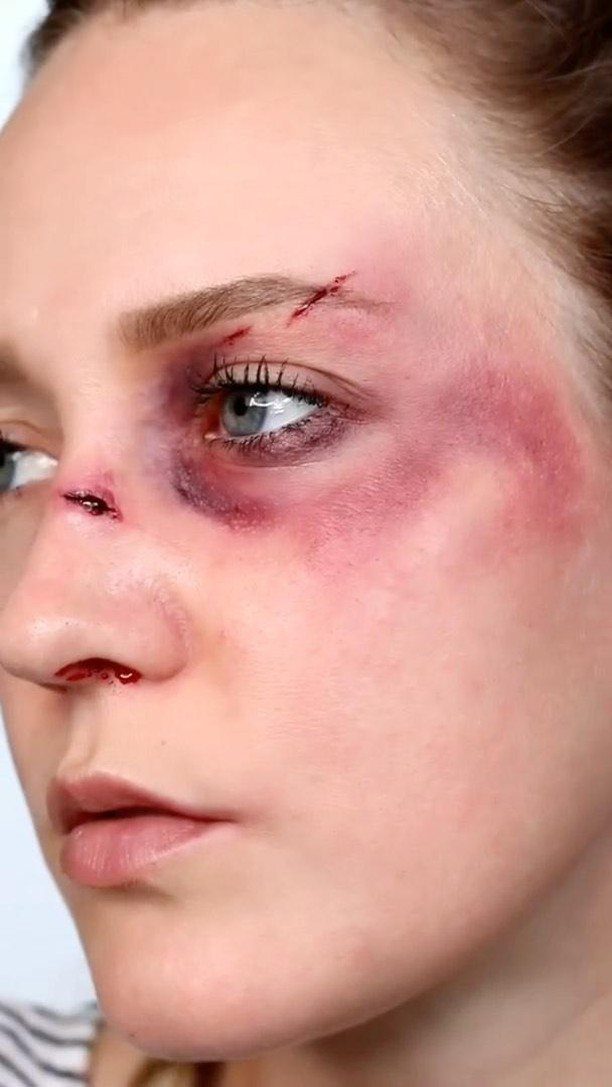
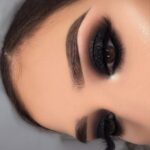
A black eye is the quickest bruise to learn, and a ring of color around the socket is nearly all of it. Layer purple and blue toward the center, with a touch of red nearer the lid.
Use a sponge for the bruise so the edges stay soft.
Apply it lightly. Overdone bruises look like paint.
7. Wrinkles and Sagging Skin Makeup
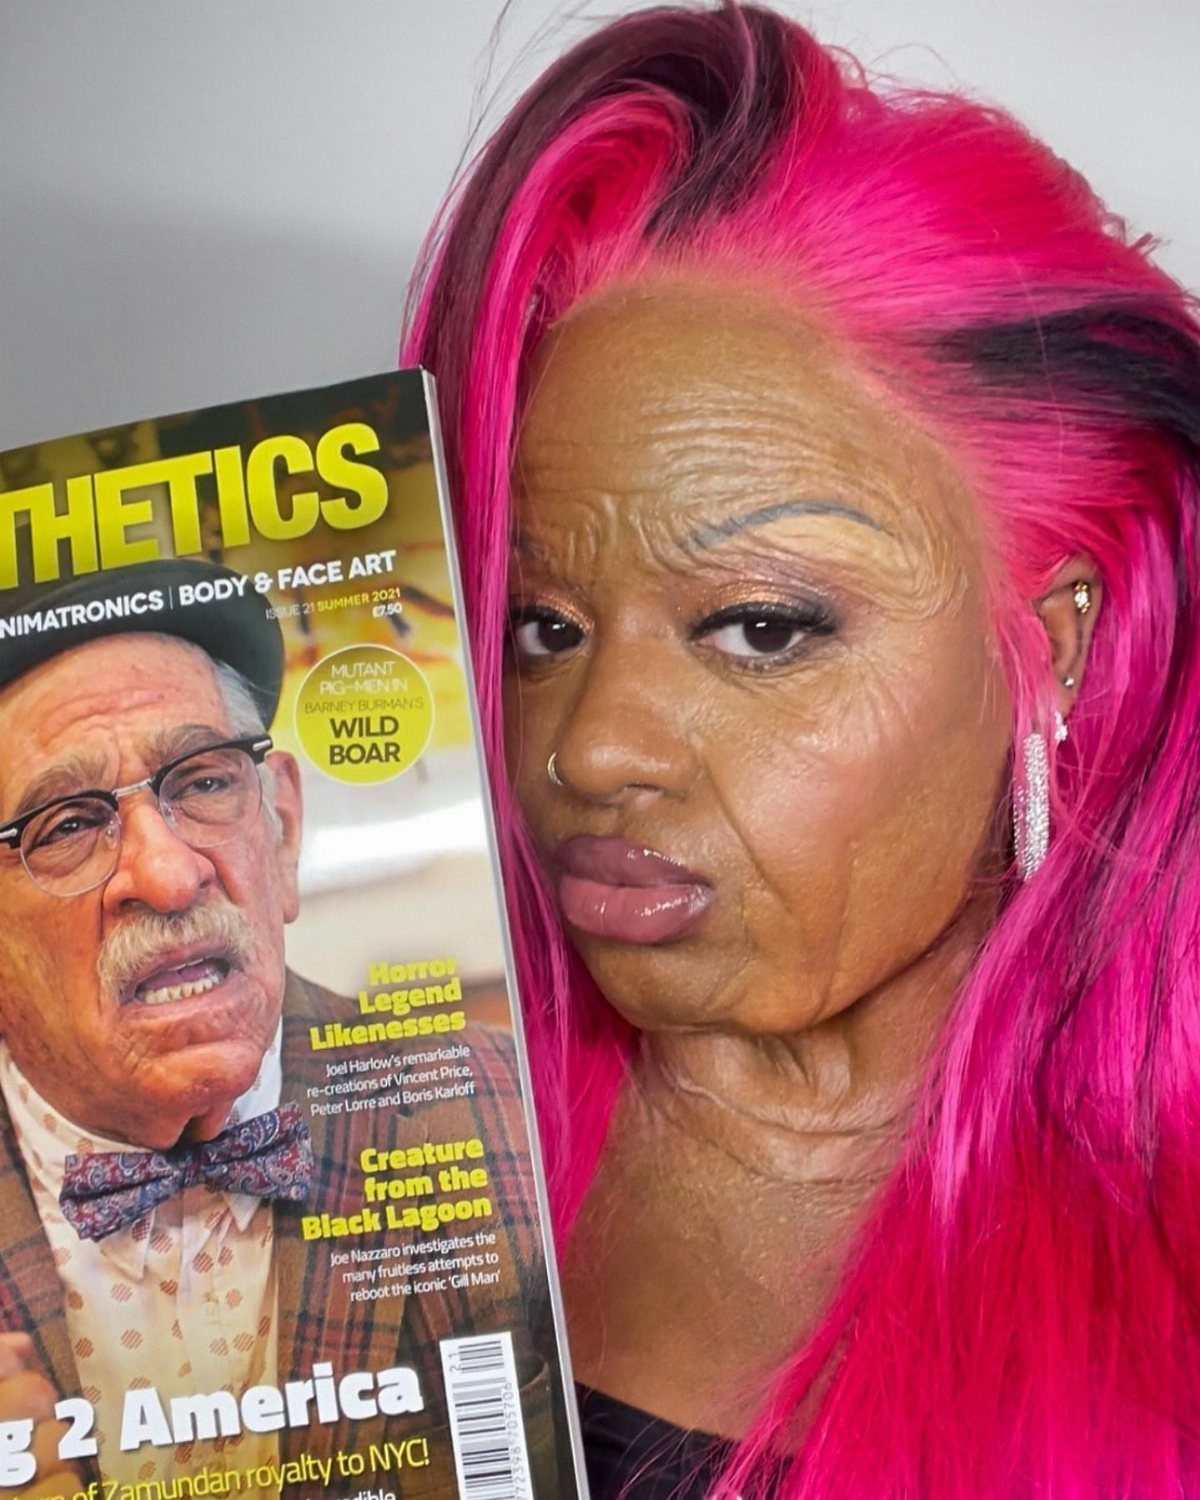
Aging makeup is about shadow and sag, and it works on any age of face. Wrinkles read best when you draw them in the direction the skin naturally creases: across the forehead, around the eyes, beside the mouth.
On a tight budget, the cheapest place to begin is contour: a darker cream in the hollows and a lighter one on the high points will age a face before any latex or wax comes out of the kit.
Pair that with a gray or pale base so the skin looks thinner.
Pulled-down, drooping areas take more work than flat lines, so treat them as the second step.
8. Creepy Clown Makeup
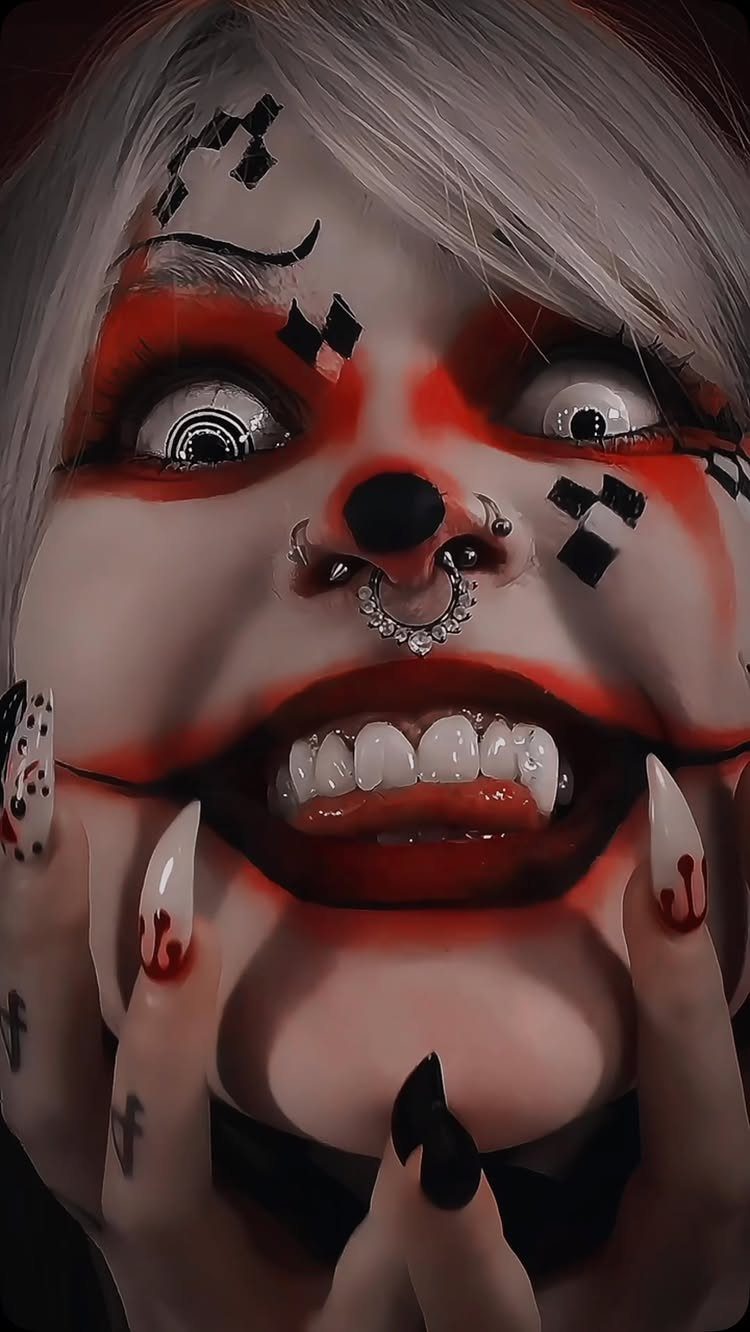
White hair and a white face make red accents hit harder, and that contrast is what makes this clown spooky instead of silly. Fangs and long nails push it further into vampire territory.
If you only copy one thing from this look, make it the spiral eyes, since they cost almost nothing and carry the whole effect.
Draw them with a fine brush and keep the lines steady, since a shaky spiral looks sloppy up close.
Keep the red limited to a few spots, because too much of it dilutes the creepy effect.
9. Stitched Clown Doll Makeup
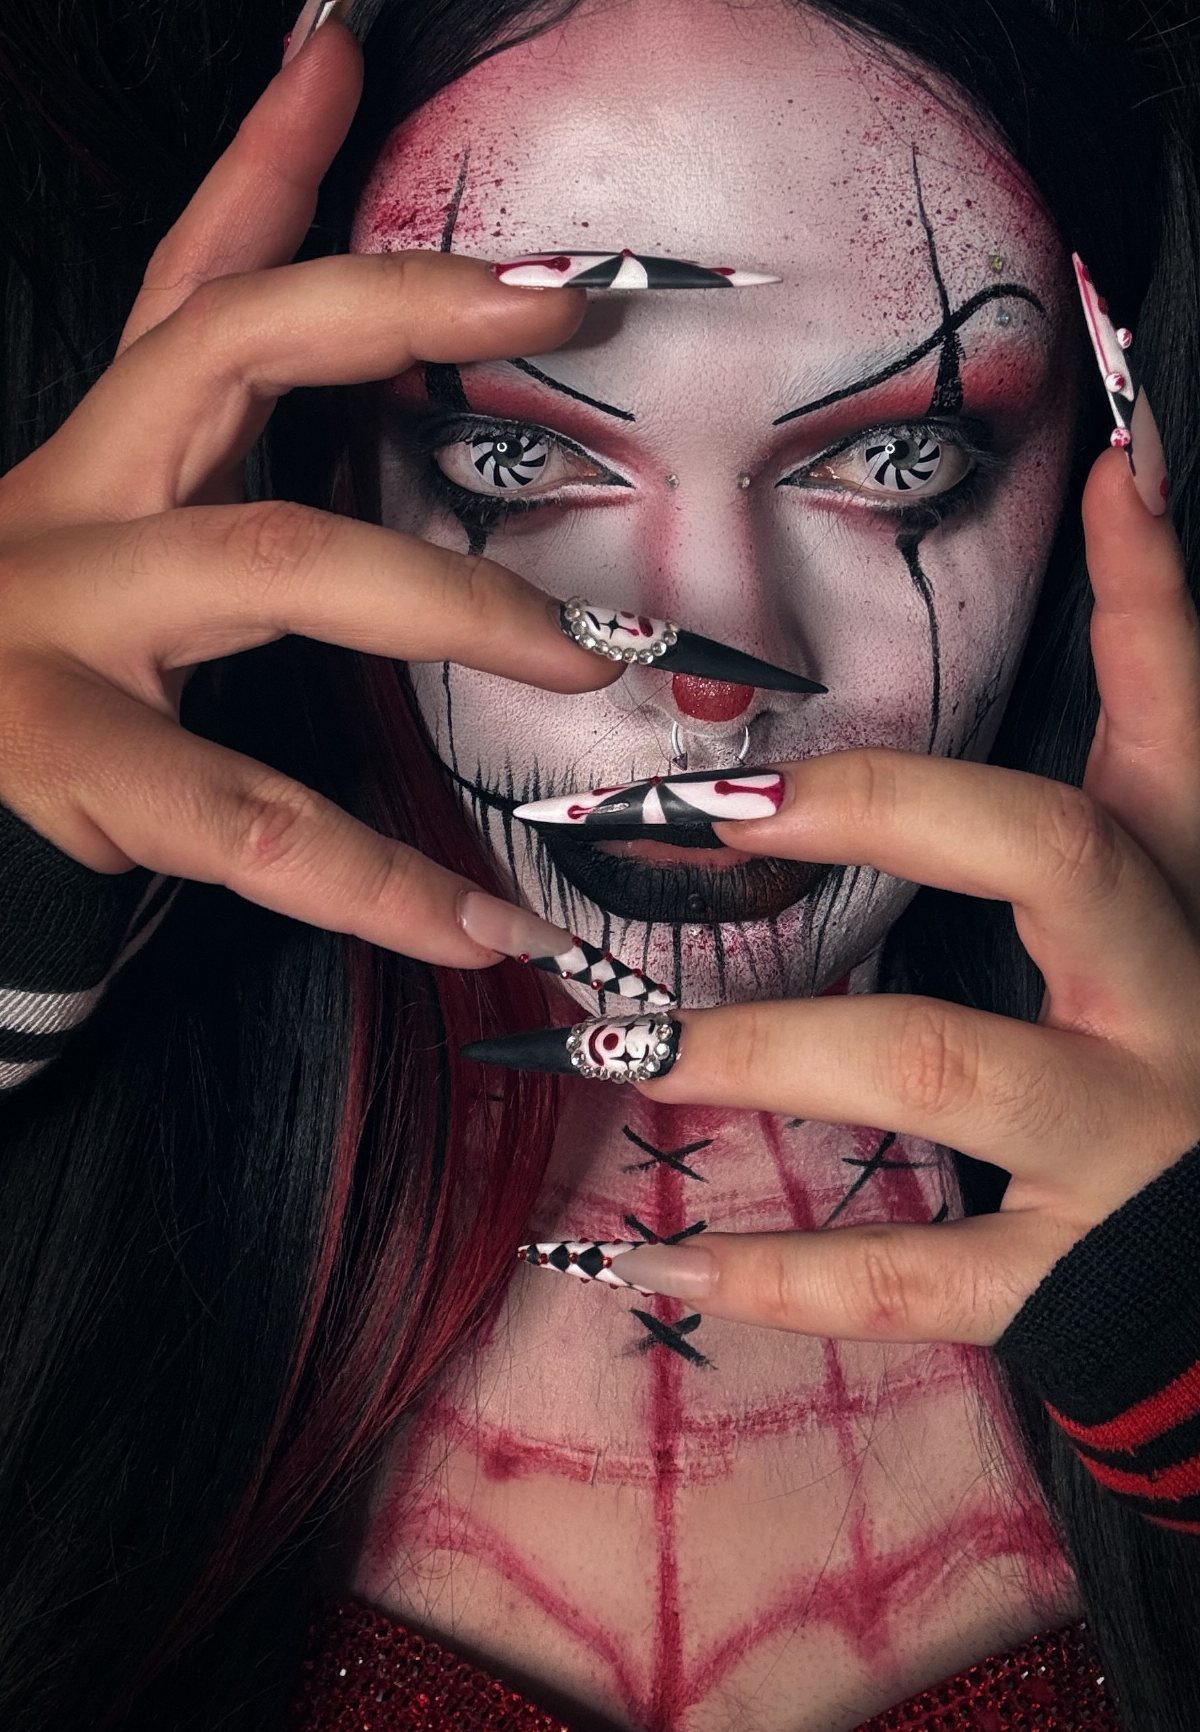
Red stitches on a white face turn a clown into a porcelain doll, and that mix of cute and creepy is the whole appeal.
The stitching also continues onto the chest, so the look reads as one piece instead of a painted face.
Stitches are forgiving for a beginner. Draw a short line, then add small crossing marks, and an uneven rhythm looks more handmade than a perfect one.
Spiral contact lenses and long nails are optional extras. Skip them if the budget is tight.
Essential Tools for SFX Makeup
Modeling wax handles raised scars and texture, and fake blood adds realism to injuries.
Face paints or grease paints supply the color, and sponges and brushes do the blending. Cotton swabs are cheap and handy for small detail work.
Castor seal is easy to overlook. Brushed over dried latex, it helps color go on smoothly and show up true.
Setting powder or spray comes last in the routine but matters, because it keeps the finished look in place.
You can build the kit slowly instead of buying everything at once.
SFX makeup is the key to racking up those Instagram likes, and there’s plenty of inspiration online.
Tips for Beginners
Begin with one small effect at a time. Complex designs overwhelm a beginner, and a simple result you finish teaches more than an ambitious one you abandon.
SFX products can get expensive, so skip the large sizes until you know you enjoy the craft. Small sizes let you test your commitment cheaply.
Skill with wax, latex and blending sponges builds through repeated attempts, so a rough practice session on your own forearm teaches more than one careful look at a finished design.
Before touching a brush, I’d pull up photos and video tutorials of the effect you want and study how a bruise shifts from purple to yellow-green, how scar texture catches light, and how far apart the features sit.
Patch test every new product before it goes near your face. Irritation is a real risk with adhesives and latex.
Photograph each look. A folder of photos shows your progress and doubles as a portfolio.
Building a Makeup Kit
Spend your money on a few items you will use constantly. Liquid latex, fake blood and a bruise wheel earn that spot.
A bruise wheel holds browns, purples, reds and yellows in one palette, so you skip buying each shade alone. It covers the color range of a real bruise, which changes as it ages.
Add a skin-safe adhesive for attaching hair or small pieces, such as spirit gum for light work or Pros-Aide for heavier prosthetics, and buy the matching remover with it.
A 3D modeling compound lets you sculpt skin pieces like those noses.
A clean palette for mixing colors is worth having too. Mixing is constant in this work, and a dirty palette muddies shades.
Frequently Asked Questions
What is special effects makeup?
Special effects makeup, or SFX makeup, uses products like wax, liquid latex and fake blood to change how a face looks, from wounds and scars to aged skin and creatures.
It goes well beyond everyday foundation and eyeliner. Anyone can start with a few simple products, no school required.
Can you give me some examples of special effects makeup?
Zombie faces, burns, scars, claw-mark cuts, black eyes, aging makeup, fairies and creepy clowns are all common examples.
Beginners do best with the simple ones, such as a bruise or a few scratches. Zombie shading with pale skin and sunken eyes is also doable without any prosthetics.
What are some creative SFX horror makeup ideas?
A zombie with pale skin, hollow eyes and yellowed teeth is a strong place to start.
Burn texture, half-face gore and a stitched-doll clown, with red thread lines across a white painted face, all read well up close. A creepy clown with spiral eyes and red used sparingly gets a big effect for very little money.
What is the best makeup for SFX?
Regular foundation won’t get you there; liquid latex, modeling wax, fake blood and face or grease paints are the core products.
If I had to pick one product, it would be a bruise wheel: a single palette covers the browns, purples, reds and yellows that a healing injury moves through.
Lock everything down at the end with a setting powder or spray so it holds through hours of wear.