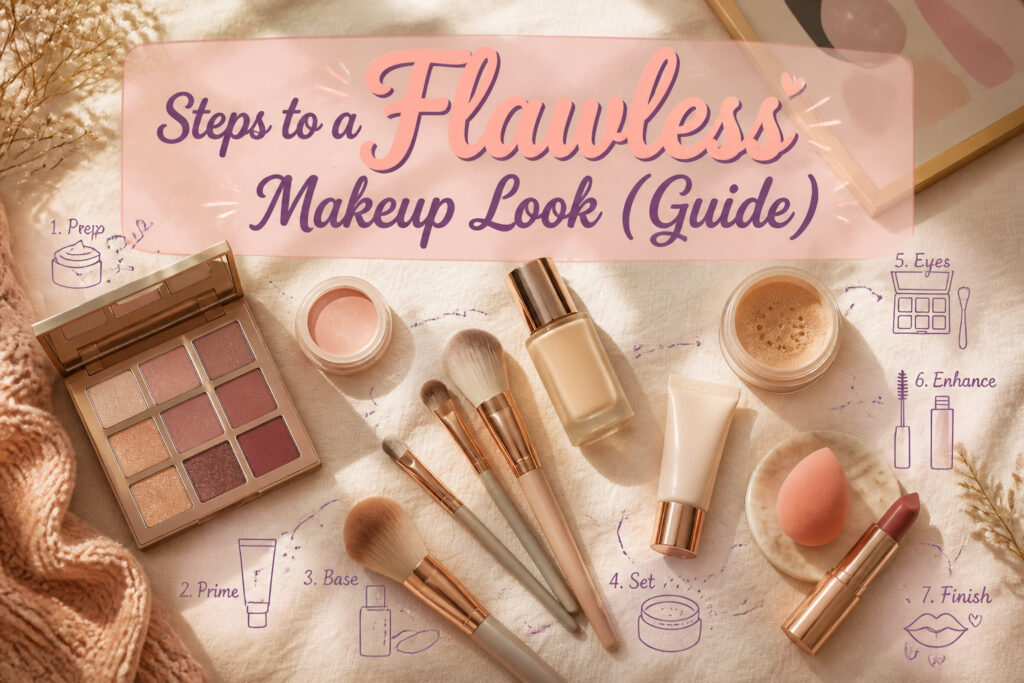
A flawless makeup look sits on a spectrum from five-minute routine to full construction, and the deciding factor is almost always what happens before foundation ever opens.
Skip the fifteen-minute absorption window after moisturizer, and the primer slides instead of grips; the difference shows up by noon, not in the mirror at 8 a.m.
That pause, plus a jawline shade test instead of the wrist habit, separates makeup that lasts from makeup that separates.
1. Clean, Hydrated Skin
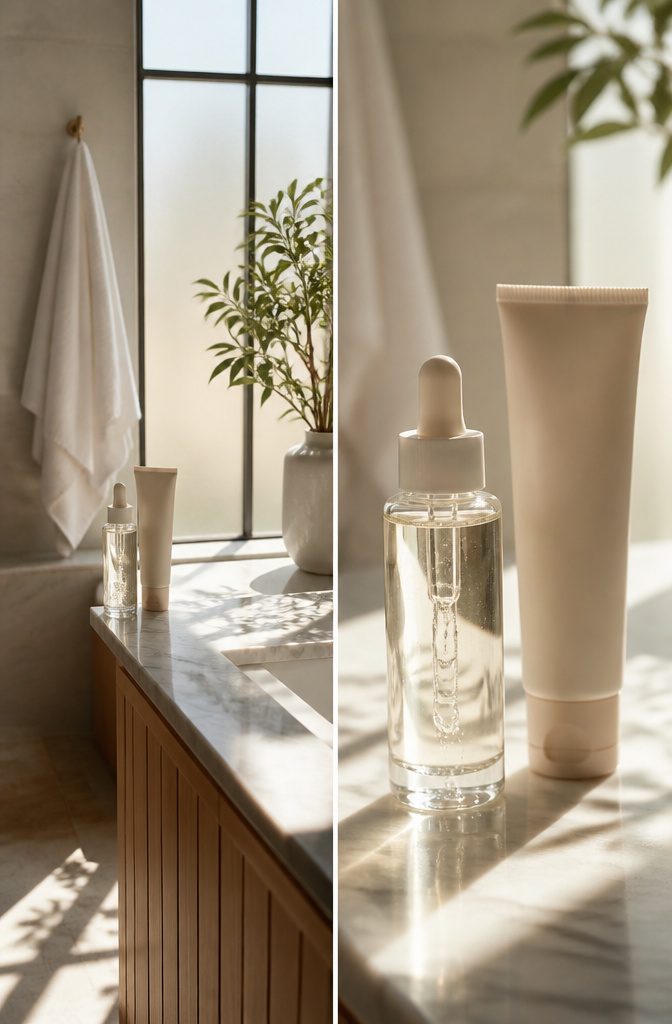
The first time I rushed my morning routine, foundation sat on top of my skin like a mask instead of melting in. That was the lesson: product needs time to sink in before makeup touches it.
A gentle cleanser and lightweight moisturizer are the non-negotiable baseline. If your skin feels tight after washing, your cleanser is too strong for this job.
For prep that actually changes the surface, two options keep coming up. Drunk Elephant’s Babyfacial works as a weekly reset, and Elemis Dynamic Resurfacing Pads do the same job in a swipe.
Makeup artist Katie Jane Hughes, who recommends the pads, puts it plainly: without that exfoliation, you’re layering products onto dead skin.
If you want one product to cover both hydration and the first step of priming, Bobbi Brown’s Vitamin Enriched Face Base functions as moisturizer and primer prep in one.
It saves a layer and a minute, which matters on mornings when the coffee hasn’t kicked in yet.
The fifteen minutes between skincare and foundation application are not wasted time. They’re what makes the difference between makeup that lasts and makeup that separates by noon.

Toleriane Hydrating Gentle Cleanser is a clinically proven daily face wash for normal to dry, sensitive skin that hydrates and restores the skin barrier while gently cleansing

CETAPHIL GENTLE SKIN CLEANSER: Clinically proven to cleanse while hydrating, providing 48 hours of hydration when wiped off versus rinsing

Cetaphil Daily Facial Moisturizer SPF 35: Three-in-one facial moisturizer hydrates, nourishes and protects sensitive, combination skin
2. Primer as Base Layer
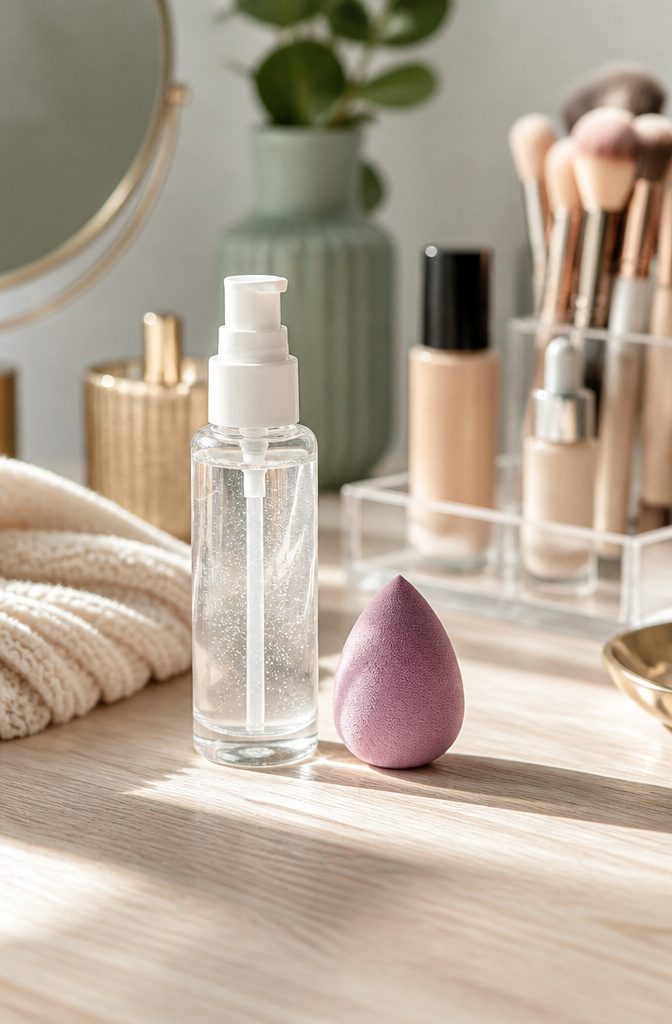
Moisturizer needs a minute to sink in before anything else goes on.
Once your skin feels dry to the touch, primer is the next step. Wait for that absorption, or the primer slides instead of grips.
I learned to check my jawline specifically, where moisturizer lingers longest.
The L’Oréal Paris Infallible Pro-Matte Lock Makeup Primer goes on after that. It fills the gap between skin care and color, smoothing the surface so foundation sits on top rather than falling into pores or settling along fine lines.
Without this layer, foundation behaves like water poured over cracked pavement, pooling in every low spot.
The primer creates an even canvas, and the makeup lasts proportionally longer because it has something uniform to adhere to. The difference shows most around the nose and between the brows, where texture tends to be least even.

SMOOTH PRIMER BASE: Creates a flawless, smooth canvas that helps makeup apply evenly and last longer throughout the day under foundation or concealer.
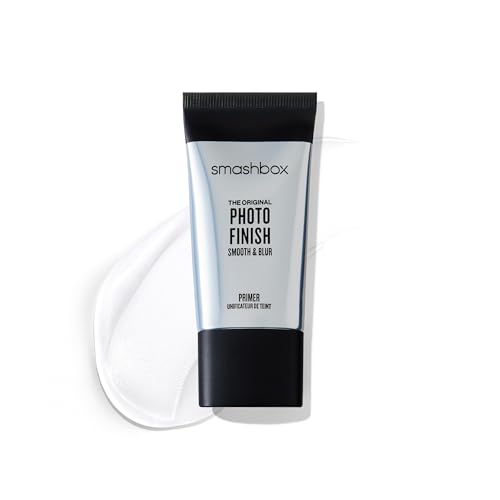
Formula: Instantly smooths and blurs the appearance of fine lines and pores, creating a flawless base that helps makeup apply more evenly and last longer throughout the day.

Pore less smooth skin perfection
3. Eye Makeup Before Foundation
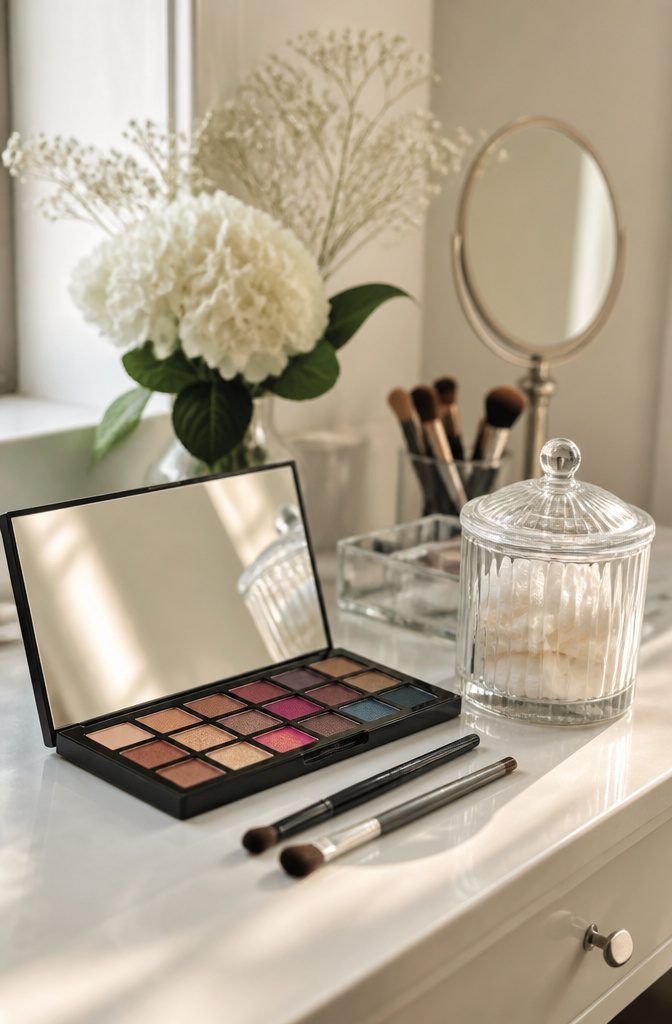
Eye makeup goes on before foundation for one reason that becomes obvious the first time you try the reverse.
Shimmer fallout and smudged liner land on bare skin, not on finished base makeup that then needs redoing. The order matters most when you’re building a bold eye, but even neutral tones drop pigment.
You clean the under-eye area with a damp cotton round, apply your concealer and foundation over a fresh canvas, and the whole face looks deliberate rather than rescued.
Prep makes the sequence work. Tatcha’s The Pearl Tinted Eye Illuminating Treatment sits under color like a primer, smoothing the lid so shadow grips instead of creasing.
I read through enough routines to notice the pattern: people who do eyes first almost never mention "fixing" their base afterward.
The ones who do foundation first are the same ones complaining about concealer that won’t blend because they already used it to erase mistakes. Fallout belongs on skin you haven’t finished yet.

2 IN 1 MOITURIZER & SUNSCREEN: Protect against the #1 cause of aging skin—damage from the sun with this lotion. It offers daily hydration and SPF protection in 1 step as easy as brushing your teeth.

The information below is per-pack only
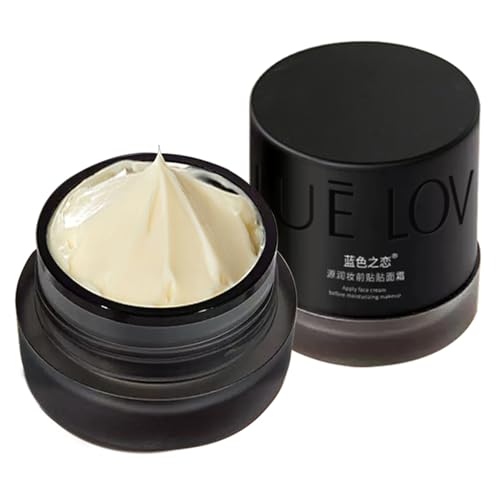
2-in-1 Hydration & Primer: Works as both a moisturizer and makeup primer, ensuring a smooth, even base for flawless application
4. Foundation Match and Application
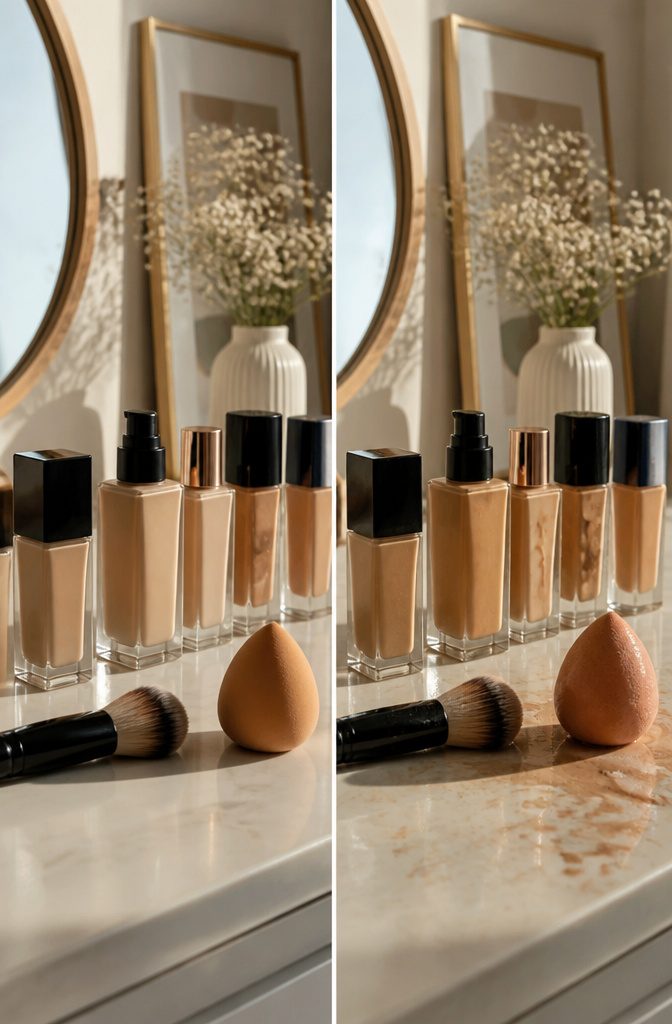
Foundation matching still trips me up after two decades of wearing it.
The wrist test is a habit I had to break deliberately: that strip of skin sees almost no sun, so the shade looks right in the bathroom mirror and completely off by the front door.
The jawline is where to test, where your face meets your neck and the color actually has to live.
Skin tone shifts with the seasons, enough that my winter match reads ashy on me by August. I keep two bottles and start mixing around April, or I pick a formula forgiving enough to stretch across both.
Nars Sheer Glow Foundation has that range for me, buildable enough to sheer out when I am lighter and layer when the sun hits.
On tighter budgets, L’Oréal Age Perfect Radiant Serum Foundation runs under $20 and carries SPF 50 with hydrating serum and vitamin B3, designed for mature skin but workable across ages if you want moisture with your coverage.
Application method matters as much as shade. Painting foundation all over, then blending, deposits too much product before you have controlled where it goes.
The stippling method works better: small dots at the center of the face, then press and blend outward with a damp beauty sponge. The sponge removes excess as it goes, so the finish stays natural rather than mask-like.

LONG-LASTING EYESHADOW BASE: Smooth, creamy primer helps lock down shadow for all-day wear and reduces fading or creasing. Boosts color intensity for vibrant eye looks.

Preps Lids for Eyeshadow: Apply a small amount to each lid to extend the wear of any eyeshadow. Even the loosest glitter pigments adhere with ease.

MAXIMIZES PIGMENT & COLOR PAYOFF: Meet your eyeshadow's secret weapon for bold and vibrant color. Our Stay Put Eye Primer intensifies the pigment of any shadow—from mattes and shimmers to metallics and gels—ensuring your look pops with professional-grade intensity
5. Concealer Placement
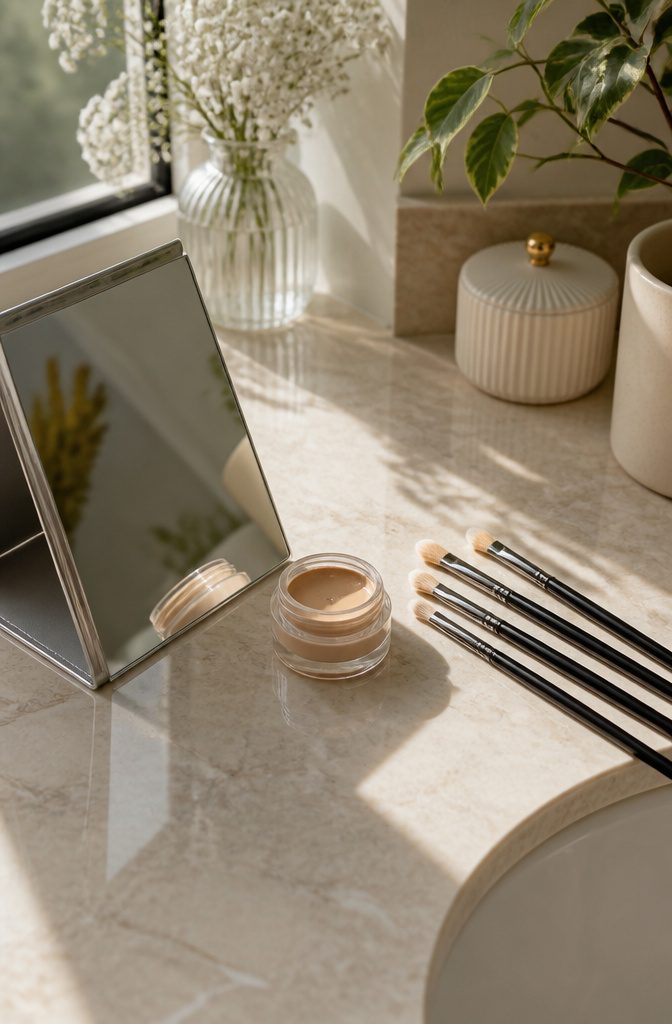
Foundation evens the tone, but concealer belongs only where coverage is still needed, not all over the face. The first time I tried the reverse order, I ended up with a mask where I wanted skin.
A sheer layer of foundation goes down first.
Then I go back with a small-tipped brush and spot-conceal. This keeps the finish natural, which is what reads as flawless in daylight.
Color correction sits underneath concealer when the issue is tone, not just shadow. Green neutralizes redness; peach or orange handles dark circles on deeper skin tones; pink brightens dull areas.
I apply these sparingly, since the goal is to neutralize, not to add more color that needs correcting later. A little truly goes a long way, and building coverage gradually beats one heavy layer every time.

[Twelve Curated Shades For Daily Looks] : 12-color eye shadow palette with wearable neutrals plus soft pink, mauve, peach, and brown tones. Neutral eyeshadow palette feel with nude eyeshadow palette staples for quick everyday makeup and easy layering for daily wear.

✦MATTE AND SHIMMER COLORS: Both matte shadows and shimmers have velvet creamy texture in range of metallic, satin, and matte finishes. Each color is unique, easy to layer and blend. You can use base primer for better application. If you get a damaged eyeshadow palette, please feel free to contact us for a best solution.
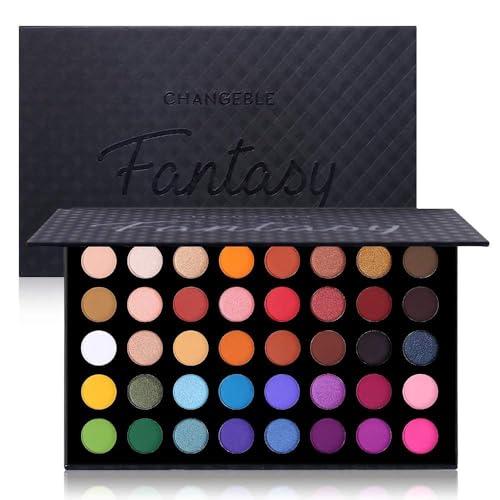
A magically iridescent eyeshadow palette contains professional cool and warm-toned pigments and shades. With different textures: soft smooth mattes, shimmery pressed pearl and dazzling metallic glitters. This richly toned palette features versatile shades that can be blended and layered to create endless amounts of looks.
6. Bronzer, Blush, and Highlighter
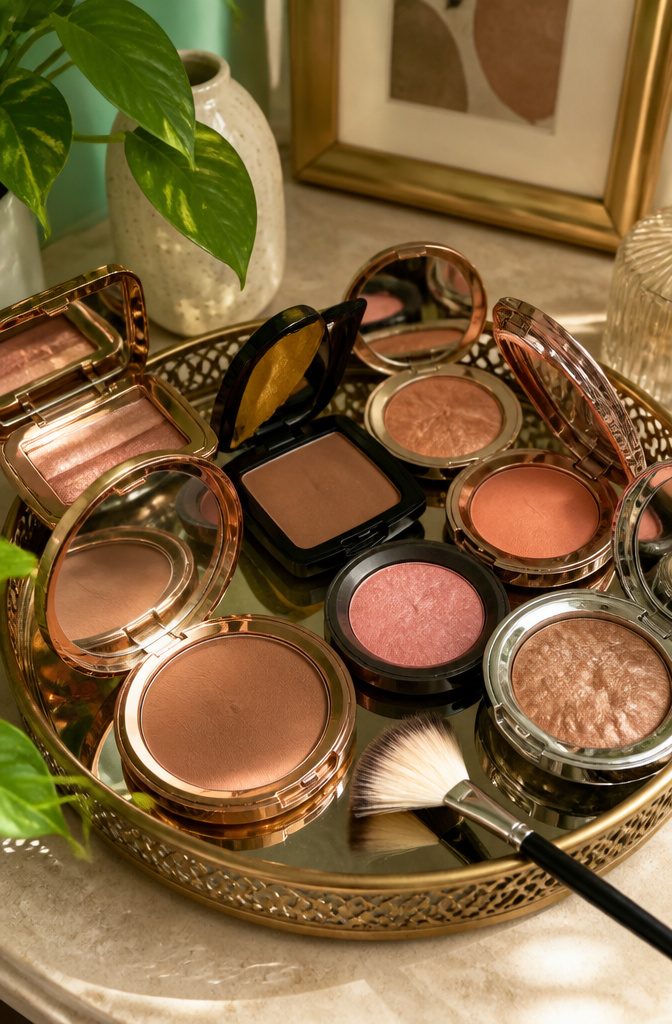
Bronzer goes where the sun would hit your face: temples, the hollows of your cheeks, and along the jawline.
That placement carves out definition without the flatness an all-over layer can give. Blush sits on the apples of your cheeks for the color that reads as healthy from across a room, not just in a bathroom mirror.
Highlighter is where I used to lose the plot entirely. Layer cream or liquid underneath powder if you want the glow to read as skin rather than strobe.
The cream gives the lit-from-within base; the powder locks it in and pushes the reflection up just enough. Placement stays standard: cheekbones, brow bones, cupid’s bow.
The tool matters as much as the product. A fan brush keeps the application light enough that you do not look like you have been near a glitter factory.
I spent years using dense brushes that deposited too much at once, then wondered why my cheekbones read as metallic in photos. The fan shape does the restraint for you.

Designed for Sensitive Skin: Vanicream is the #1 Dermatologist Recommended Brand for Sensitive Skin*. Carefully formulated to be non-comedogenic, this moisturizer helps support skin prone to sensitivity or eczema

Created for sensitive skin : We select ingredients that are effective, suitable for our customers, and are tested and monitored for quality

OIL TO FOAM FACE CLEANSER FOR SENSITIVE SKIN: One 8 fl oz bottle of Cetaphil Nourishing Oil to Foam Cleanser designed for sensitive, normal to dry facial skin, to melt away makeup, excess oil and impurities
7. Lash Primer and Mascara
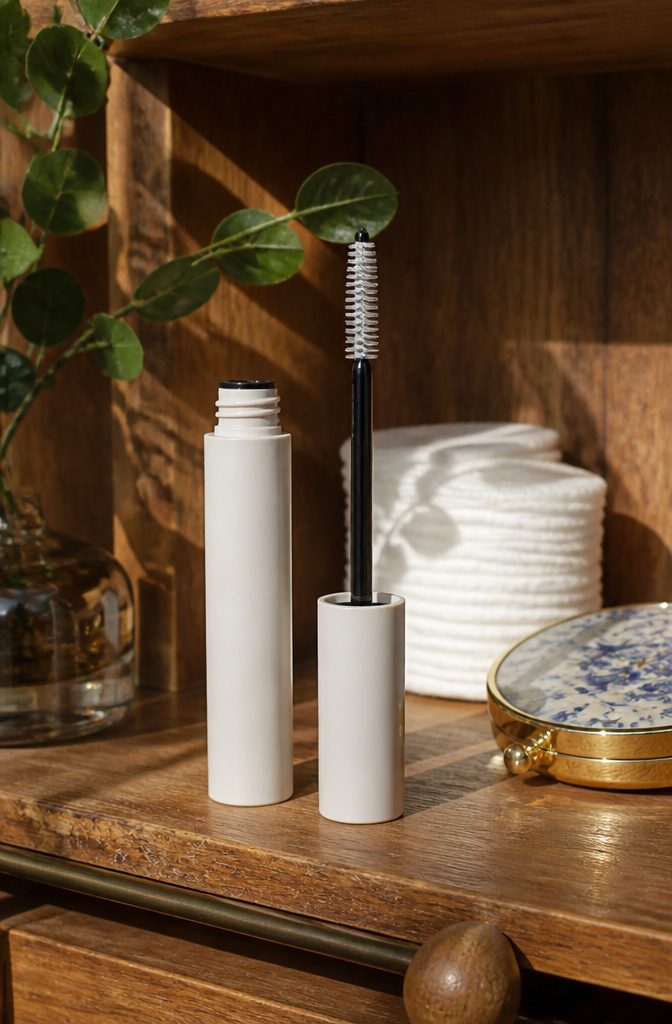
A coat or two of lash primer under your mascara pumps up the volume for a flawless fringe that mascara alone rarely builds.
The primer fibers grab onto each lash and give the pigment something to stack onto, so you get length without the clumps that come from piling on extra mascara layers.
Lower lashes are where the midday smudge usually starts, at least for me. Primer keeps the formula from migrating because it sets a dry, grippy base rather than leaving wet pigment pressed against skin.
Two thin coats of primer, let them dry to the touch, then one controlled layer of mascara on the bottom row. The difference shows up around hour six, when the un-primed side has already started its slow drift downward.

Pore Minimizer Face Primer: A pore blurring makeup primer, Baby Skin goes on like a moisturizer to help create a smooth canvas over which to apply foundation, and leaves the skin looking matte and poreless

LIQUID MAKEUP PRIMER: Your favorite Poreless Putty Primer is now available in liquid form! This silky liquid face primer seamlessly glides over your skin.

8. Lip Prep and Definition
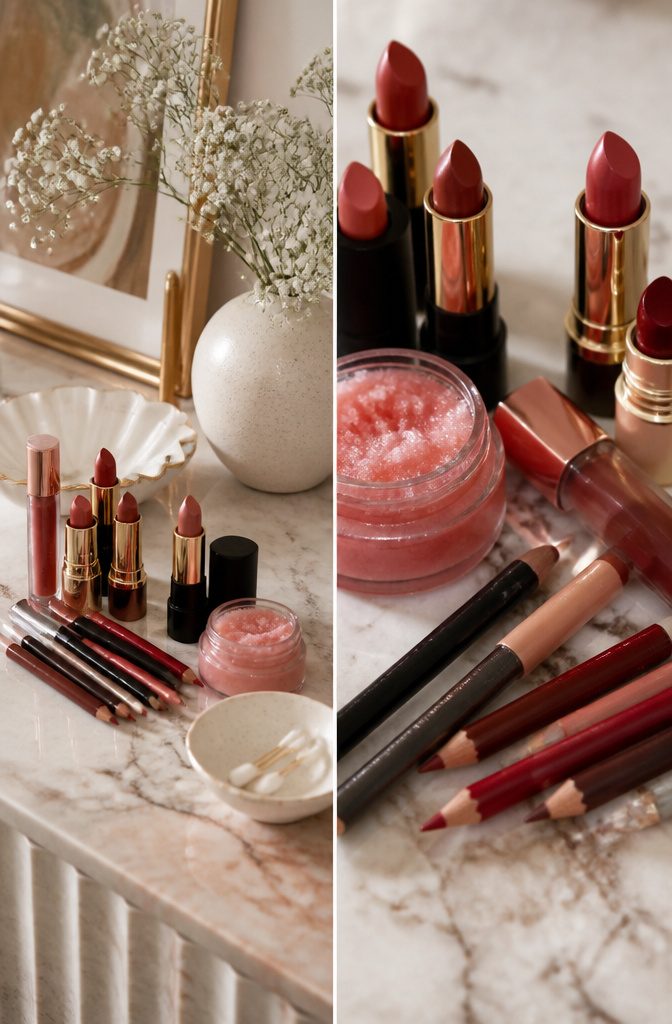
A flaky lip surface will catch lipstick the same way a cracked wall catches paint.
I exfoliate first, then moisturize, and only then pick up color. That sequence has saved me from the patchy finish that reads as careless even when the rest of the face is polished.
The cupid’s bow is where precision pays off. Draw an X at the center peak with lip liner, then line slightly outside the natural edge for fullness.
I match the liner to either my natural lip tone or the lipstick itself, which keeps the border from looking like a separate ring.
Longevity comes from blotting twice. One coat of lipstick, press with tissue, a second coat, blot again, then the lightest dusting of translucent powder.
Feathered color is what makes a face look undone by noon, and this routine is the fix that actually holds through coffee and conversation.
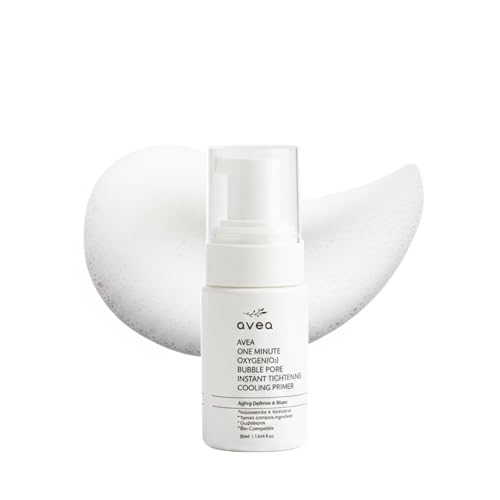
Oxygen Bubble Technology – Micro oxygen bubbles activate on contact to help refine pores and smooth skin texture within just 60 seconds.

MAKEUP MAGNET PRIMER: Specially formulated to enhance foundation adherence for a more even, refined, and long-lasting finish.
9. Setting Powder and Spray
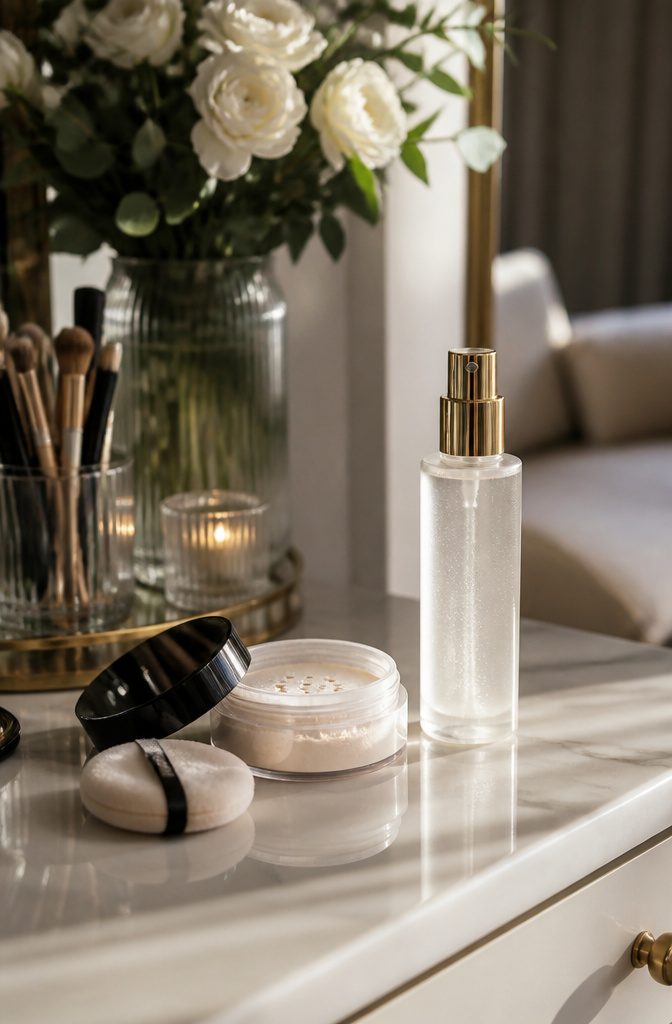
Powder belongs only where shine actually shows up.
The T-zone and under-eye area get the dusting; everywhere else, a matte finish just reads flat. Hold the powder back from cheeks and forehead that stay normal, and the skin keeps its own light.
Laura Mercier’s Translucent Loose Setting Powder handles the oily zones with that soft-focus finish it is known for, and it wears for up to 16 hours without the flashback that ruins photos.
I press it in with a velour puff rather than sweeping, which keeps coverage where I put it.
The lock comes after. Urban Decay All Nighter Waterproof Setting Spray sits over everything, held about eight inches out, and the makeup stays put through heat and humidity.
For faces that run dry, Tatcha’s Luminous Dewy Skin Mist trades the waterproof hold for glow; the finish stays skin-like rather than sealed. The choice is matte insurance or radiant movement, and dry skin rarely wins with the first.
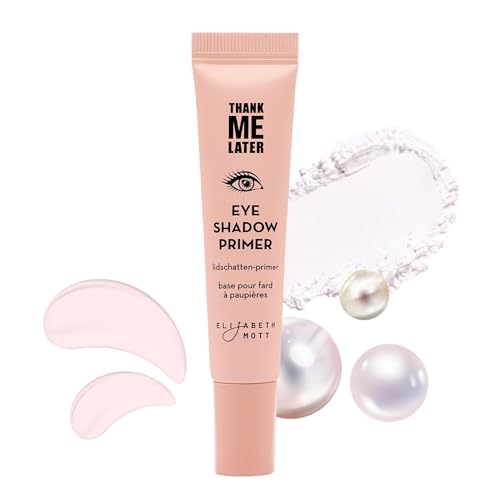
KOREAN BEAUTY INNOVATION: We work with the finest Korean manufacturers to bring the best Korean skincare, korean eye primers and beauty to you; our eye primer for older women and all ages is infused with effective Korean ingredients and breakthrough formulas; cruelty-free, Leaping Bunny approved, dermatologist and allergy tested

24-Hour Wear: Creates a smooth eyeshadow base that helps extend wear for up to 24 hours while enhancing color payoff and keeping eye makeup looking fresh throughout the day.

SKIN-SMOOTHING and GRIPPING PRIMER: Your makeup. It’s not going anywhere. Prep skin with this gel-based face primer that has the power to grip your makeup while giving skin a natural finish for a smoother complexion.
10. Handheld Mirror for Final Check

The bathroom mirror sits too far back to show what daylight will reveal.
A handheld mirror, pulled close in natural light, catches the blend along the jawline that looked seamless from six feet away and turns out to be a visible stripe.
I hold one up to a window, not the overhead bulb, because office lighting or outdoor sun will read the makeup differently than the warm glow of a vanity fixture.
Brow symmetry is another place distance lies. Both arches can look even in the big mirror, then the handheld shows one tail higher by a quarter-inch, or a gap in the powder fill the wall mirror softened into invisibility.
The lip line benefits the same way: feathering, a slight overdraw, or a break in the border reads clearly up close.
Natural light is the most flattering and accurate for this final check, and the handheld mirror lets you move to find it rather than guessing from where you stand.
Step back afterward, but only after the close inspection is done. The two tools together, not the big mirror alone, are what finish a flawless makeup look.

[Twelve Curated Shades For Daily Looks] : 12-color eye shadow palette with wearable neutrals plus soft pink, mauve, peach, and brown tones. Neutral eyeshadow palette feel with nude eyeshadow palette staples for quick everyday makeup and easy layering for daily wear.
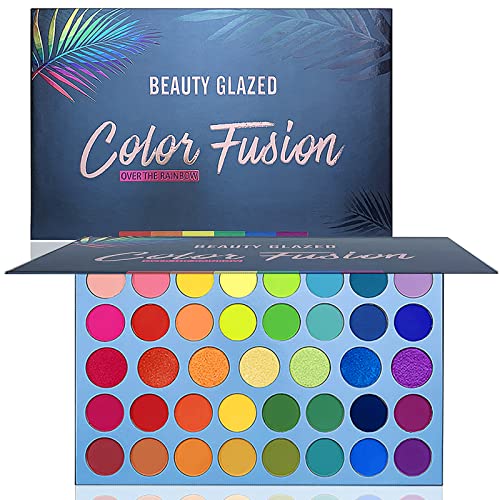
【PIGMENTED and SMOOTH】This makeup palette housed in totally 39 shades with 7 shimmers and 32 matte finish. Each color is strongly pigmented and applied smoothly. The colors blend well while still stand great on their own. The smooth powder greatly stick to eyeshadow makeup brush. You can also easily blend well with your finger.

BLEND IT, BEAUTIFUL: These eyeshadows have a silky sheer formula that blends easily
Skin Preparation Deep Dive
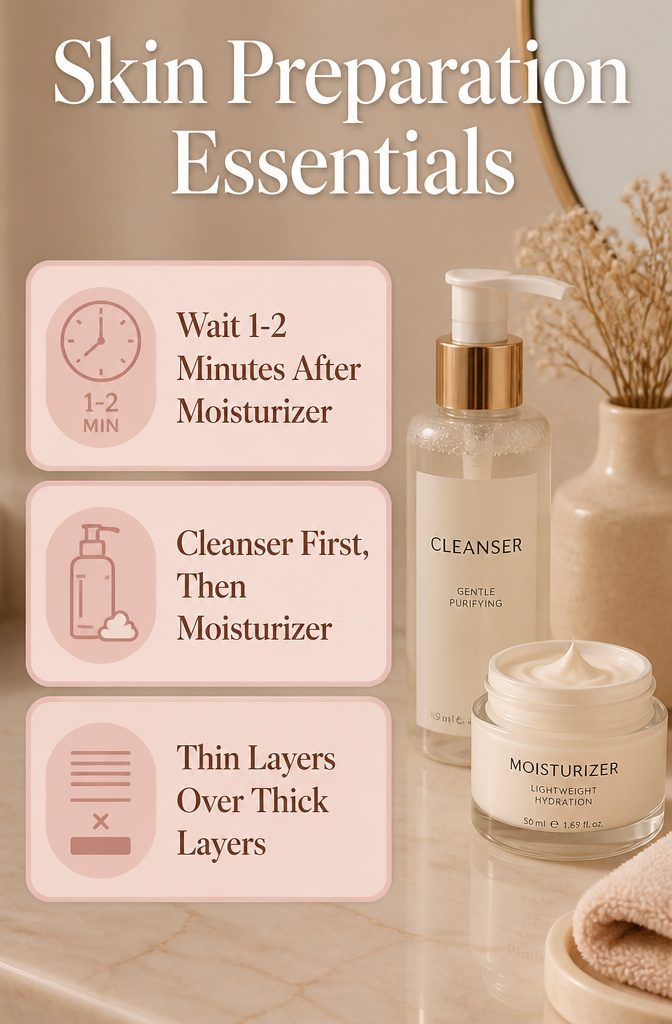
Clean skin and moisturizer do more for a flawless makeup look than any foundation ever will. I learned this the hard way in my twenties, skipping the moisturizer to save three minutes and watching my base turn patchy by noon.
The product sits on top rather than meshing with the skin, and by lunch you’re blotting or reapplying.
Absorption timing matters. A lightweight moisturizer needs a minute or two to sink in, and rushing straight to primer traps it halfway.
The skin feels tacky, the primer slips, and the whole stack shifts by mid-morning. Give it that window, and each layer bonds to the one beneath it.
Sources all point the same direction: cleanser first, then moisturizer, then wait. Thin layers beat thick ones.
Skip any step and the breakdown shows up hours later, not immediately, which makes the cause easy to miss. The woman checking her reflection at 12:30 has usually blamed the wrong product.
Foundation Matching by Season
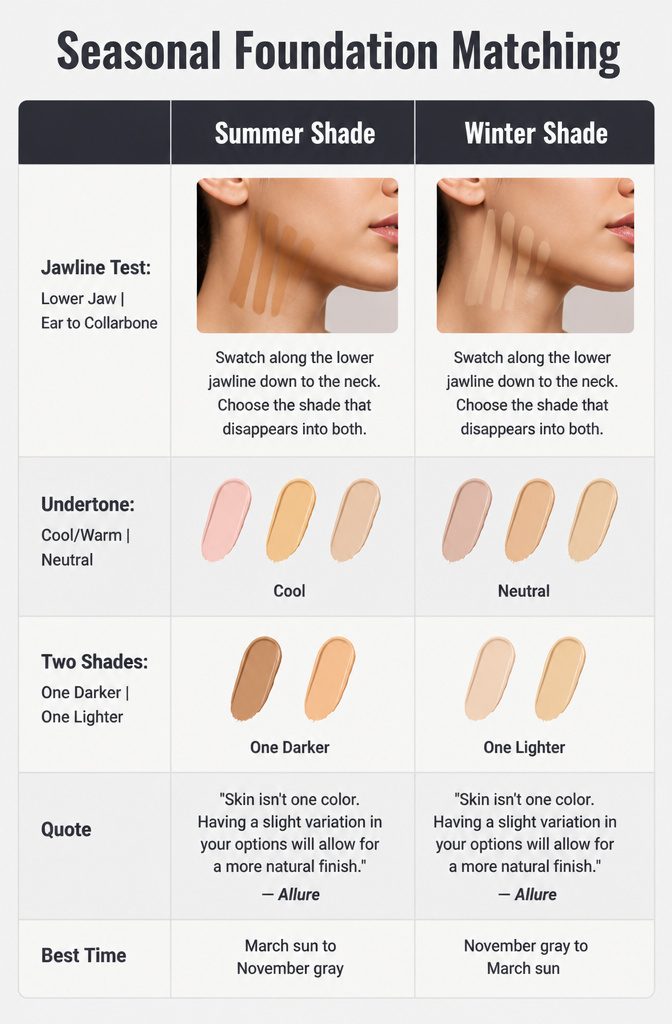
The jawline test still surprises me after years of watching friends rub foundation onto the back of their hand. Skin there is thinner, blood vessels sit closer, and the color rarely matches what sits between your ear and your collarbone.
Swatch along the lower jawline down to the neck, and the shade that disappears into both is the one to buy.
Undertone matters just as much as depth. A formula that looks right in the bottle can turn ashy or orange once it oxidizes against your own melanin and blood flow.
Cool, warm, or neutral: the wrong undertone reads from across a room even when the darkness level is perfect.
Two foundation shades are the practical norm, not the exception. Summer sun darkens most complexions by at least half a step, and winter paleness drains the same formula of its match.
Makeup artist Molly R. Stern put this plainly: skin is not one color, and a slight variation in your options allows for a more natural finish.
You are never the same color year-round, so if you own one shade darker and one lighter, mixing is the solution.
"Skin isn’t one color. Having a slight variation in your options will allow for a more natural finish."
— Allure
This means the second bottle is not a splurge. It is the tool that keeps your one flawless makeup look consistent from March sun to November gray without buying a third or fourth formula.
Blending Tools and Techniques
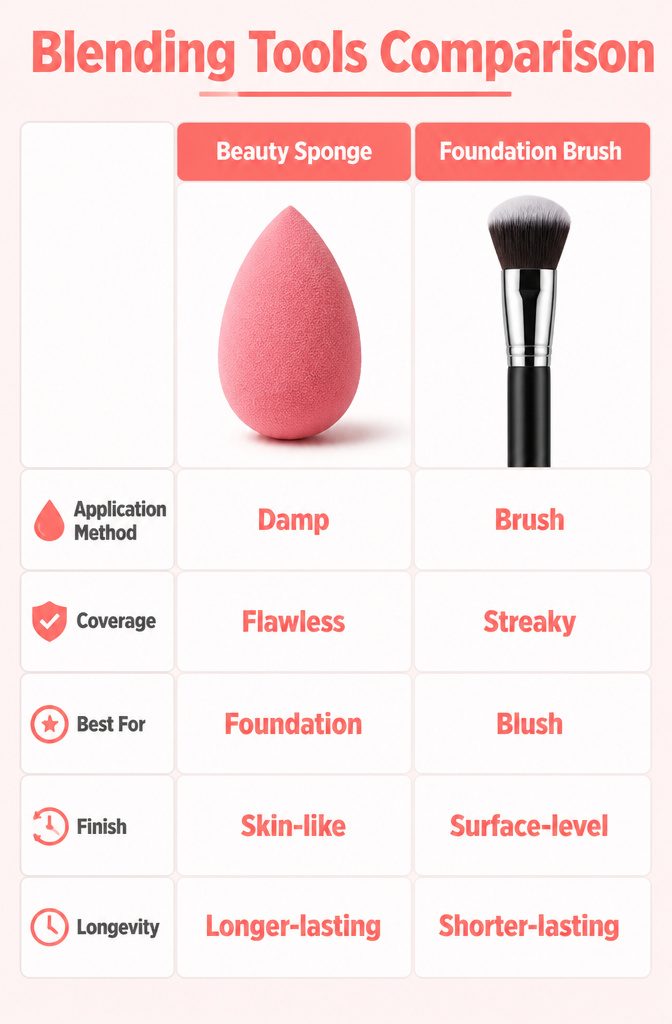
A damp beauty sponge wins for foundation when you want the finish to sit like skin rather than sit on top of it.
The trick is the water: squeeze it out until the sponge feels heavy and cool, then bounce foundation across the face in small dots starting at the center and working outward.
That stippling motion, pressing and releasing, keeps the product from pooling around the nose or settling into lines.
Brushes cover faster but choose the shape carefully.
The flat foundation brushes that come free with purchase usually streak; a fluffy cheek brush like M.A.C.’s 133S Small Cheek Brush or Real Techniques’ Setting Brush moves product the way fingers would, just more evenly.
For concealer, a dual-ended blending brush or the IT Cosmetics Heavenly Luxe Complexion Perfection Brush #7 handles larger areas and the detail end cleans up under the eyes.
Fingers warm product to blend it quickest, which matters for cream blush or a sheer tint, but the coverage stays patchier and the finish rarely lasts as long.
The Make Up For Ever Extra Fine Eyeliner Brush, tiny and pointed, spots conceal on blemishes with precision no sponge manages.
Setting for Your Skin Type
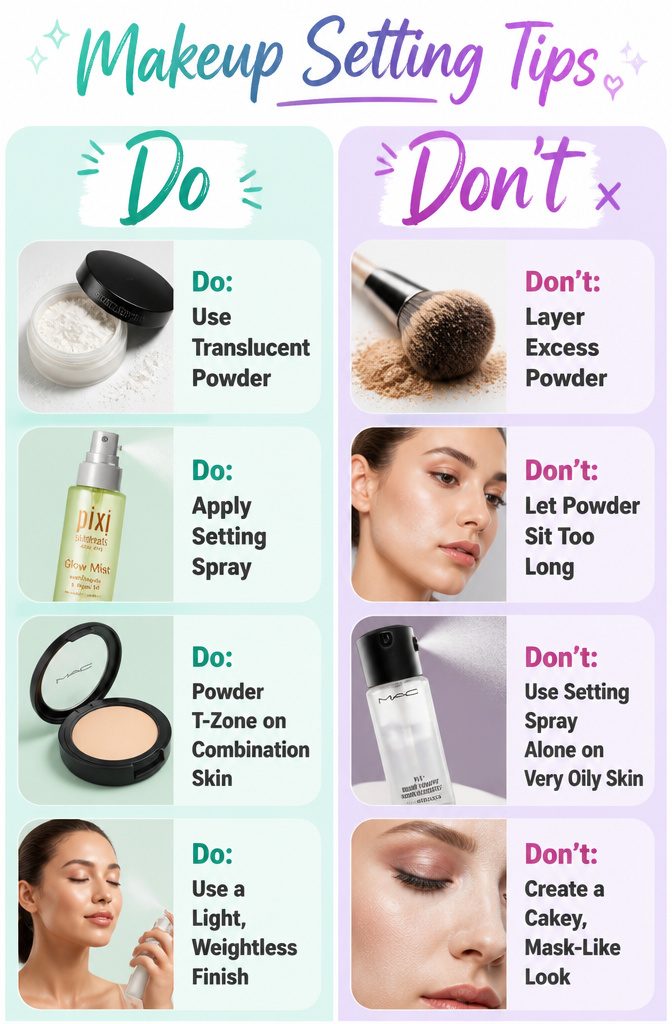
Translucent powder locks makeup in place, but the same dusting that saves oily skin can leave dry patches looking chalky and tight.
Setting spray alone on very oily skin tends to let shine break through by midday, which is why the combination matters more than the product itself.
Dry skin does better with a fine mist applied after foundation, then powder only where concealer sits, if anywhere.
Combination skin splits the difference: powder across the T-zone, spray everywhere else. The real mistake is layering powder until the skin looks smooth in the mirror but reads as flat and mask-like in daylight, what most people mean by "cakey."
It happens when each layer dries before the next goes on, so the products sit on top of one another instead of melding.
Kristofer Buckle’s approach of a weightless, pigment-free dusting makes more sense the drier you are.
Went too matte? A spritz of something like Pixi Glow Mist or M.A.C. Fix+ brings dew back without lifting the makeup underneath.
For tinted options, Revlon’s PhotoReady Candid Anti-Pollution Setting Powder, Laura Mercier’s Translucent Loose Setting Powder Glow, and M.A.C. Blot Powder all come up consistently in artist kits for good reason: they settle without stealing the color you spent time matching.
Frequently Asked Questions
How do I achieve a flawless makeup look step by step?
Start with clean, moisturized skin and wait fifteen minutes before foundation so products sink in.
Apply primer once skin feels dry to the touch, do eye makeup before foundation to catch fallout on bare skin, stipple foundation from the center outward with a damp sponge, spot-conceal only where needed, add bronzer, blush, and highlighter, then lock everything with setting powder on oily zones and a setting spray held eight inches out.
What’s the secret to long-lasting flawless makeup?
Prep work makes the difference: gentle cleansing, lightweight moisturizer, and primer create a base that products can grip.
Thin layers beat thick ones, and waiting between steps lets each layer bond instead of sliding. Strategic setting, powder only where shine actually appears and spray over everything, keeps the finish intact through heat and humidity.
How can beginners master makeup application?
Focus on four fundamentals: a jawline-tested foundation match, concealer applied only where coverage is still needed after foundation, mascara over lash primer for volume without clumps, and a lip routine of exfoliation, liner drawn in an X at the cupid’s bow, and two rounds of blotting.
Build coverage gradually rather than applying heavily at once.