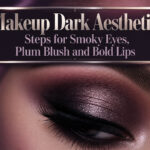
A blue smokey eye is a gradient of navy shadow built darkest at the lash line and faded to nothing at the brow bone. It only works if the lid is fully cleansed first; oil from moisturizer or sunscreen breaks down blue pigment faster than any other shade, shifting navy to murky gray by noon. A proper eyeshadow base, set for thirty seconds before color touches it, is what keeps the tone modern rather than costume.
Prime the Lid
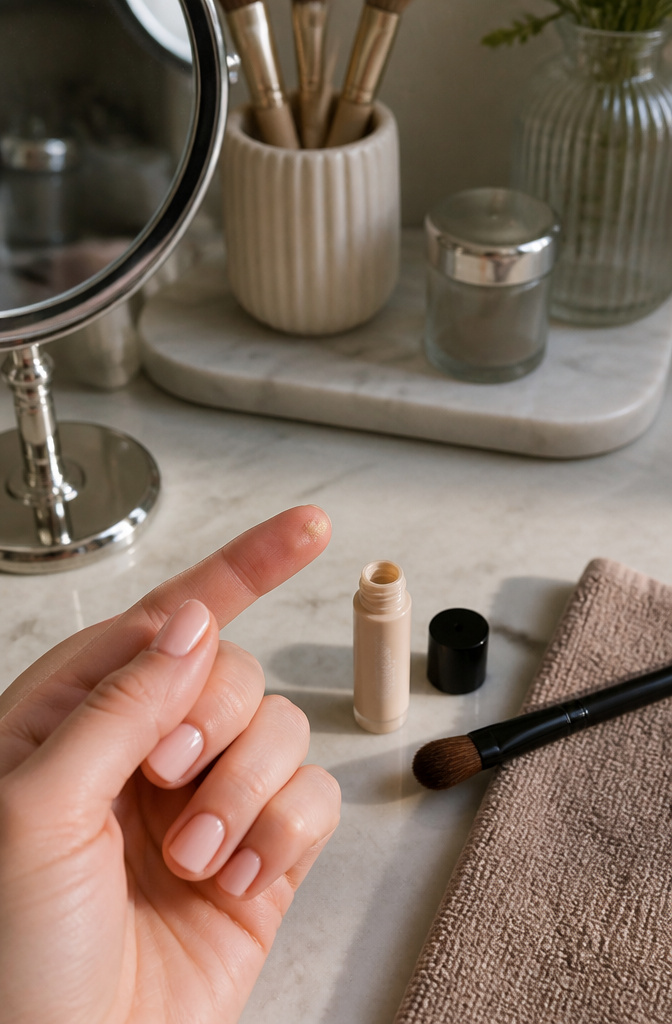
Clean skin is the only starting point that works. Oil from last night’s moisturizer or this morning’s sunscreen will break down blue pigment faster than any other shade I’ve watched dissolve by noon, so a real cleanser on the lid comes first, not a quick swipe.
An eyeshadow base is what keeps the blue from turning grey by lunch. I’ve gone through the trial of skipping it, and navy shifts to murky pool-water every time. Nars Pro Prime Smudge Proof Eyeshadow Base is the one that held through a ten-hour day without creasing or dulling the color. A thin layer from lash line to brow bone, let it set for thirty seconds, then move straight to color. Waiting longer doesn’t help; starting before it dries wastes the product.
Navy blue works really well as a chic and modern alternative smokey eye.
That modern finish starts here, not in the blue you choose. The base does the holding so the pigment can do the showing.
Build the Crease

A transition shade in the crease is what keeps blue smokey eyes from looking like a bruise or a costume. I wasted years skipping this step, patting dark shadow straight onto bare skin and wondering why the edge sat there like a sticker. The right middle tone, something two shades deeper than your natural lid color, acts as a bridge. It softens the boundary where blue shadow ends and your skin begins.
The crease color should disappear into your skin tone before the blue ever touches it. Work it in with a small, fluffy brush using windshield-wiper motions, building until the depth looks even with your eyes open. No visible line should remain. When you press the blue pigment over this base, it has something to melt into rather than stopping cold against your brow bone. The result reads as depth, not as a stripe of color hovering above your eye.
Lay Down the Blue
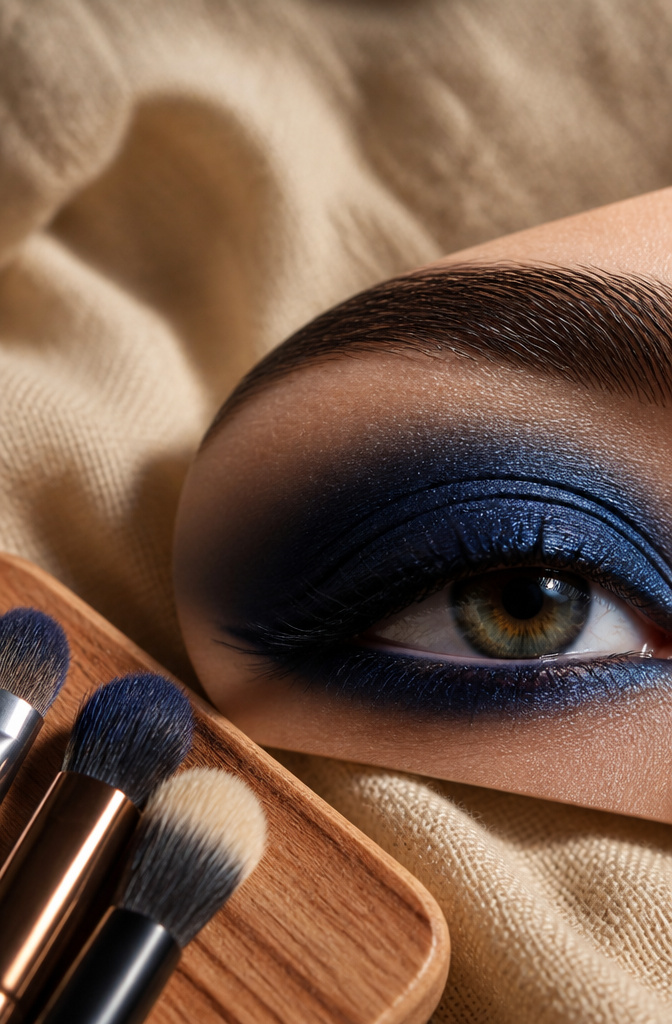
Navy blue on the lid reads modern where black reads costume. The shade sits flat against most brown eyes and lifts against lighter ones without the harshness of a true cobalt. I press it on with a finger first, then sweep the residue upward with a blending brush so the color dissipates at the crease line rather than stopping hard.
The Dior 5 Couleurs Eye Shadow carries a navy that behaves: enough pigment to cover in one layer, enough slip to push into the outer corner before it sets. Work it into the crease while the lid is still damp from primer; dry shadow on dry skin will skip and leave the patchy mid-tone that ruins the gradient. I build the depth in three passes, each one smaller than the last, so the darkest point stays at the lash line and the color feathers out to nothing by the brow bone.
Deepen the Outer Corner
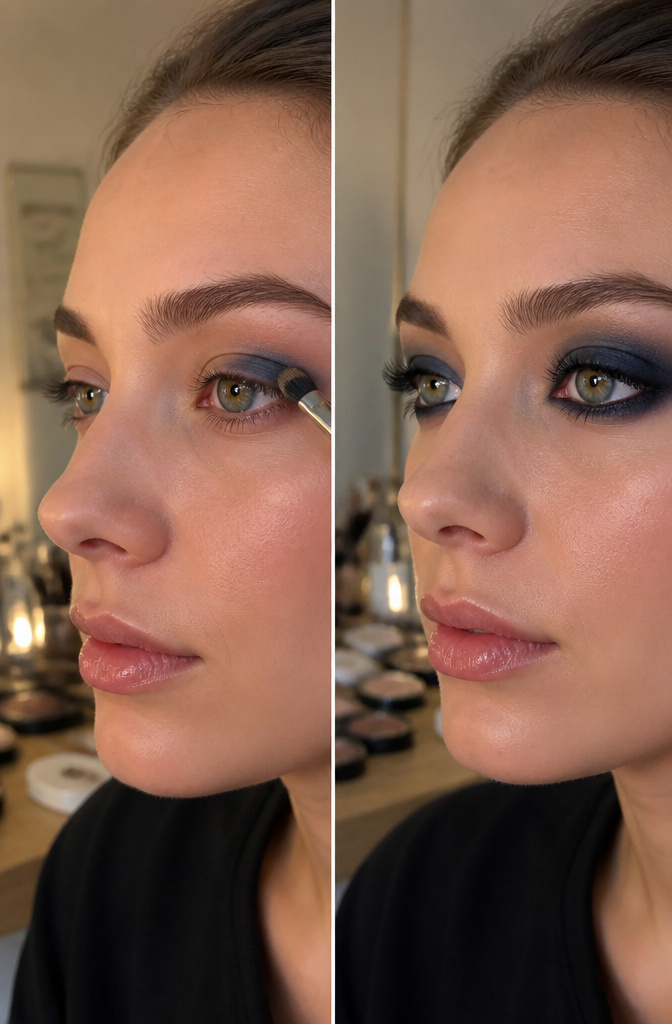
The outer corner is where a blue smokey eye earns its name. Navy blue pressed into that V-shaped pocket at the edge, or a true black if you want more drama, pushes the eye backward and creates the hollow that reads as depth rather than color laid flat. I watched this shift on a model once in a tutorial: same base shadow across the lid, but the moment the darker tone sat at the outer third, the whole shape turned architectural.
The technique is placement, not pressure. Tap the dark shade onto the outer corner with a small dense brush, keeping it below the crease line, then sweep whatever remains on the brush in a soft diagonal toward the tail of the brow. This elongates the eye rather than rounding it. Blend the edge into the mid-tone blue so no border shows; the smoke lives in that gradient. What you are building is a shadow effect, literal and cosmetic: the dark recedes, the center lifts forward, and the eye reads as larger because it reads as shaped.
Highlight the High Points
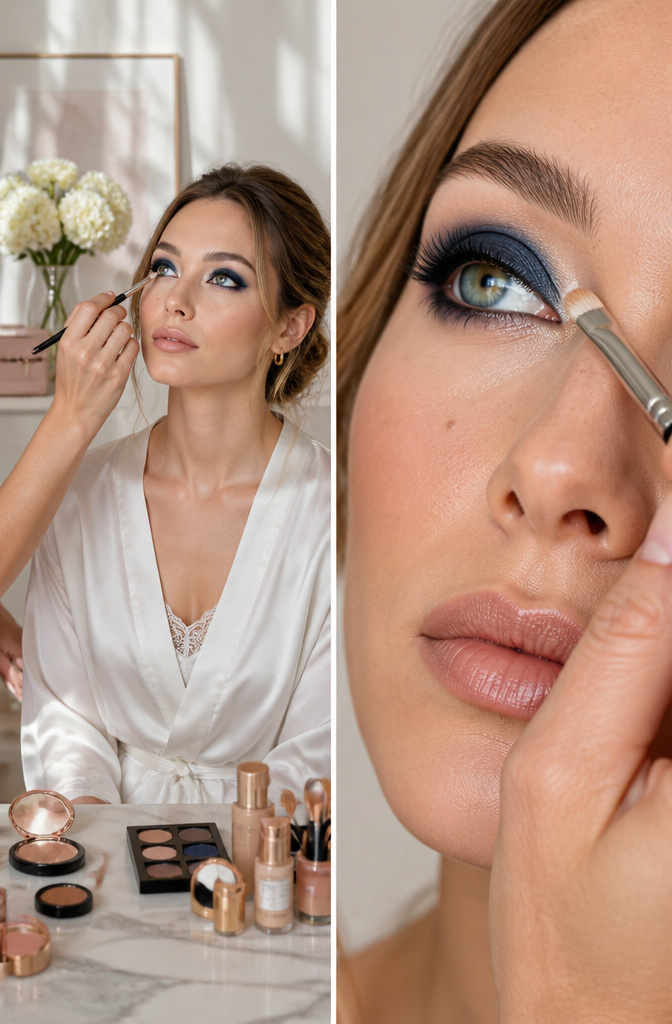
A pale shimmer on the inner corner and brow bone does the heavy lifting in a blue smokey eye. That contrast against the deeper tones pushes the blue forward instead of letting it sink into one flat wash.
I learned this the hard way after blending blue all the way up to my brow once. The color looked muddy, and my eyes seemed smaller, not larger. Leaving those two high points bright reflects light back, so the eye actually opens up.
A champagne or soft pearl works here, anything without its own strong pigment. Pat it on with a small brush, don’t sweep. You want the highlight to sit on top of the skin, not mix with whatever blue is already there. The brow bone gets a lighter touch than the inner corner, which is where the real brightness belongs. That placement, bright against dark, is what makes the whole shape read as intentional rather than accidental.
Line and Define
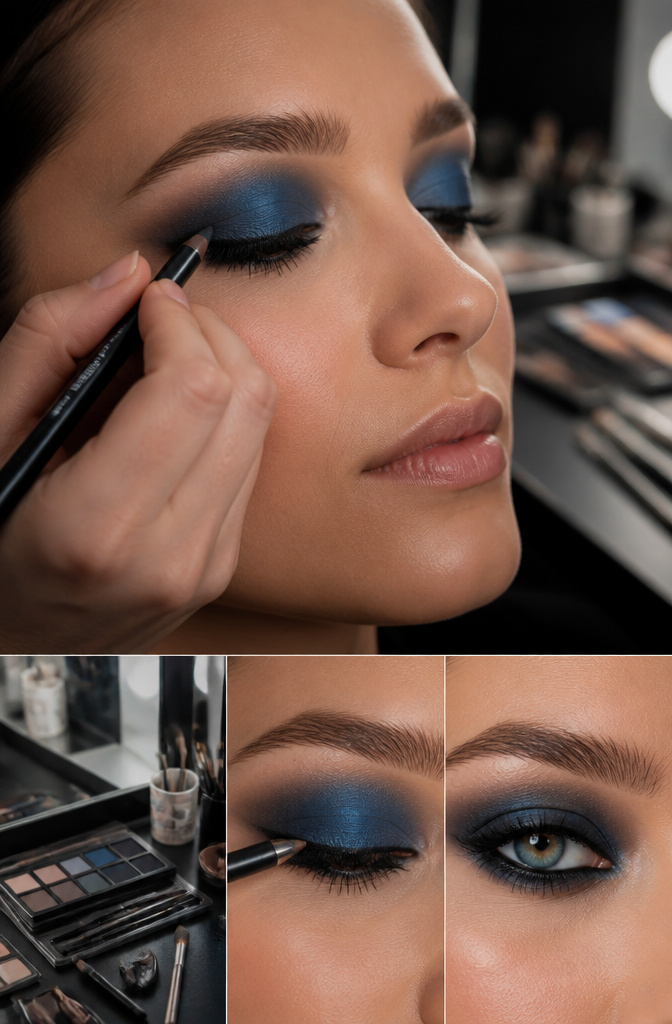
Tightlining changes a smokey eye from pretty to precise. The trick is running liner right at the root of the upper lashes, filling the gaps between each hair so the lash line looks dense without a visible stripe of color. I use a waterproof pencil here because the waterline is wet territory, and any migration turns the blue shadow muddy within an hour. The motion is short sideways strokes, almost dotting, rather than one continuous drag that can skip and clump.
Mascara comes last, and Benefit BADgal Waterproof Mascara is the one I reach for when I need the curl to survive a full day. Two coats on the upper lashes, letting the first dry before the second goes on, keeps the blue from competing with spidered lashes. The waterproof formula holds the lift I set with curlers earlier, and it does not drop dark flecks onto the shadow I spent ten minutes building. On the lower lashes, a single light coat opens the eye without tipping the whole look into theatrical territory.
Tools That Matter
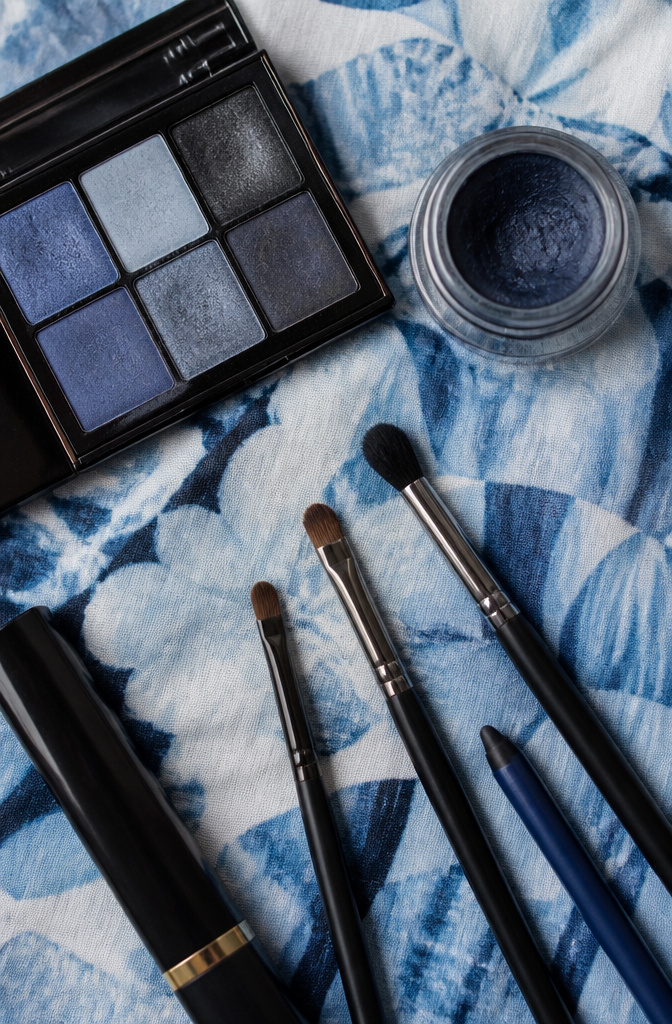
A $6 shadow applied with the right brush looks like $60; the reverse never works. Blending is what separates a smokey eye from a bruise. Three tools handle the entire job.
- The Sigma Blending Brush E25 carries most of the load. Its tapered dome fits the crease without depositing too much pigment at once, so the blue stays buildable rather than patchy. I reach for this at every transition step, even when the tutorial says to switch brushes.
- The Suqqu Eye Shadow Tip S is the precision piece. Its flattened, firm tip pushes color exactly where the mobile lid meets the lash line, which matters more with blue than with brown because the wrong placement reads costume immediately.
- The Suqqu Eyebrow Brush S pulls double duty for softening edges. The angle and density let you drag pigment outward in hair-thin strokes rather than sweeping, which is how the gradient stays controlled near the brow bone.
Spend the money on the tools. The shadow itself can be drugstore.
Product Picks
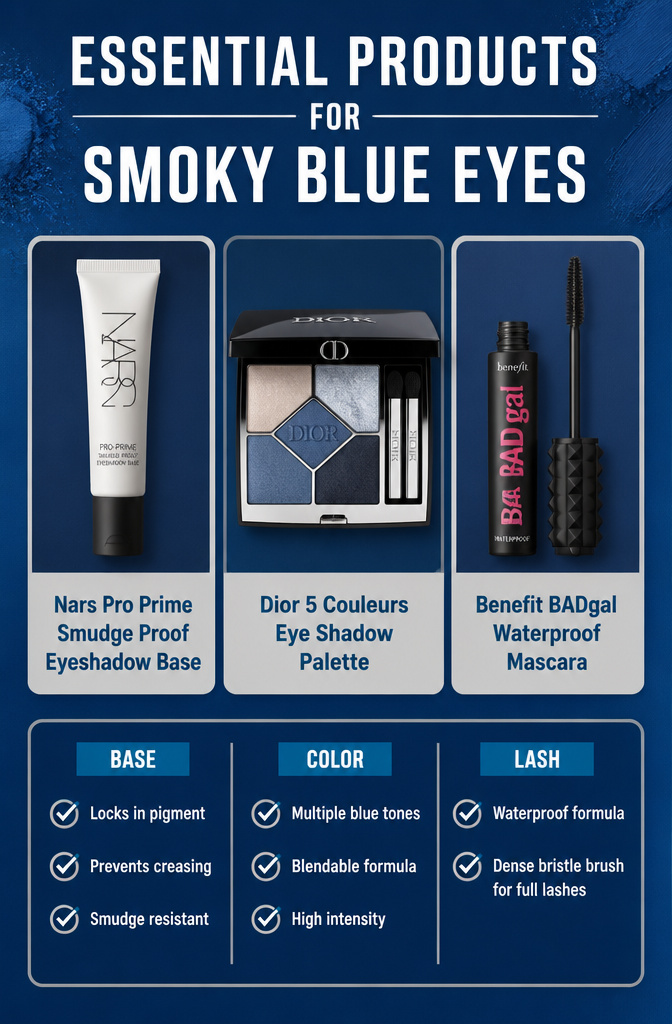
The right products make blue smokey eyes hold up through a full day without turning muddy. My approach starts with three specifics that have worked in tutorials again and again.
- Nars Pro Prime Smudge Proof Eyeshadow Base keeps pigment where you place it. Without a base this good, blue shadow migrates to the crease within hours. Any smudge-proof eye primer works if the Nars is out of stock; skip anything labeled "tinted" that doesn’t specifically promise crease resistance.
- Dior 5 Couleurs Eye Shadow supplies the blue range itself. Look for a palette with at least two blues, a deeper tone and a brighter one, plus a neutral transition shade. The Dior formula blends without losing intensity, which is where cheaper blues tend to fail.
- Benefit BADgal Waterproof Mascara finishes the look. Standard mascara smears against the dark shadow; waterproof is non-negotiable here. If BADgal isn’t available, any waterproof formula with a dense bristle brush builds the same full lash line that balances heavy eye color.
These three categories, base, color, and lash, are where I would not compromise.
Blending Technique
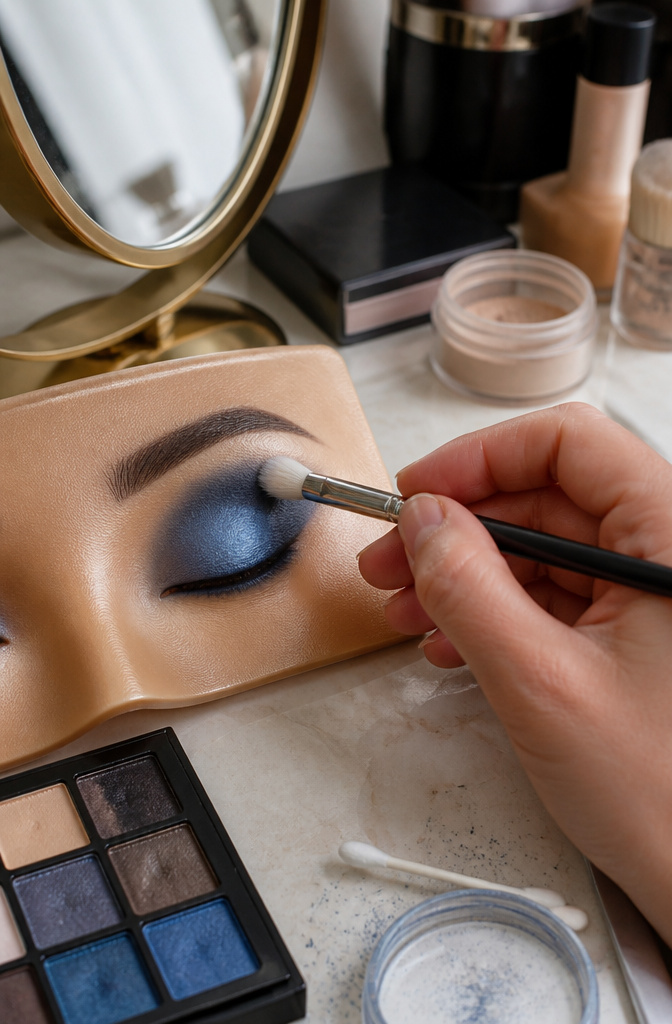
The Sigma Blending Brush E25 or any brush with the same tapered, fluffy shape is where the whole look lives or dies. Synthetic bristles that grip just enough pigment without dumping it all at once make the difference between a gradient and a bruise. I hold mine at the very end of the handle, which keeps the pressure feather-light by default; the closer your fingers slide toward the ferrule, the more likely you are to press hard enough to erase the color you just laid down.
The motion is windshield-wiper small, not circle-big. Back and forth across the crease in strokes no wider than a fingertip, letting the bristles do the work while my hand barely moves. I count to ten before I check the mirror, because the temptation to overblend is real and it shows up as muddy gray where blue should live.
Pressure is the other half. The brush should skim the skin like you’re dusting powder off a sleeve, not massaging lotion in. When I feel the bristles splay flat against my lid, I’ve already gone too firm. That flattening is what pushes pigment into pores and leaves the patchy, ragged edge that reads amateur from five feet away. Most blue smokey eyes fail right here: either the transition stripe is never worked soft enough, or the blending goes so aggressive that every shade collapses into one murky tone. The color story needs to stay readable, and that means knowing when to stop.
Frequently Asked Questions
How do you do a blue smokey eye?
Start with a clean, primed eyelid, then build a transition shade in the crease before pressing navy blue onto the lid. Deepen the outer corner with a darker tone, highlight the inner corner and brow bone, and finish with tightlined lashes and waterproof mascara. A proper base keeps the blue from turning grey by lunch.