Skin type shapes the finish more than any single look here, and the Hydration Importance, Application Techniques and Color Choices ideas all point the same way: dry skin does better with liquid highlighter and cream blush, which stay wet-looking, while powder tends to catch on dry patches and dull the glow.
The ideas range from a bare, finger-pressed Dewy Lip Look to the full Monochromatic Pink Glow on eyes, cheeks and lips, and the effort runs from one swipe of Soft Shimmering Eye Glow to the layered prep that Hydration Importance covers.
Whichever look you choose, the base stays light, with just 2–3 drops of foundation worked in from the back of your hand.
1. Dewy Lip Look
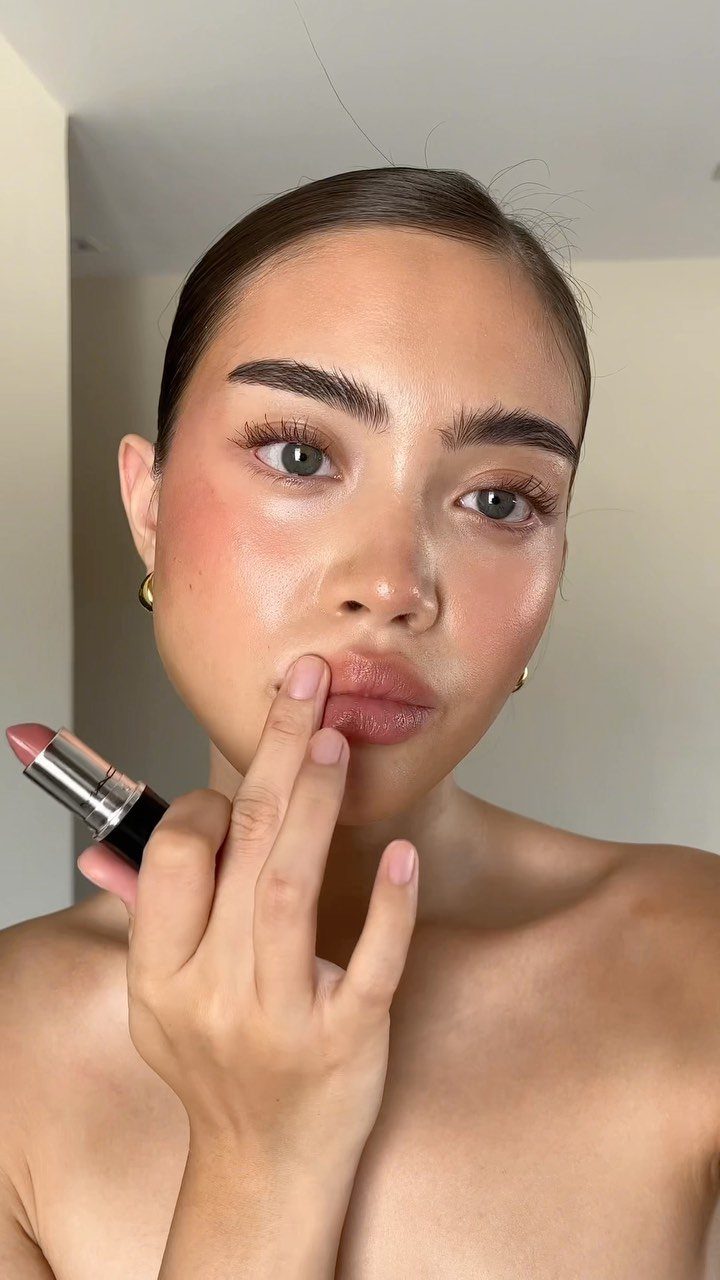
A glossy finish does most of the work here.
Pressing pink lipstick onto bare lips using just the pad of your finger leaves a soft, sheer stain, and a clear gloss dabbed over the center adds the wet shine that reads as healthy rather than painted.
I like the finger method because it blurs the edges and skips liner entirely. Keep the gloss in the middle and let the color fade outward.
2. Natural Brows
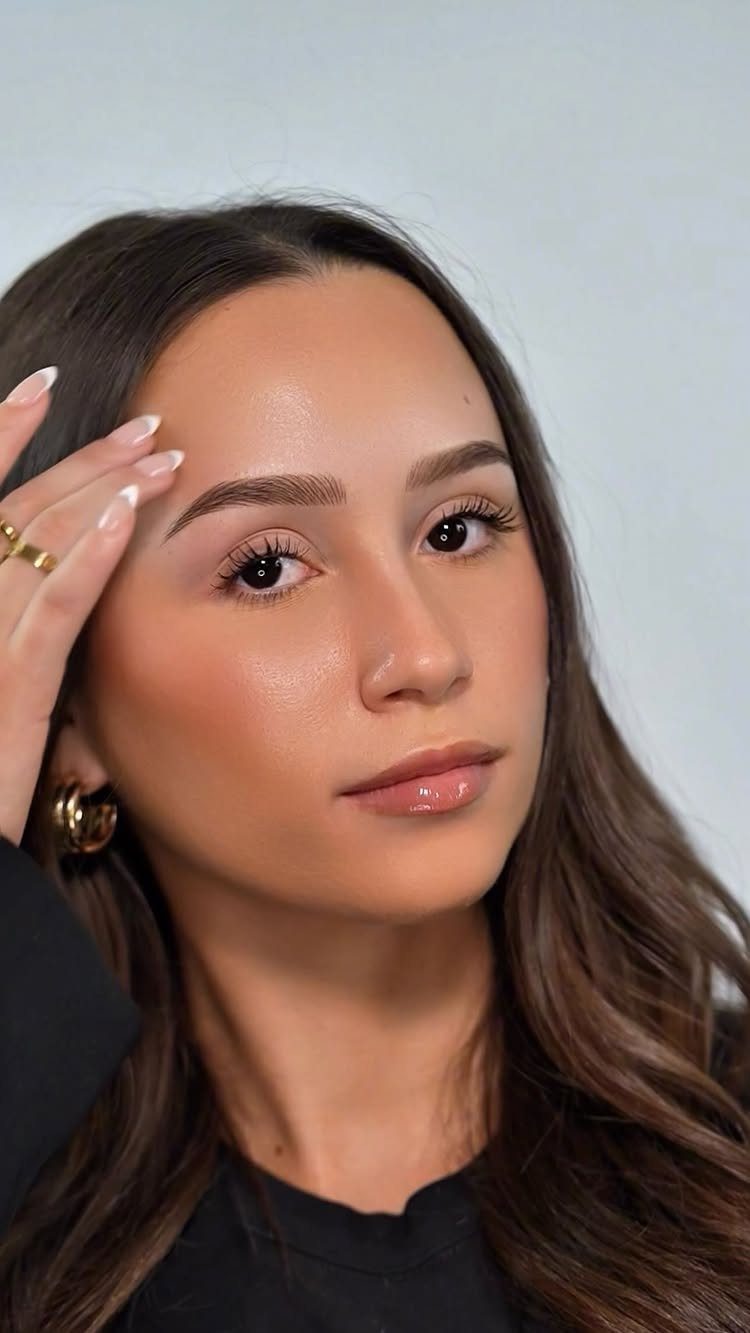
Brows that look like your own hair keep a glowy face from feeling overdone. Brush them up and into place, then fill only the sparse spots with light, short strokes.
Against luminous skin, a heavy or sharply drawn brow pulls attention away from the glow. I would stop one shade short of what feels like enough; the natural shape is the point.
3. Subtle Smokey Eyes
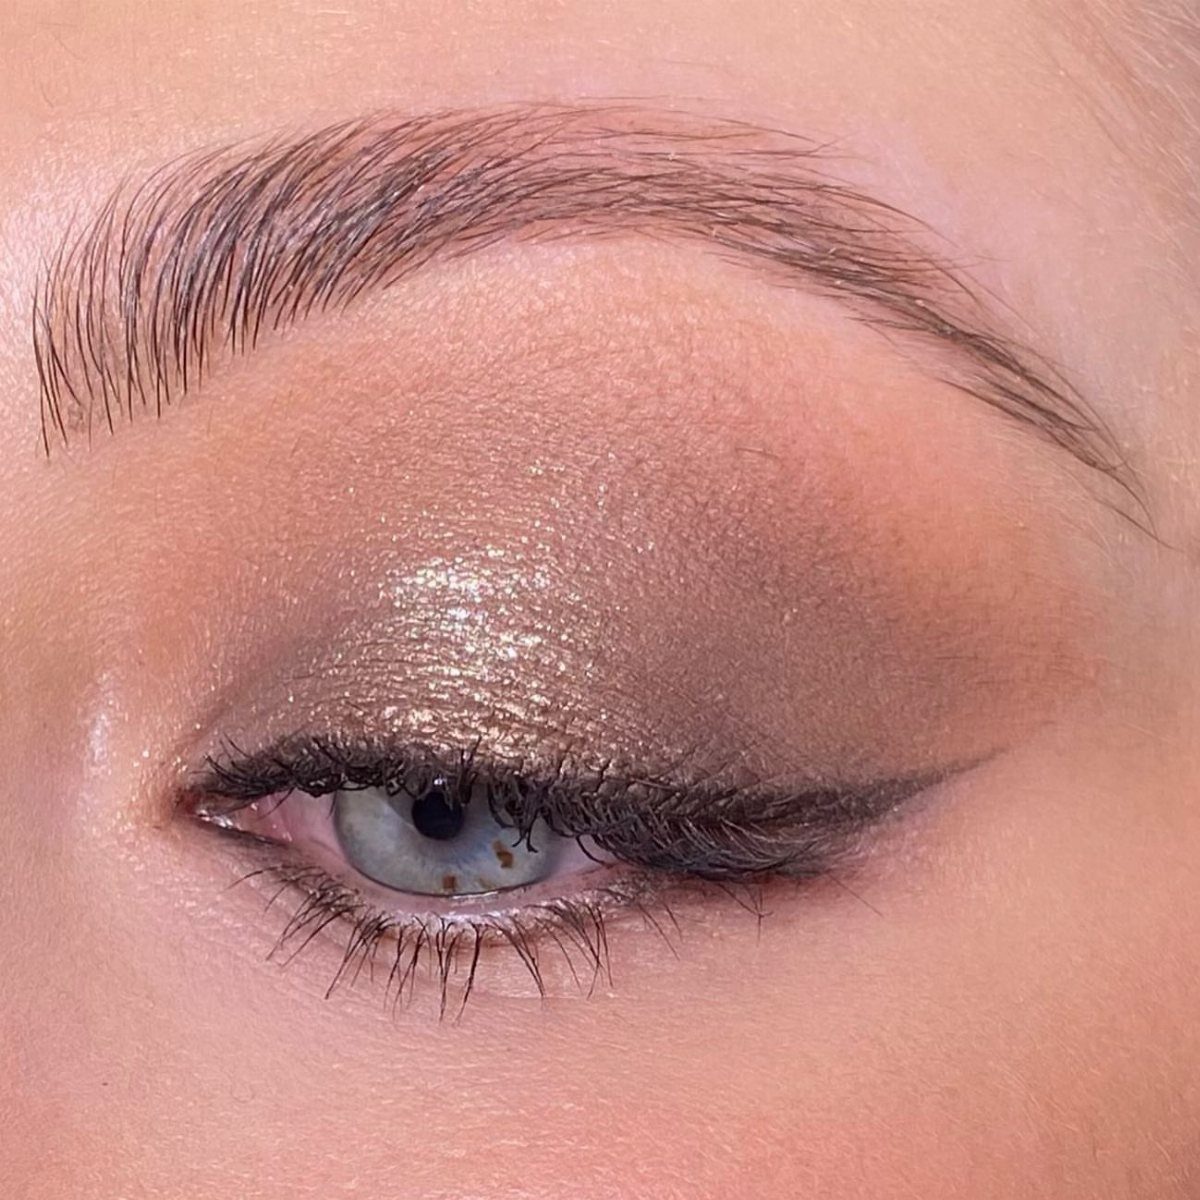
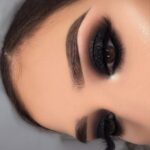
Smudged liner is what makes a smokey eye soft instead of dramatic. Press a shimmery bronze or gold shadow over the lid, then blend the liner outward until the line loses its edge.
Skip the heavy black.
A softly winged, smoky line suits daytime and still pairs well with groomed brows and bare, glowing skin. Blend longer than feels necessary, since harsh edges are the usual mistake.
4. Radiant Skin with Rosy Cheeks
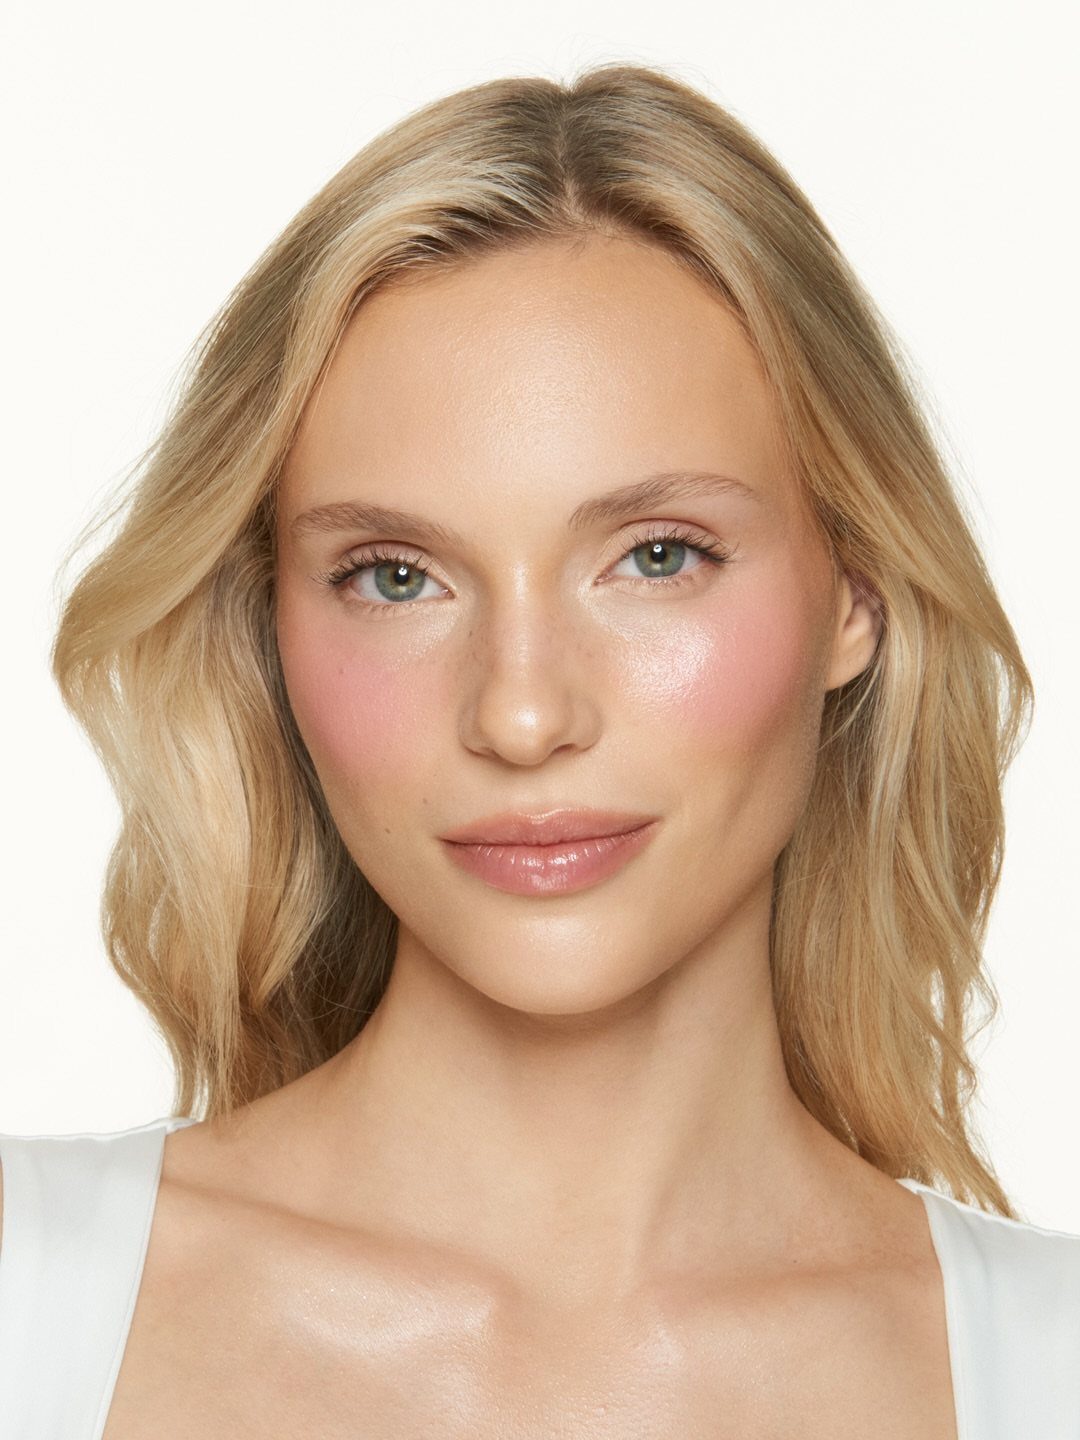
Skin that looks lit from within, plus a flush of pink across the cheeks, is what defines this look. Keep the base light so the skin shows through, and tap a soft pink blush onto the apples of the cheeks.
Cream or liquid blush tends to sit more naturally on dewy skin than powder, which can dull it. Finish with a glossy lip in a similar tone so the color feels intentional.
5. Soft Shimmering Eye Glow
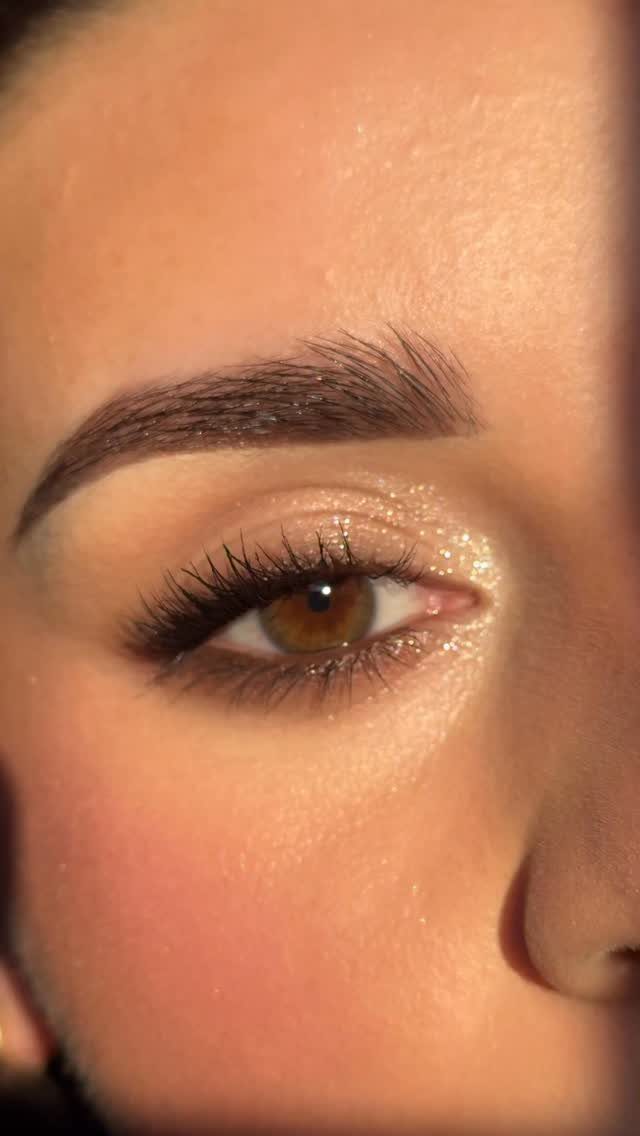
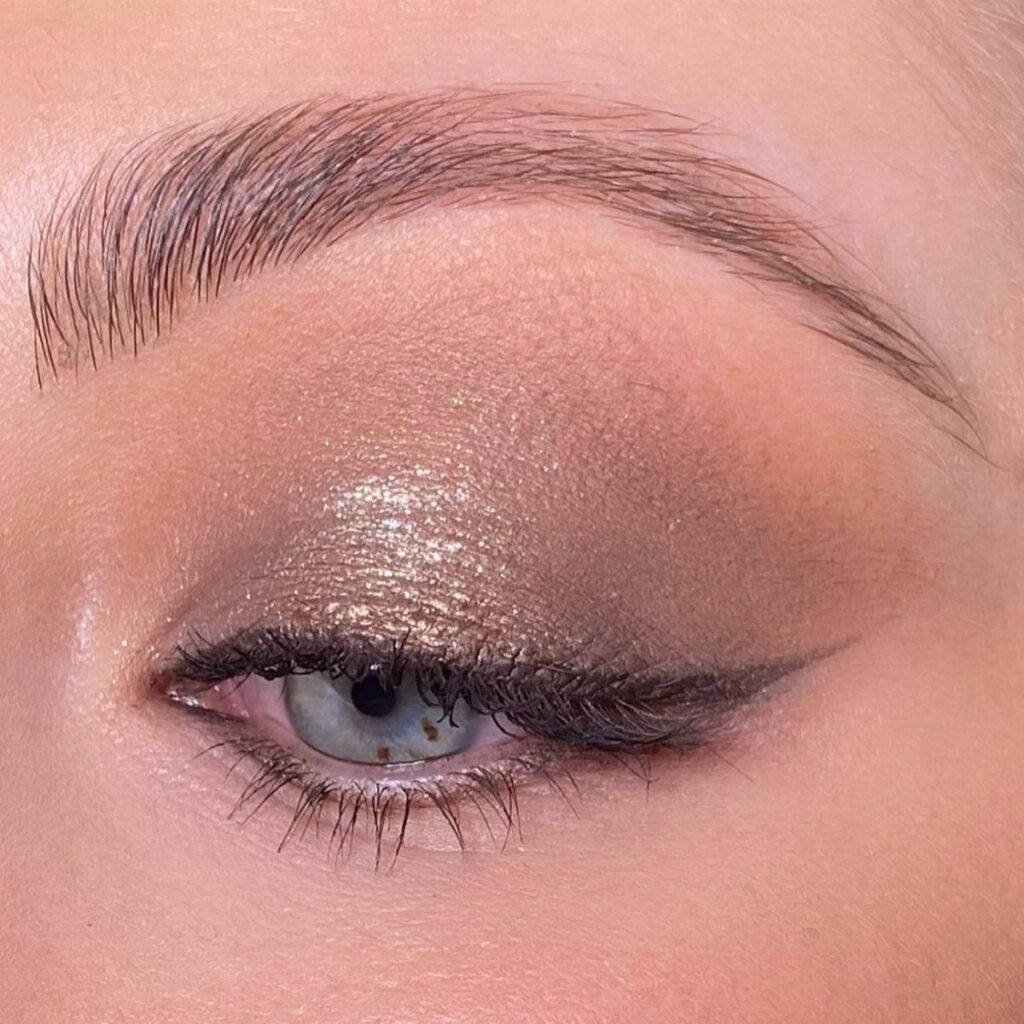
A wash of gold shimmer on the lid is enough to brighten the whole eye.
Tap it onto the lid using the pad of your ring finger, since warmth from your skin helps the pigment sit smoothly, and keep it on the lid instead of reaching toward the brow.
Neat, natural brows and radiant skin do the rest. If you want more definition, add a thin line of brown shadow at the lashes, but I prefer the glow alone.
6. Glossy Highlight Application
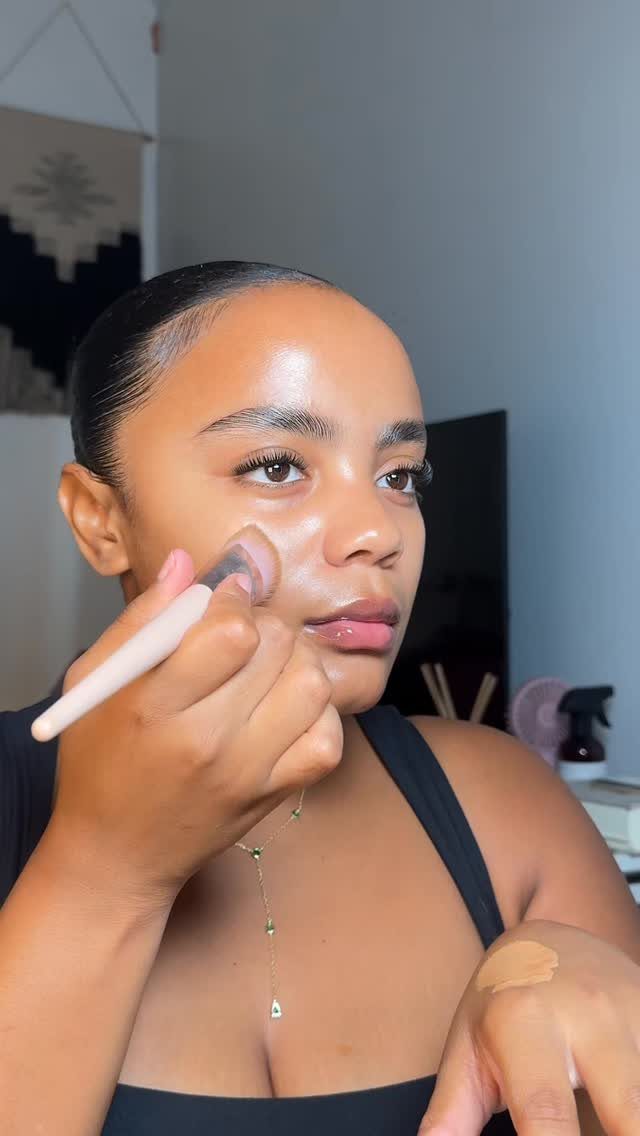
Place highlighter where light naturally hits: along the top of the cheekbone, the part of the face that sits closest to the light.
A brush works for both liquid and powder, though liquid gives the wetter, glossier finish this look wants.
Use a small amount and build it. Too much turns glow into grease, and powder can catch on dry patches, so I would pick liquid if your skin runs dry.
7. Monochromatic Pink Glow
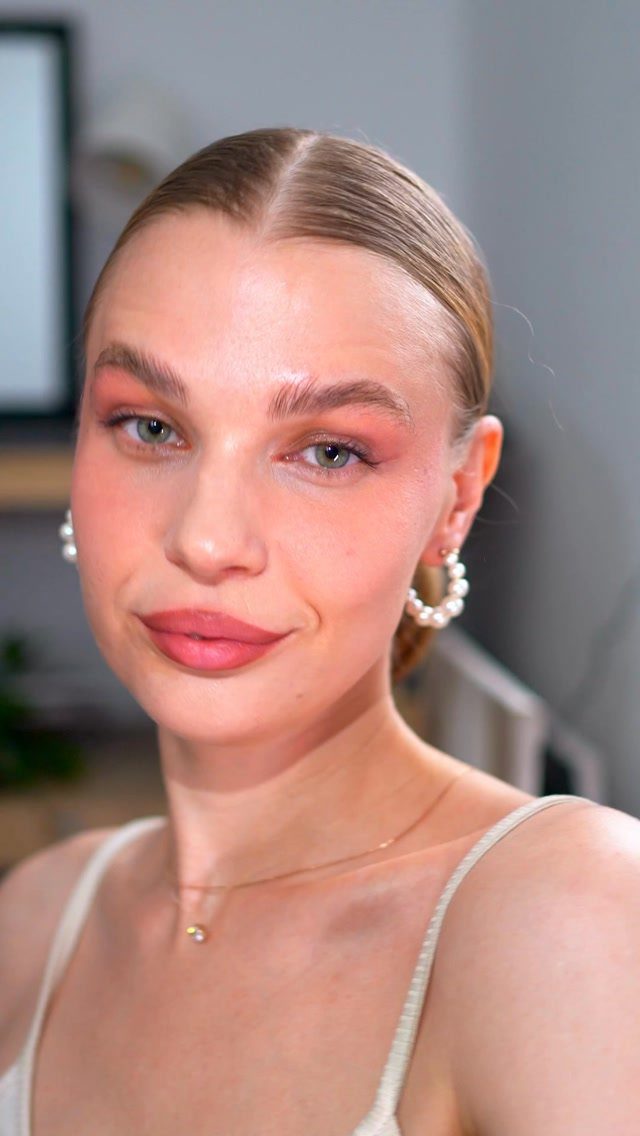
Matching the eyes, cheeks and lips in one pink family is what makes this look read as a single, deliberate color story. Soft pink shadow on the lids, a pink lip and luminous skin between them is all it takes.
Keep the pinks close in depth so nothing competes. Sheer formulas blend easiest, and a lip a touch deeper than the lids keeps the face from looking washed out.
Pearl earrings and a plain white top suit it well, since neither adds another color. I would skip a bold liner here, because it breaks the softness.
Hydration Importance
Glowy makeup starts with prep, and a hydrating serum before moisturizer is the step I would add first if your routine lacks one.
Look for hyaluronic acid on the label, an ingredient known to help skin hold moisture, and vitamin C if brightness is your concern.
Moisturizer goes on after cleanser and serum, and I’d apply it more generously than feels necessary, since skin that looks plump and well hydrated gives makeup a smoother base to sit on.
Rose water and starflower oil are 2 plant-based ingredients you may spot in creams made for this purpose.
A hydrating primer comes last. It gives the base a smooth, light-reflective surface, which is what makes foundation look like skin instead of a coating.
Application Techniques
Squeeze 2–3 drops of foundation onto the back of your hand, then pick it up with a brush and work it in from there.
Warming the product there makes it melt in, and a small amount evens out redness without covering the skin’s own glow.
Stop if your skin looks even. Concealer needs to go only where coverage is wanted, usually beside the nostrils and in the shadow under the eyes, and the rest of the face can stay bare.
Choose a lightweight, creamy liquid concealer over a matte one.
Heavy formulas collect in fine lines, crease beneath the eyes, and leave skin looking parched by midday. A buildable formula lets you layer in thin coats, and I would always go thinner than feels necessary.
Color Choices
Pick your lip and brow colors by skin tone and hair color. Brow pencil should match your natural hair as closely as possible, so nothing reads as drawn on.
For a glossy nude lip, go deeper as your skin does. Fair tones suit a lighter shade, medium tones a middle one, and deep tones a richer nude with pearl in it.
For cheeks, sweep blush onto the apples and up toward the hairline for a lifted look.
If a brush leaves the color too faint, pick up more pigment with your fingers and press it into the skin; pressing gives the most natural flush.