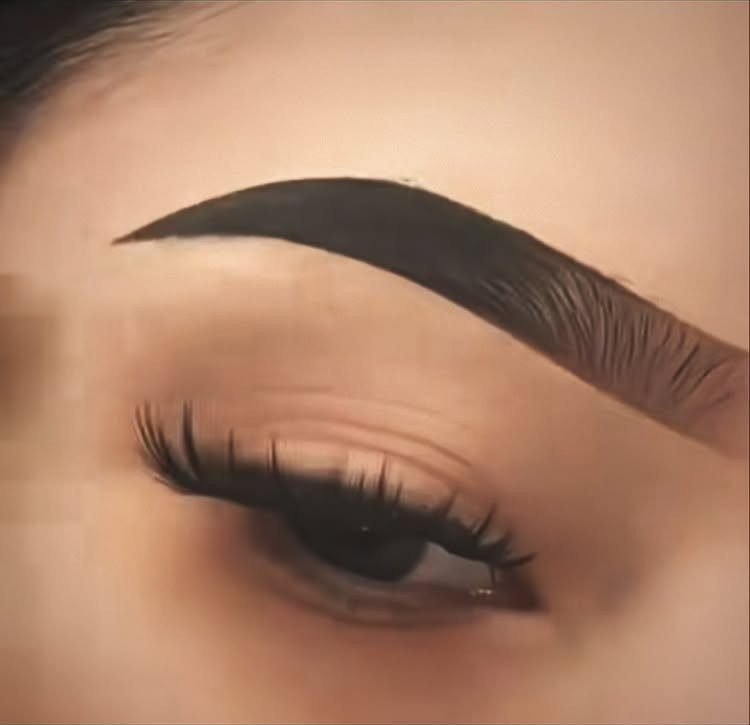
How much brow you already have settles which idea to start with: a full brow mostly needs a spoolie and a few stray hairs tweezed away, while the sculpted and defined look asks for more precision.
The ideas run from a few seconds with a spoolie to the sculpted look, which forgives the least because one heavy stroke shows.
1. Use a Spoolie Brush
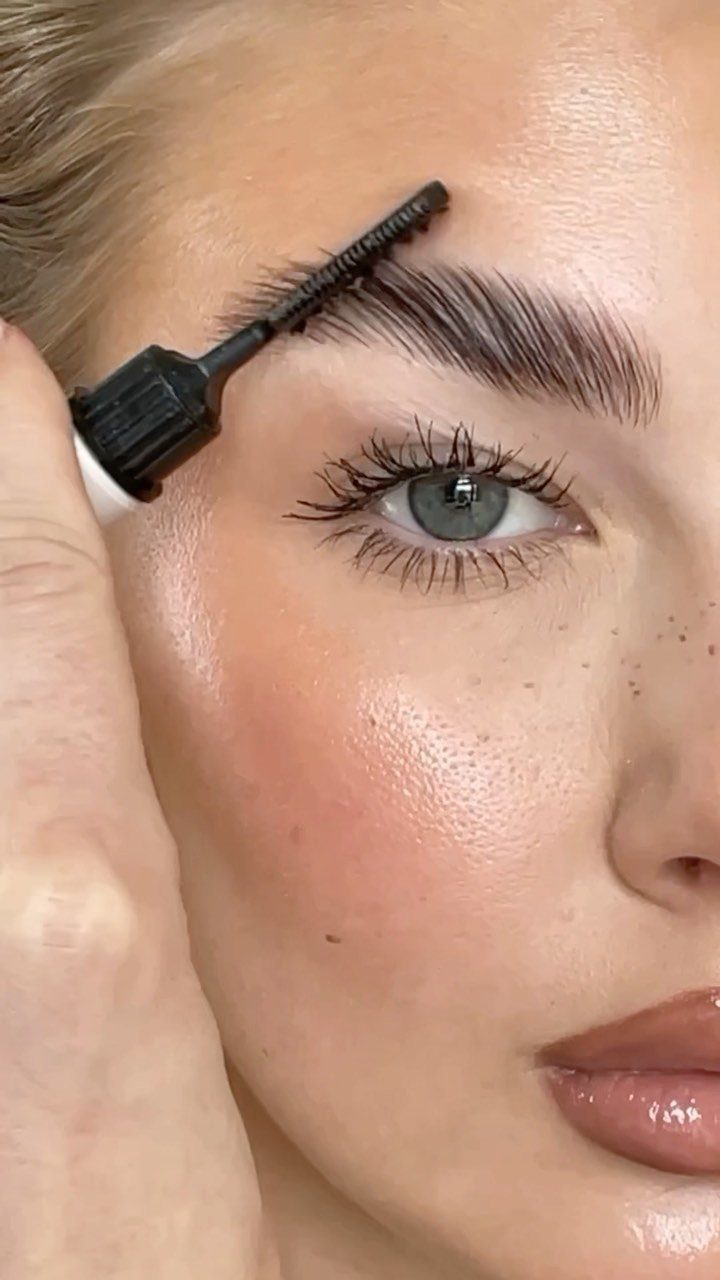
A spoolie is the cheapest fix for brow makeup that looks drawn on. Brushing through the hairs after you fill them in blends pencil or powder and softens any hard edge.
Short, light strokes work best, moving the way the hairs grow. If a patch looks too dark, the brush spreads that color into the surrounding hairs, so the result reads as hair rather than lines.
I keep one within reach for every brow routine. It costs very little and takes a few seconds.
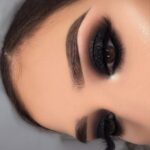
2. Sculpted and Defined Brows
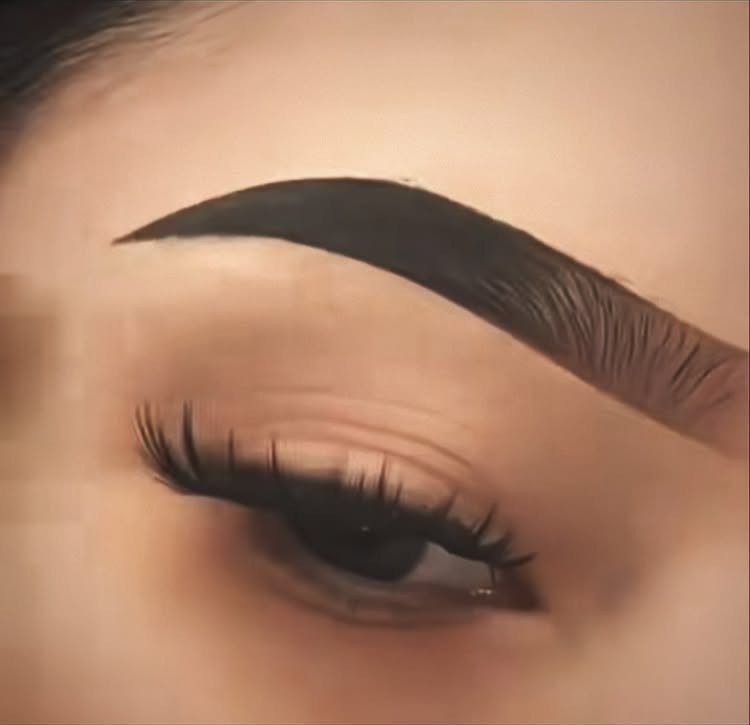
A sculpted brow comes down to clean edges and exact lines, and getting there takes patience far more than pricey products.
A dark brown shade gives the strongest definition, though I’d stay within a shade or two of your natural brow color so the result doesn’t look drawn on.
Use a sharp pencil or a thin angled brush, and work in short strokes instead of one long line. Define the lower edge and the tail first, then fill the middle lightly.
Expect this to be the least forgiving look here. One heavy stroke shows, so keep a cotton swab nearby for cleanup.
3. Use Tweezers to Remove Hairs
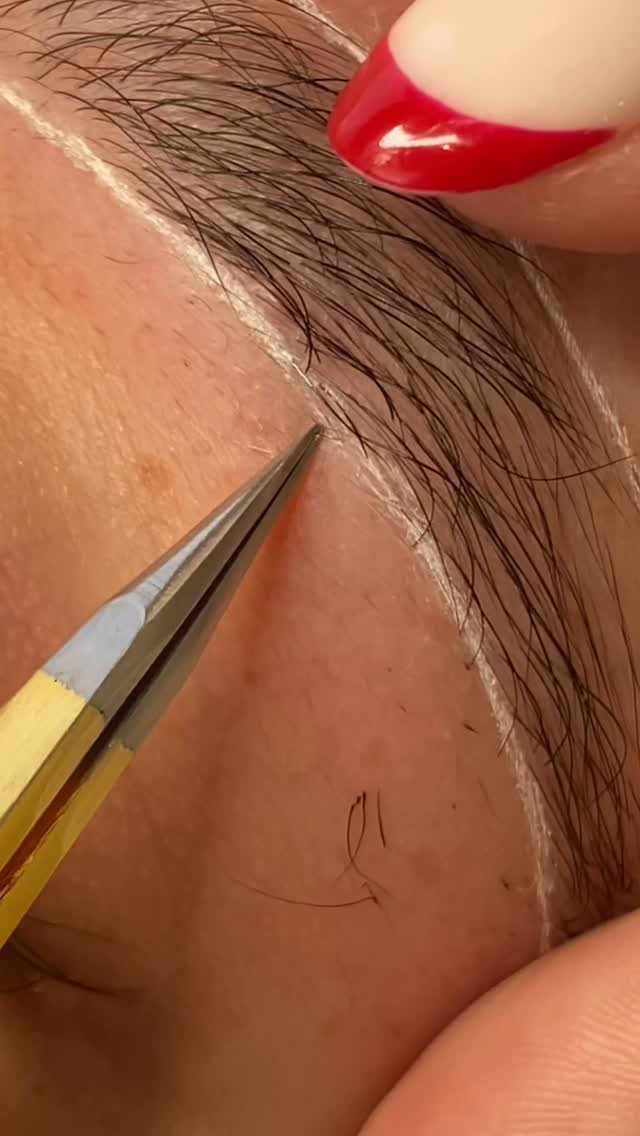
Tweezers handle the strays that makeup can’t hide. Tweeze only the hairs that fall clearly outside the shape you’ve mapped, and leave anything near the guide line alone until you’ve checked the whole brow.
Pull in the direction of growth, one hair at a time, and stop often to step back and look. I would always map first and pluck second, because it’s easy to take too much and slow to grow back.
A single pair of tweezers is all this takes, so it’s a low-cost step for a tidier shape.
Choosing the Right Eyebrow Color
Match your brow shade to your hair color, and if you’re between two, take the lighter one.
A shade that runs too light is easy to fix with a second pass, while one that runs too dark is hard to take back, so start softer than you think you need.
Start with a few light strokes, step back, then add more only where the brow looks thin.
Before you pick up a pencil, find your natural brow shape.
On each brow, mark 3 spots: where it begins, where it peaks, and where it ends. Working with that shape keeps the result in line with your facial symmetry, so the color you choose has the right frame to sit in.
Texture matters too. Sparse brows and thick brows rarely want the same product, so choose based on what you’re working with and how well the formula grips your existing hairs.
Brow Goals
Decide what you want your brows to look like before you buy anything, because the goal sets the product. Fuller, defined, sparse and natural each call for a different approach.
For a fuller look, choose products that build mass. Dimension is what I’m after, since it reads as full, healthy hairs instead of one flat slab of color.
For sparse areas, a pencil with a fine tip is the better tool.
A multi-sided brow definer shows how the steps divide up: outline with the flat side, fill with the medium side, then draw hair-like strokes with the fine tip where the brow is thin.
If natural is the goal, use less product and keep the strokes short.
Common Mistakes to Avoid
If the front of your brow keeps coming out too dark, change the order. Starting at the inner corner tends to leave the front heavy.
Watch the tail too. Let the tail finish at the same height as the start, or slightly above it, so the brow lifts instead of sagging.
Short strokes that mimic hairs look like real brows; a solid fill looks painted on. With a twist-up pencil, the tip stays slim and you never have to sharpen it.
Set aside a few calm minutes, particularly while you’re still getting the hang of it.
Frequently Asked Questions
What is the golden rule for eyebrows?
Less is more. Build the brow in light passes: a few faint strokes, a step back from the mirror, then more pigment only in the sparse patches.
Tweezers deserve the same restraint, because overplucked hairs can take months to return; mark the shape first and remove only the strays that sit well outside it.
How do I do my eyebrows for older ladies?
For mature brows, I lean soft: less pigment, short and feathery strokes, and a shade within 1–2 steps of your natural color.
Start lighter than you think you need and build up slowly, because color shows strongly where hair is sparse. A fine-tipped pencil works well for thin patches, and a spoolie softens any hard edge.
What goes first, eyebrows or foundation?
Brows typically go after foundation. That order gives you a clean base to see the real shape against, so you can judge how much color the brow needs.
Cleanup is easier too, since a cotton swab can fix a slip without disturbing the rest of your makeup.