How much brow you already have decides which of these 8 fits: sparse brows will show through the natural, low-maintenance look, while a visible gap or an uneven pair calls for filling or mapping first.
Tools range from a spoolie and light tweezing to pencil, angled brush and concealer, and the mapping method uses a taut string laid across the brow to mark where it starts, arches and ends.
Effort rises with definition, so the more you fill, the more a touch-up by afternoon becomes part of the routine.
1. Natural, Low-Maintenance Brows
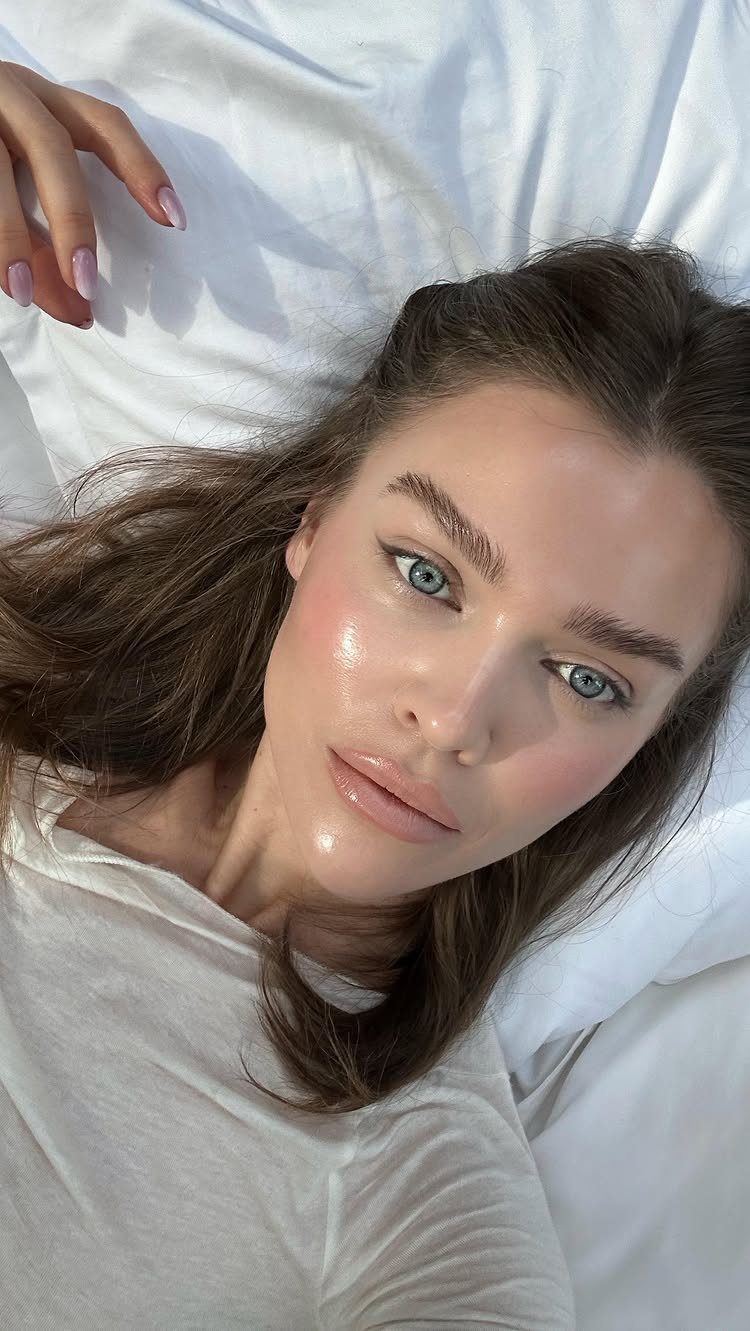
Groomed but still unmistakably yours: that is the version I’d pick for most daily routines. Keep the shape you were born with and only clean up what strays outside it.
A brush through the hairs and a light hand with tweezers are enough. Skipping heavy filling also means nothing can smudge or fade by afternoon, which suits anyone who wants to be out the door fast.
The trade-off is less definition. If your brows are sparse, this look will show it.
2. Straight & Soft-Straight Brows
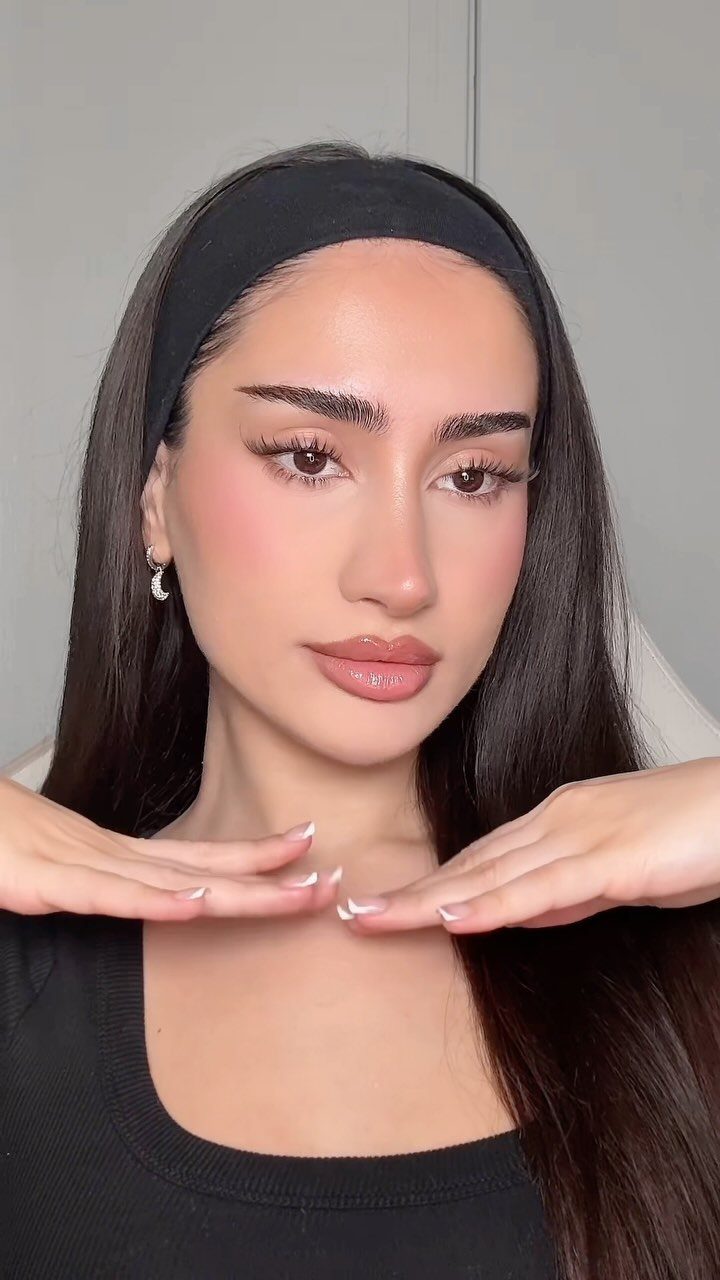
Straight brows flatten the arch and run in a near-level line from inner corner to tail, which gives the face a calm, even look. The soft-straight version keeps a slight lift so it doesn’t turn severe.
Resist tweezing the arch away to get there. Once those hairs are gone, you can’t easily bring them back, so shape the line with makeup first and see whether you like it.
Straight brows read youthful and relaxed, so go gently with the shape.
3. Tweeze Stray Hairs with Tweezers
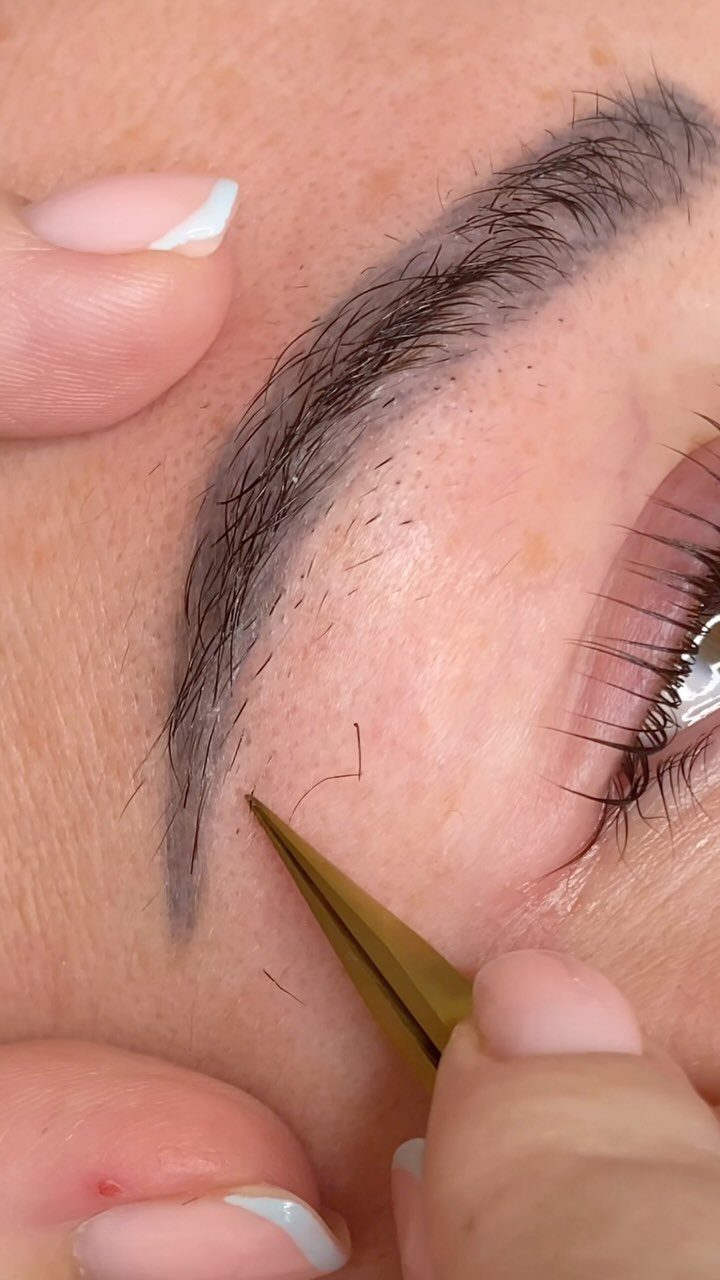
Tweezing is the cleanest way to remove strays, and it works best on only the hairs that sit clearly outside your shape, usually below the brow and between the 2 brows.
Pull in the direction of growth, holding the skin taut with your other hand. Work in daylight, and stop often to step back from the mirror.
I’d leave the top line mostly alone. Overplucked brows are the most common regret with this idea, and regrowth is slow.
4. Filling Brows with an Angled Brush
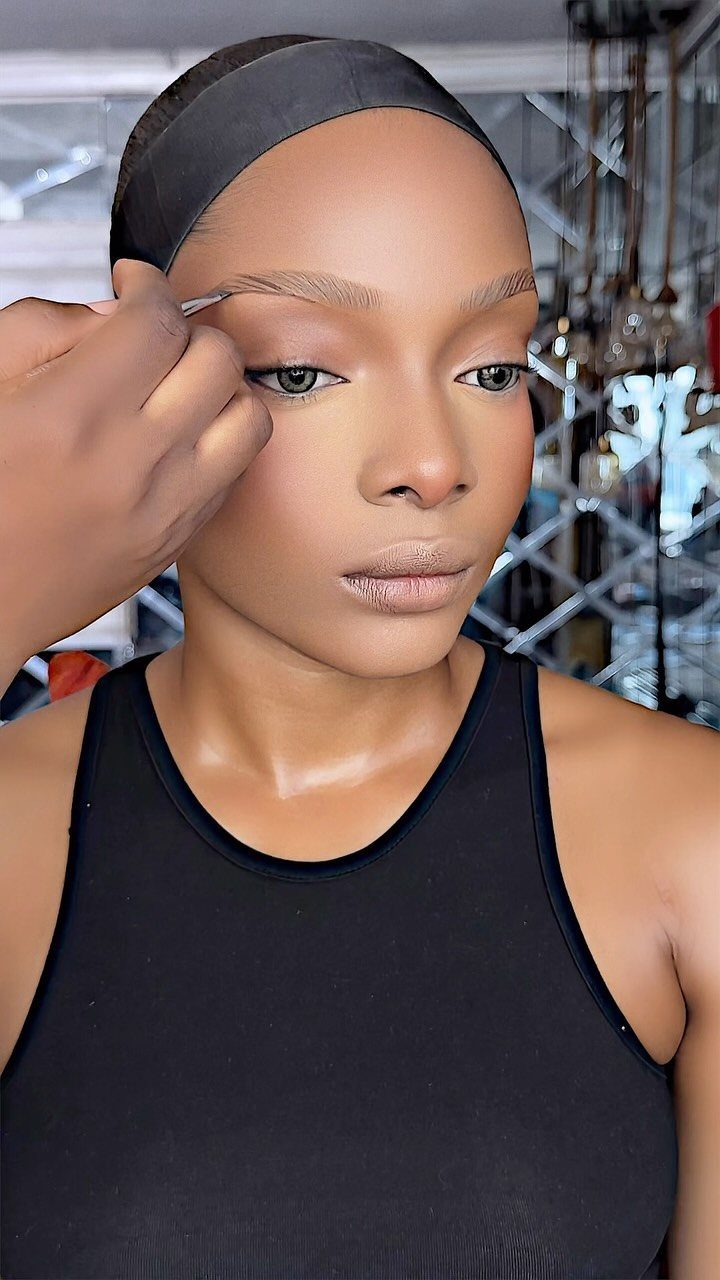
An angled brush gives the most control of any filling tool, because its slanted edge draws a crisp line along the bottom and top of the brow. Dip it lightly into powder or pomade and tap off the excess.
Short, hair-like strokes look better than one long swipe, with the heavier color toward the tail and the lightest pigment at the front. That keeps the brow from looking drawn on.
Practice takes a few tries, but I prefer this to a pencil for a soft, buildable finish.
5. Brushing Hairs Upward with a Spoolie
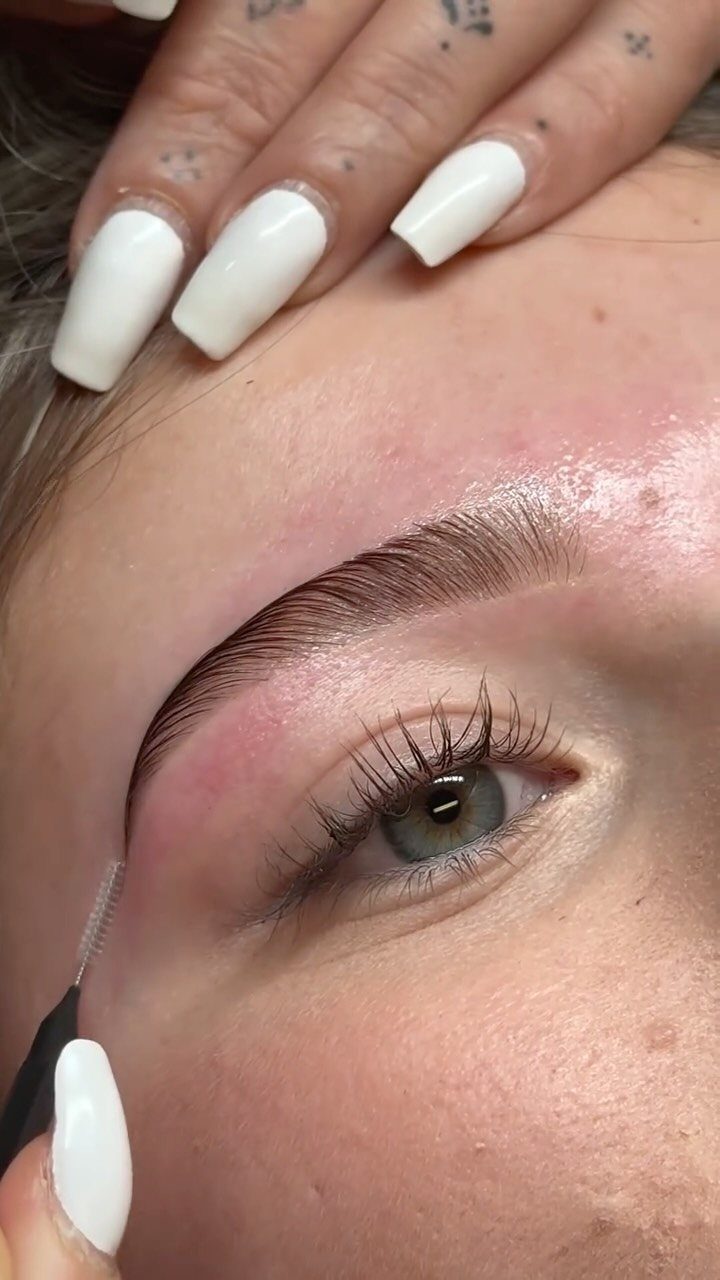
A spoolie does a quick job: brush the hairs up and slightly outward, and the brow instantly looks fuller and more even. It also shows you where the real gaps and strays are before you fill or trim.
Use it before filling to set the shape, then once more afterward to blend any harsh product lines.
Go gently, especially if your skin is sensitive or irritated. Dragging a brush hard across red skin only makes it worse.
6. Filling Brows with an Eyebrow Pencil
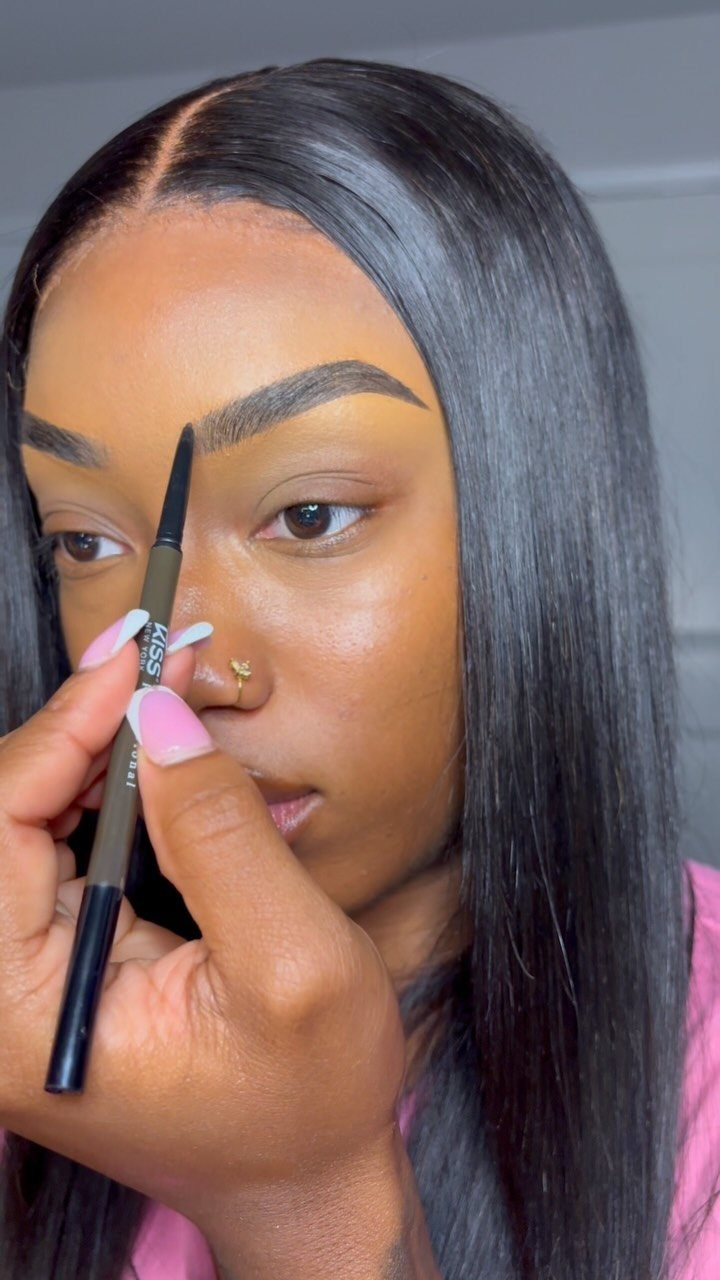
Pencil gives the most definition of the filling tools, and it’s the one I’d hand a beginner. Choose a shade close to your brow hair, or slightly lighter, because pencil always looks darker once it’s on.
Build the shape from tiny flicks that follow the angle each hair grows, so the pencil mimics real hairs instead of leaving a solid, drawn-on line.
Start from the middle of the brow and work toward the tail, then fill the front last, and keep it sparse there.
Soften the finish with a spoolie. The downside is that a heavy hand reads as obvious.
7. Eyebrow Mapping with String Guides
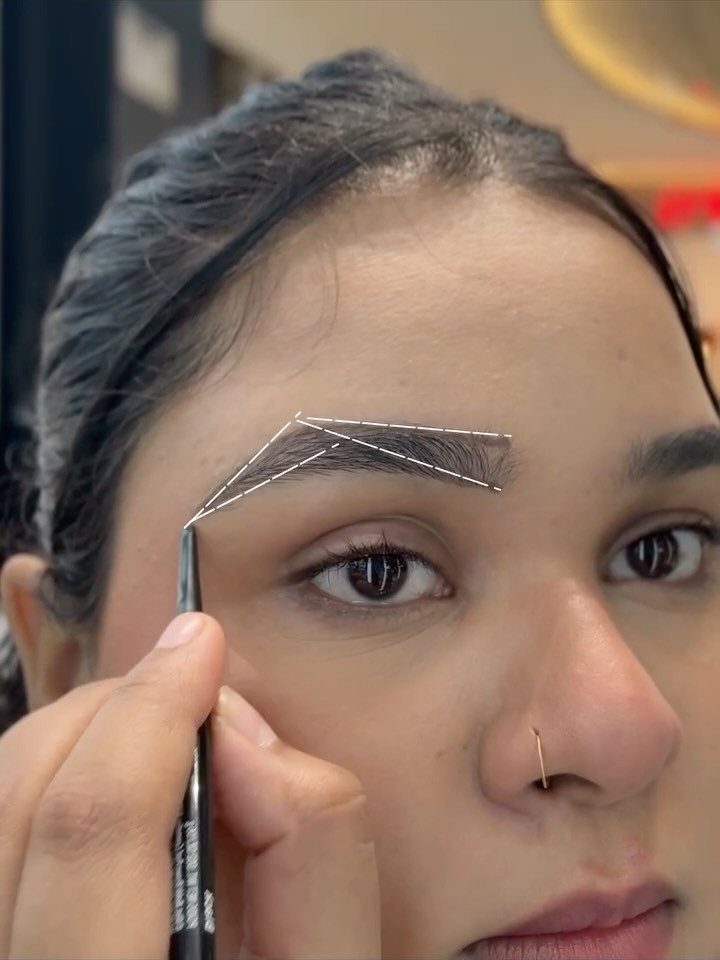
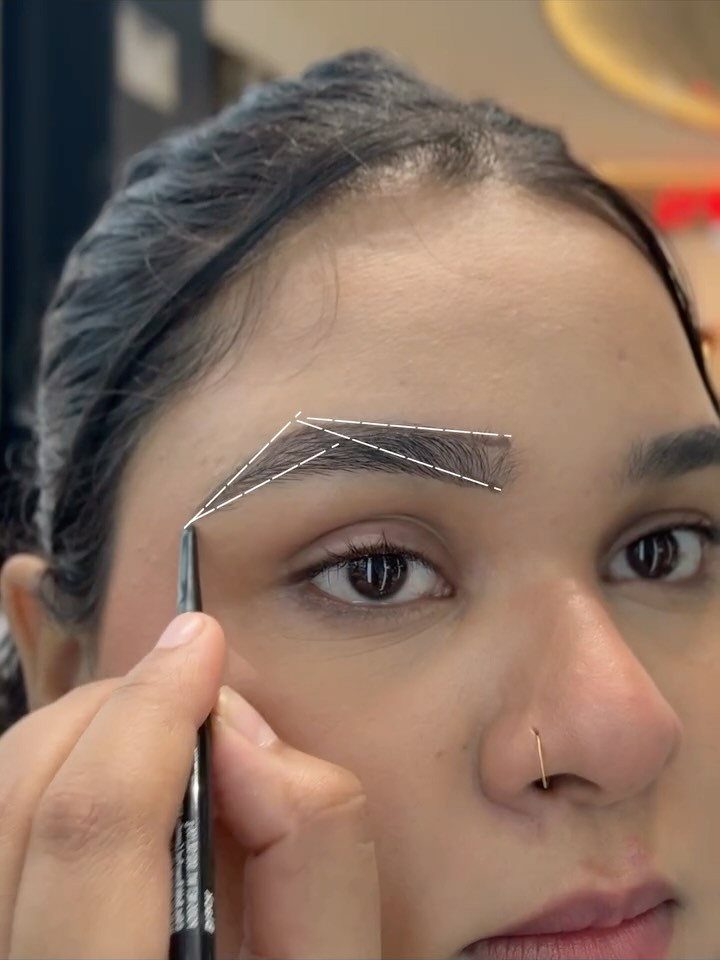
Mapping with string works like a ruler for your face: a taut thread laid across the brow marks where it should start, arch and end, so both sides follow the same plan.
That matters most if one brow has always looked a little off from the other.
Mark the points with a pencil first, then fill or tweeze to those marks only. Nothing is permanent at the mapping stage, so you can wipe it off and adjust.
A second person holding the string makes it easier, though a mirror and steady hands can work. I’d map before touching a single hair.
8. Carving Out Brows with Concealer
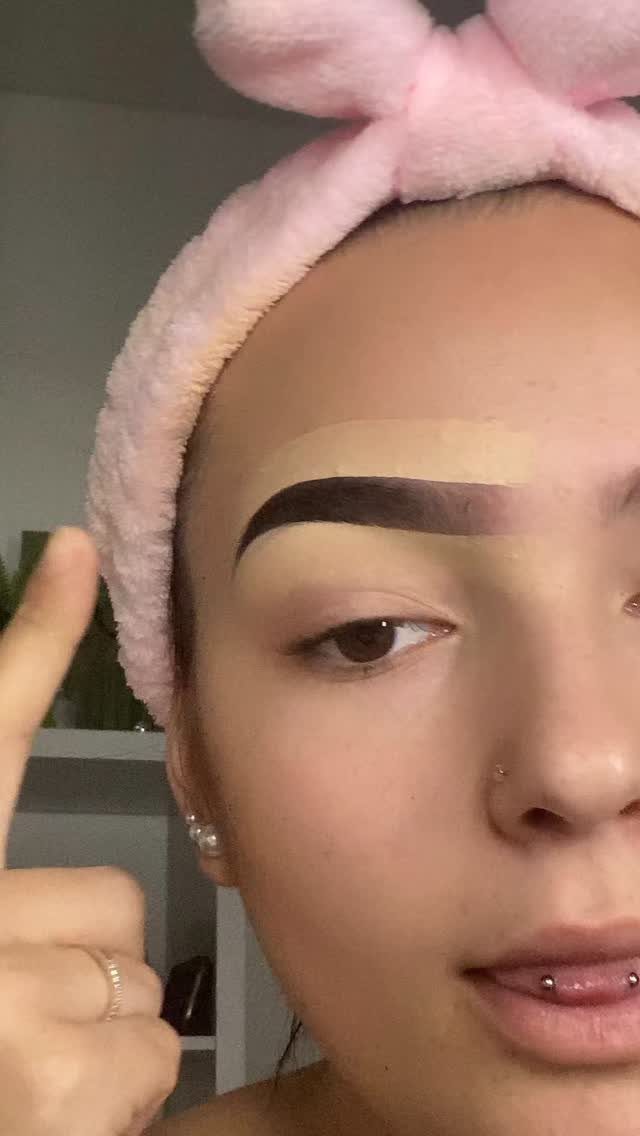
A thin line of concealer along the edge of the brow gives the shape a sharp border, and it cleans up the skin around filled hairs without any removal.
Pick a shade a touch lighter than your skin, or one that matches it.
A small flat or angled brush works best for drawing along the top and bottom edges, and a damp sponge or your ring finger softens the outer side.
Keep the line slim, because a wide band turns into a visible stripe.
I like it as the final step after filling. The trade-off is that it can fade by afternoon, so a touch-up may be needed.
Frequently Asked Questions
Can you provide a tutorial for eyebrow shaping?
Start with mapping: lay a taut string across the brow to mark where it should begin, arch and end, and pencil those points on first. Mapping first matters because nothing is permanent until you start removing hairs.
What is the most natural looking eyebrow technique?
Keep the shape you were born with and clean up only what strays outside it.
A clear or lightly tinted brow gel can add lift without looking done. Less definition is the cost, so sparse brows will still read as sparse.