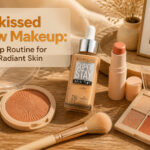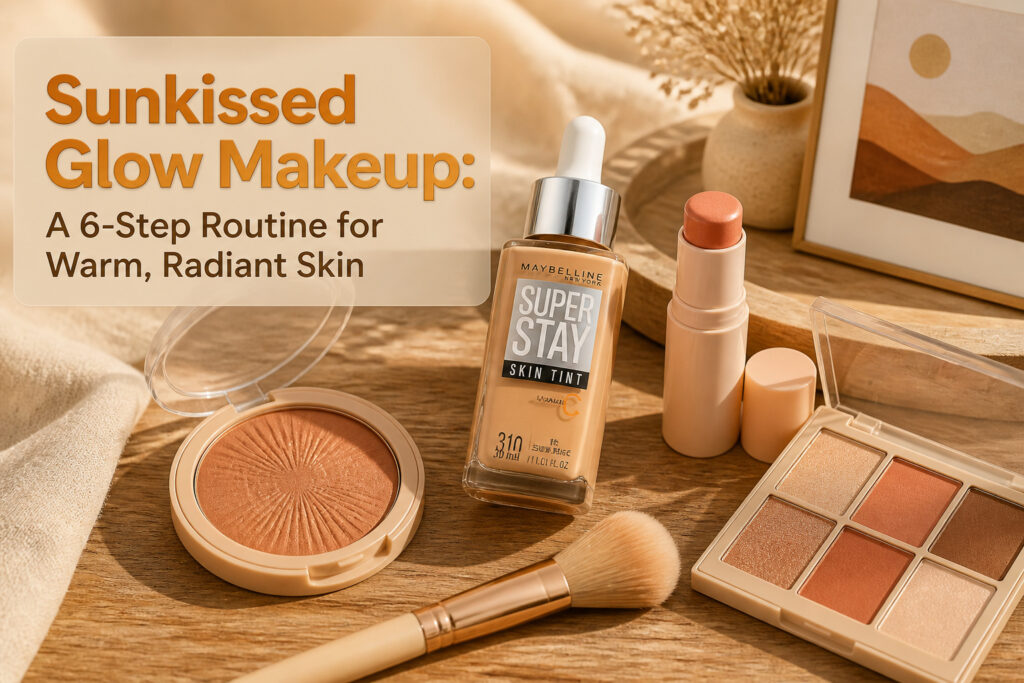
Sunkissed glow makeup is a six-step routine that mimics the warm, even flush skin gets after real sun exposure. The catch is that the base has to stay invisible; one too many layers of skin tint and the whole effect turns cakey by noon. Maybelline’s Super Stay Skin Tint with Vitamin C is what makes the warmth on top read as a weekend outdoors rather than a costume.
Even Out Your Complexion
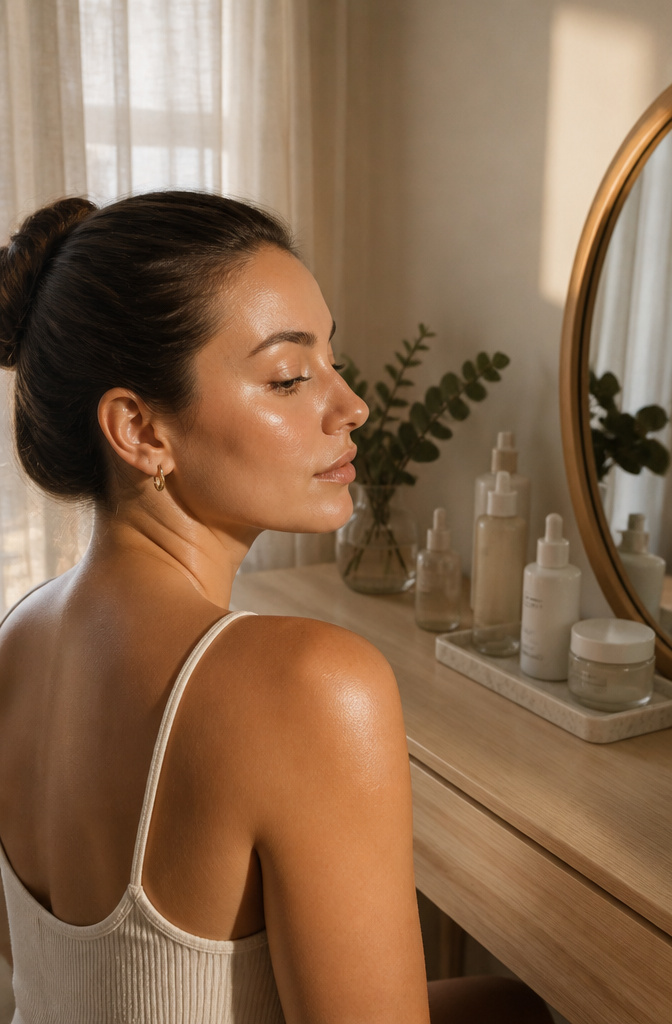
A sunkissed glow makeup look lives or dies on what goes underneath the bronzer and blush. The base has to read as skin that happens to be even, not as foundation doing overtime.
Maybelline’s Super Stay Skin Tint with Vitamin C is built for exactly this. The formula is lightweight enough that it won’t fight whatever moisturizer or sunscreen is already on your face from your morning routine. I tried treating it like a full-coverage foundation once, building layer over layer to hide a stress breakout, and the finish turned cakey by noon. The tint is not designed for that. One thin layer brightens without masking, and that is the whole point.
This is the no-makeup makeup baseline the look depends on. If the base reads as product, the sun-kissed effect on top reads as costume. Keep it bare, keep it believable, and the warmth you add later actually looks like it came from a weekend outdoors rather than a makeup bag.
Boost Your Glow
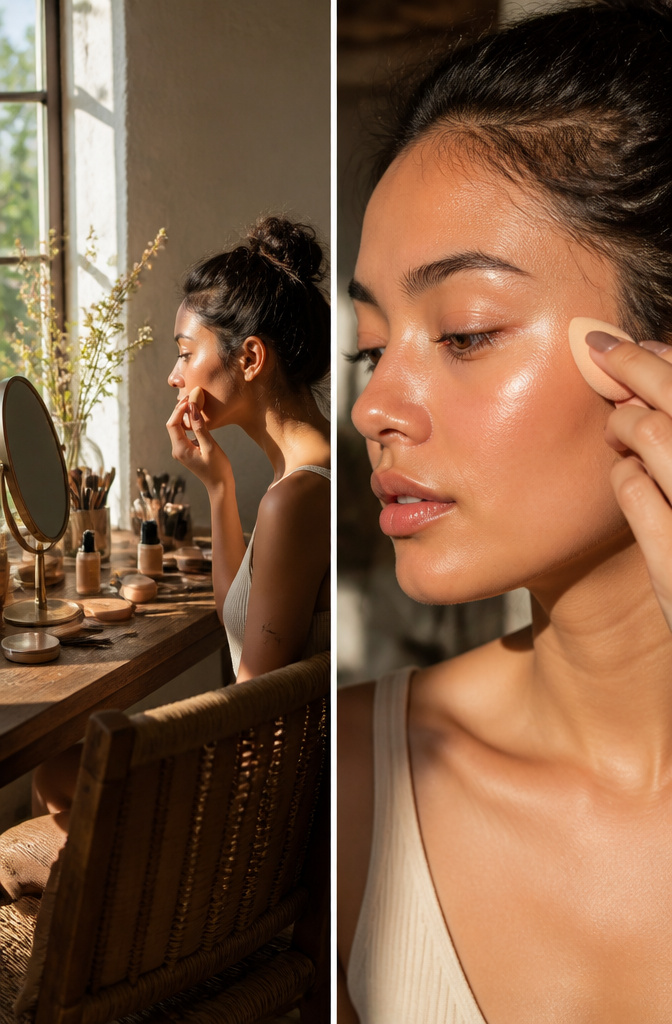
The sponge applicator on Maybelline’s Instant Age Rewind 4-in-1 Perfector is what makes the placement precise. I tap it along the high points where light would naturally hit: the tops of my cheekbones, the bridge of my nose, a small dot on the cupid’s bow, and a sweep across the brow bone. The formula is thin enough that a single layer covers without sitting on top of the skin.
The 4-in-1 claim means primer, concealer, highlighter, and BB cream in one tube. In practice, it replaced my separate illuminating primer and my liquid highlighter for this routine. The glow is subtle, not pearlescent, so it reads as skin rather than makeup sitting on skin. After a full day, the illumination held where I placed it, though the outer edges of my face needed the coverage boost of a dedicated concealer on a long-wear day. For a sunkissed look specifically, the warmth comes from what you layer over it, not from the Perfector itself; it creates the lit-from-within base that makes bronzer and blush look like they belong there.
Bronze to Perfection
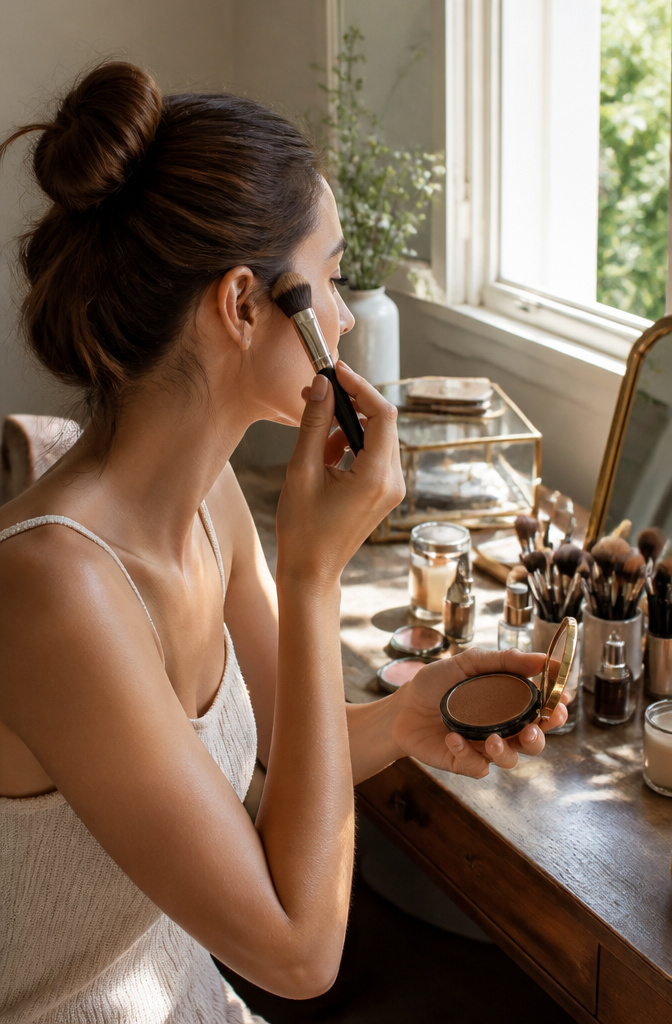
City Bronzer carries cocoa butter, which is why it melts in rather than sitting on top of the skin with that powdery finish so many bronzers leave behind. Three shades exist, and the match matters: too warm reads orange, too cool reads muddy, and the right one just looks like you spent Saturday outside.
The placement follows where August light actually lands. I sweep it across the forehead and into the hairline, down the bridge of the nose, then through the temples. The cheekbone hollow gets a backward "3" motion that keeps the warmth dimensional without crossing into contour territory. Carrying it below the cheek hollow was my mistake for months; anything on the lower face drops the whole look into territory that reads dirty rather than sun-touched.
Liquid bronzers were in my rotation before this, and they blend beautifully on bare skin. The problem shows up once foundation or tinted moisturizer is already down; liquids grab and shift what’s underneath. City Bronzer stays put because it’s powder, and the cocoa butter keeps it from looking dry or flat on top of base products. On mornings when I want the least possible effort, I also swirl the same shade across my eyelids. It adds enough depth that mascara alone finishes the eye, which keeps the whole routine at six steps instead of eight.
Add Some Heat with Blush
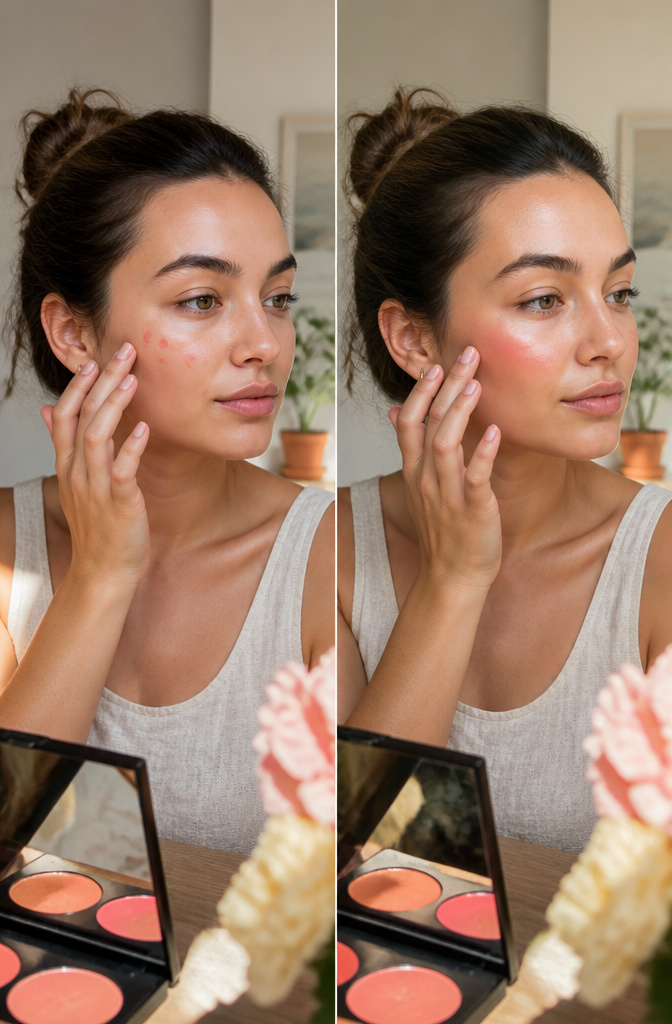
Cream blush is what makes the sunburn read as real instead of stage paint. Sunkisser Liquid Blush in City Sizzle melts into the skin where powder would sit on top and catch light wrong. I dot it along the tops of my cheekbones starting at the hairline, then sweep down across the nose and back up in that W shape the actual sun would draw, with a small extra tap in the center of the forehead to marry it to whatever bronzer is already down.
The texture matters because it has to blend without lifting the base underneath. I use a fingertip, not a brush, and work in thin layers. Two dots per cheek was the amount that looked lived-in; three pushed it into territory that needed fixing. I also tested Rare Beauty Liquid Blush against it, and the difference was in the slip. Rare Beauty sets faster, which rewards a quick hand but punishes hesitation. Sunkisser stays workable longer, which I prefer for building that seamless finish. If you want more pigment after, a powder blush on top locks it in and deepens the flush without starting over.
Dial Up Your Highlight
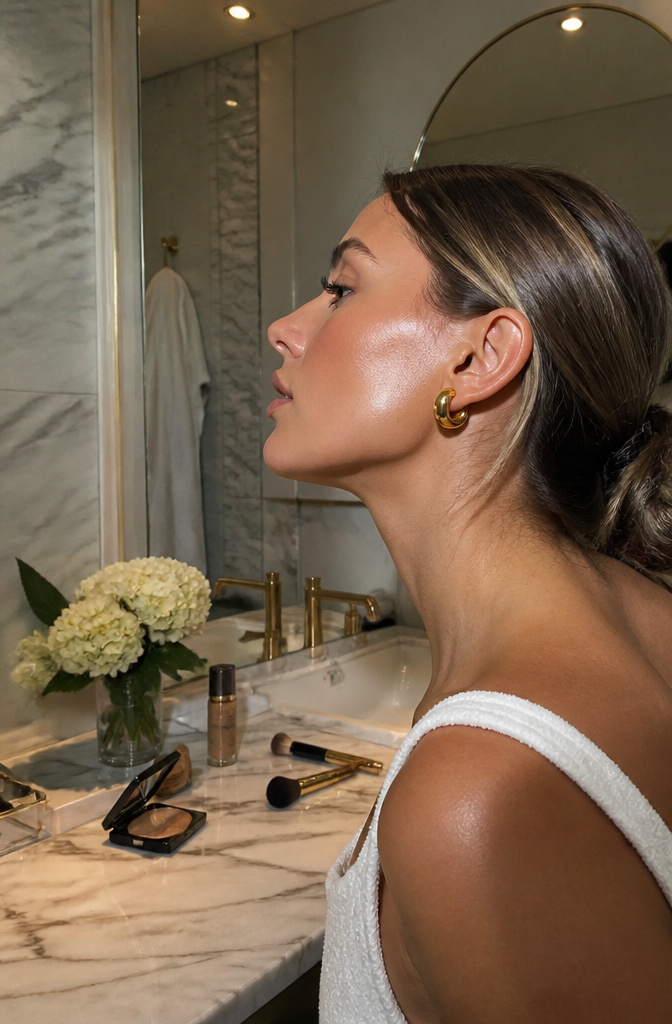
The cheekbones, brow bone, and the bridge of the nose catch light in real life, but that diagram in the package insert puts a dot on the cupid’s bow that mostly just reads as a smudge from conversational distance. I learned the difference between where light actually lands and where the chart tells you to glow by walking from my bathroom into the office and watching half my face go flat under fluorescent tubes. Chrome Highlighter has a fine enough grind that it still throws back something under bad lighting, though the effect shifts from dewy to just a little sweaty when the overhead ballasts are the only source.
I started with E.L.F Halo Glow Liquid Filter, which gave a similar reflectivity but sat on top of the skin and moved by hour three. The Chrome formula melts in and stays where I pressed it, so I can use less. Under natural light, the difference between the two is whether you look like you woke up that way or like you applied something after coffee.
Perfect Your Pout

Matte lipstick has no business near a sunkissed glow makeup look. The flat finish kills the light you spent six steps building, so I skipped matte entirely and reached for Lifter Gloss in Candy Drop instead. The sheer wash of color kept the warmth alive across my face rather than planting a dry, opaque stop sign in the center of it.
Candy Drop carries just enough pigment to register without shouting. Through two cups of morning coffee the gloss held its juiciness for about three hours before the shine dulled to a comfortable stain. That stain still read warm, which mattered more than mirror-gleam by noon. Reapplication took ten seconds and the layer never went sticky.
The gloss pulled the whole look together in a way a bolder lip would have fought against. Sunkissed skin wants to be the story; the lips should echo it, not compete.
Prep the Skin First
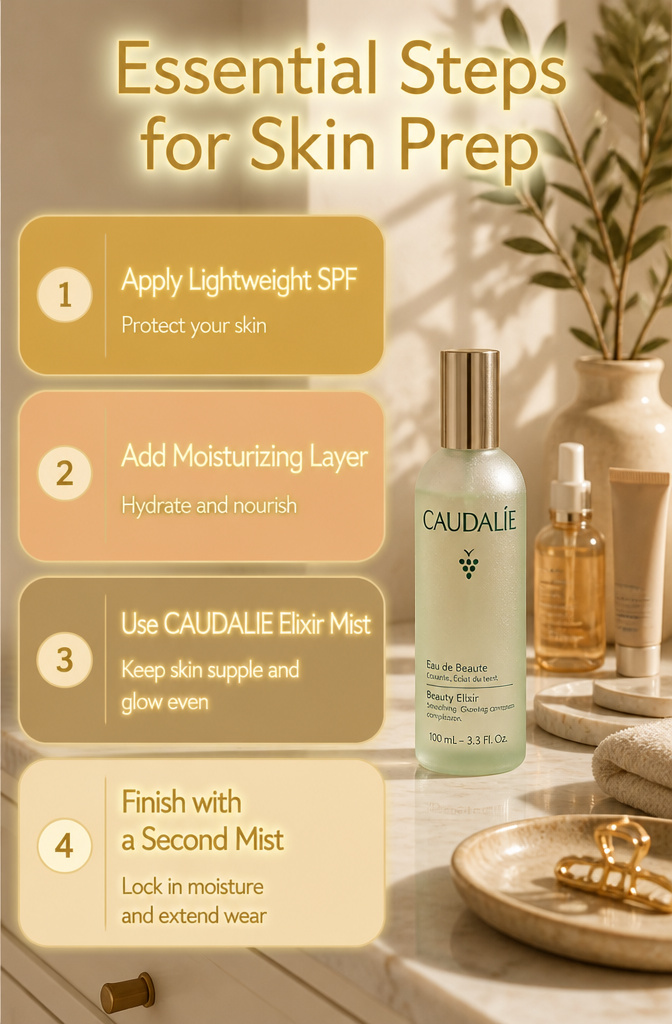
Hydrated skin holds bronzer and blush about twice as long as dry skin does. That gap is where the sunkissed effect fails first: pigment catches on flaky patches, color turns muddy by noon, and the whole warm-radiant thing collapses into something patchy and dull. I learned this the hard way after skipping prep a few mornings and watching my cheek color disappear by 10 a.m.
My pre-makeup routine now starts with a lightweight SPF, then a thin layer of something with real moisture in it, and a mist I only added after seeing the difference. The CAUDALIE Beauty Elixir Face Mist changed the wear time most. I use it after serum and again after powder if I set anything; it keeps the surface supple enough that liquid bronzer blends instead of grabbing, and the glow stays even through a full day. Without that step, the sunkissed look sits on top of skin instead of becoming it.
Keep It Barely There
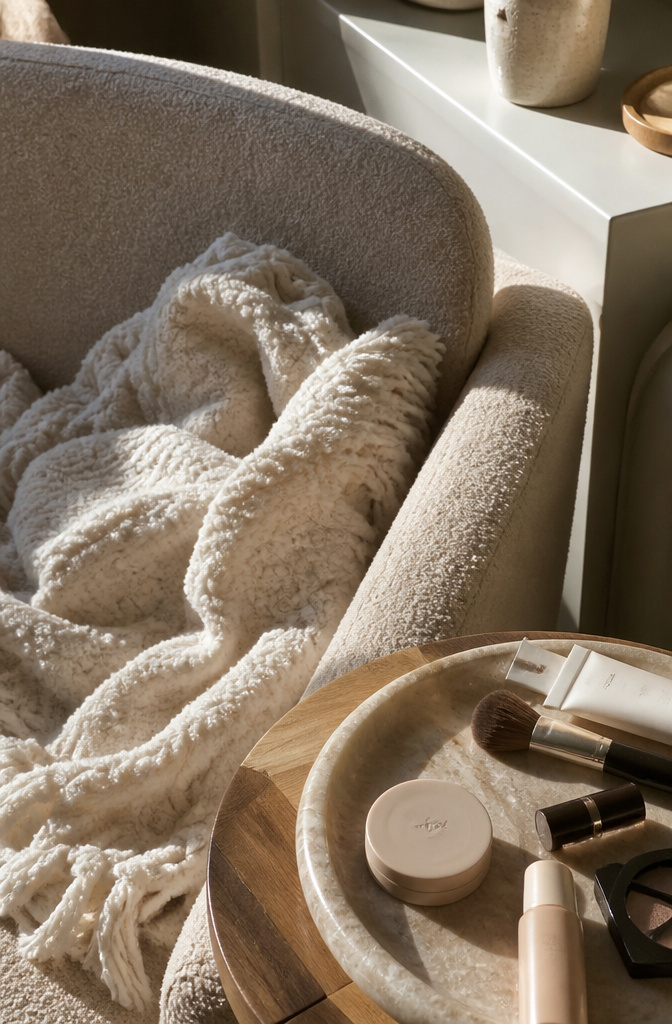
The no-makeup makeup trend and the sunkissed glow share the same premise: your skin should look like skin, only better. I had to stop reaching for full-coverage foundation to see it. For years I layered matte formulas that erased every freckle, then wondered why the bronzer and highlighter sat on top like stage paint instead of melting in. The 35-54 reader notices this immediately because she reads ingredient lists for a reason: she wants visible results for hydration and radiance, not a mask that promises both and delivers neither.
What changed was switching to lightweight options like the E.L.F Halo Glow Liquid Filter or a tinted moisturizer with actual skincare benefits. These let the warmth from liquid bronzers, applied where the sun naturally hits, read as real rather than painted on. The Charlotte Tilbury Hollywood Contour Wand works here because it is blendable enough to disappear into the base instead of fighting it. The moment foundation becomes detectable, the sunkissed illusion collapses.
I still catch myself adding a second layer on bad skin days. It never works. The flush from Rare Beauty Liquid Blush needs a translucent surface to look like a flush; on full coverage it reads as color sitting where color should not be. The barely-there approach is not about using fewer products, but about choosing ones that do not announce themselves.
Where the Sun Actually Hits
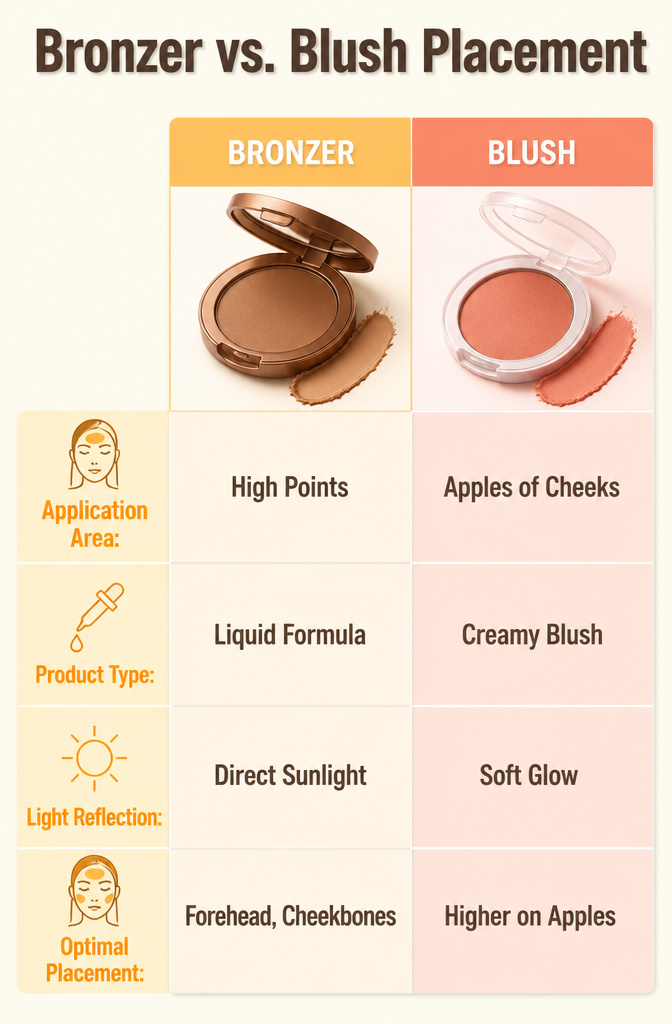
The three products sit on the same shelf but want completely different real estate on your face. Treating bronzer, blush, and highlighter as interchangeable washes is the mistake that turns a sunkissed glow into a flat mask, because light does not hit skin evenly from forehead to chin.
After mapping my own face during a long morning walk, I started placing bronzer only where the sun would actually reach first: the high points that catch direct light and the spots that tan before everything else. The hollows of the cheeks, where contour tutorials tell you to carve, stay lighter in real life. Shadows collect lower and softer than I used to paint them.
Charlotte Tilbury’s Hollywood Contour Wand changed how I read those shadows. Its liquid formula and the applicator’s placement forced me to notice that natural shadow falls closer to the jaw’s edge and farther from the ear than most diagrams suggest. I now start blush higher on the apple, sweeping toward the temple where heat would rise, and keep highlighter to the planes that would genuinely reflect: the top of the cheekbone, the bridge of the nose, the bow of the lip. Nothing on the forehead, nothing on the chin. Those areas in my own light map read as matte in midday sun, not gleaming.
Frequently Asked Questions
How do I achieve a sunkissed makeup look?
Start with a lightweight base like Maybelline Super Stay Skin Tint instead of full-coverage foundation, then layer bronzer where sun naturally hits, cream blush in a W shape across cheeks and nose, and a subtle highlighter on the high points. The key is keeping every step thin enough that skin still reads as skin; once foundation becomes detectable, the sunkissed illusion collapses.
What products are best for a sunkissed glow?
Maybelline Super Stay Skin Tint creates the necessary bare base, Instant Age Rewind 4-in-1 Perfector replaces separate primer and highlighter, City Bronzer melts in with cocoa butter instead of sitting powdery on top, and Sunkisser Liquid Blush in City Sizzle blends seamlessly for the flush. Prep with CAUDALIE Beauty Elixir Face Mist to keep everything supple and lasting.
How should I apply bronzer for a sunkissed look?
Sweep bronzer across the forehead and into the hairline, down the bridge of the nose, through the temples, and through the cheekbone hollow in a backward 3 motion. Carry it below the cheek hollow and the look drops into dirty territory rather than sun-touched; keep it to where August light actually lands.