Skin type decides which of these steps will work for you, so settle it first: dry skin needs rich hydration, oily skin does better with lightweight formulas and oil control, and combination or sensitive skin falls somewhere between.
The list runs from eyeliner, mascara, lip color and highlighter to skin types, the tools that apply it all and the mistakes that trip up most beginners.
1. Eyeliner Application
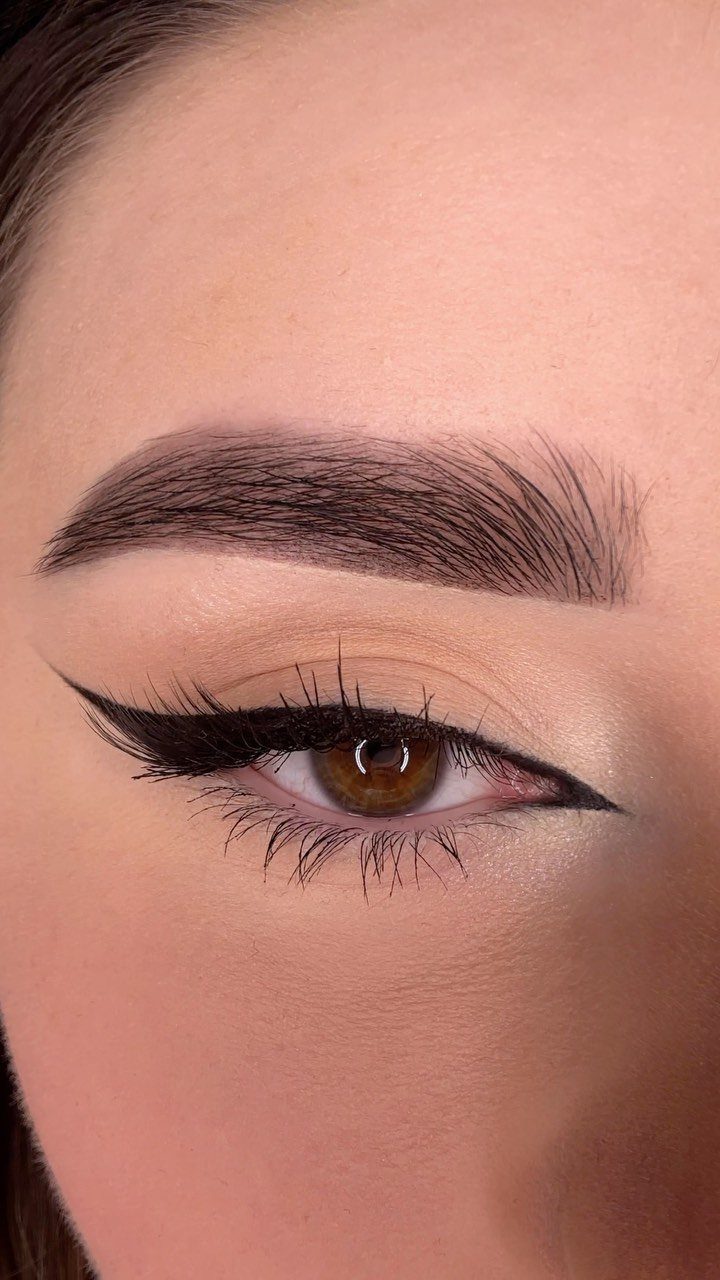
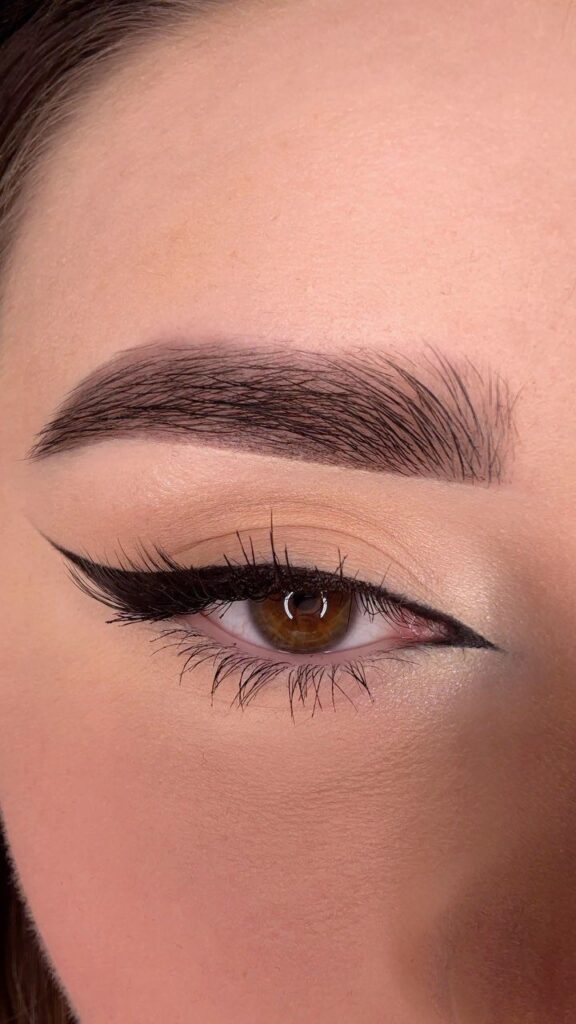
A winged line is the fastest way to make eyes look sharper, and a beginner can get it with one habit: build it in small strokes instead of one long sweep.
Start at the outer corner and draw the wing first, aiming toward the end of the brow. Then connect it to the lash line in short dashes.
Pencil is more forgiving than liquid. A cotton swab dipped in makeup remover cleans up a crooked tip in seconds.
Keep your elbow on a table so your hand stays steady.
2. Mascara Application
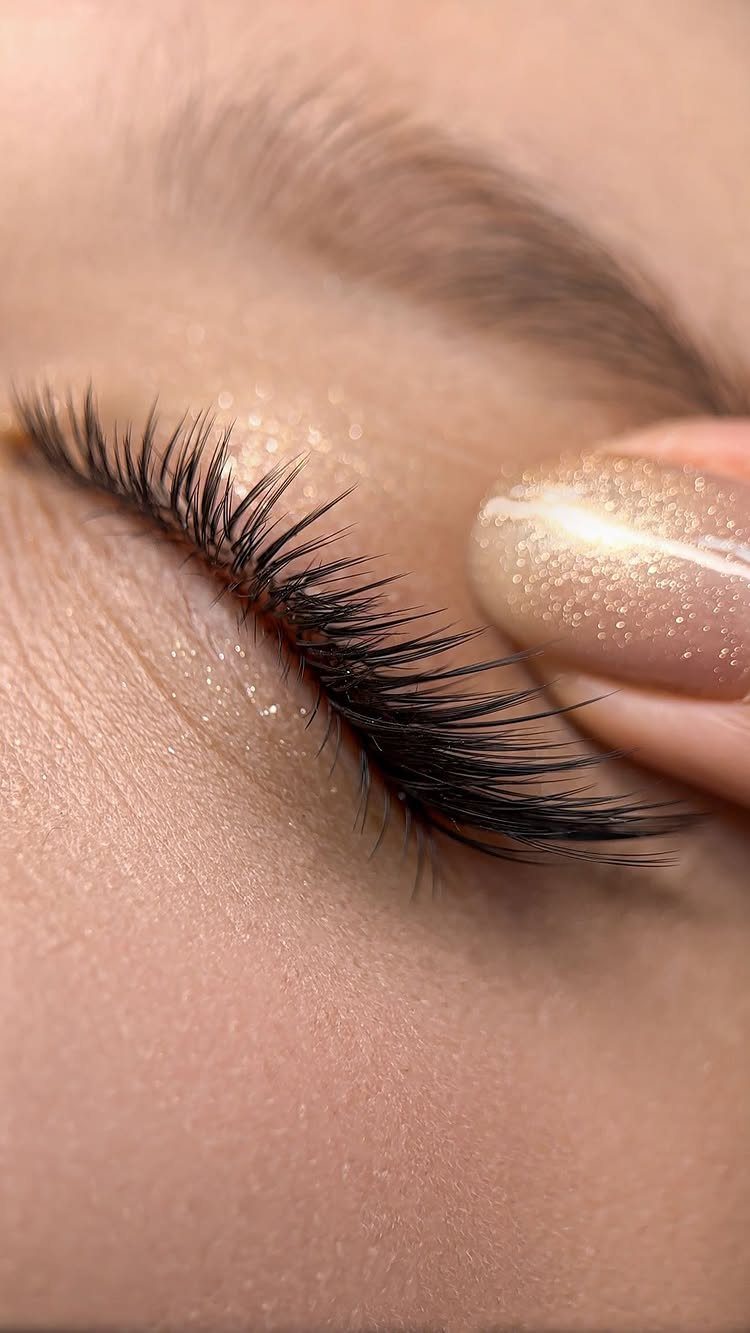
Mascara works best when the wand starts at the root of the lashes and wiggles up to the tips. That wiggle coats each lash from the base and builds the fuller look without extra product.
Lift the lid gently with one finger and the lash line becomes easy to see, which keeps the wand from smudging the skin. Let the first coat set for a moment before adding a second, since wet layers clump.
A cheap drugstore tube does this job fine. Spend your budget elsewhere.
3. Lip Color Application

Lipstick finishes a look, and pink is an easy shade to start with because small slips show less than they do with deep reds.
Apply it straight from the bullet, starting at the center of the upper lip and working out to the corners, then fill the lower lip.
Press your lips together once to spread the color evenly. Blotting with a tissue softens the finish and cuts down on transfer.
A mirror at eye level keeps the lines steadier than one you look down into.
4. Highlighter Use
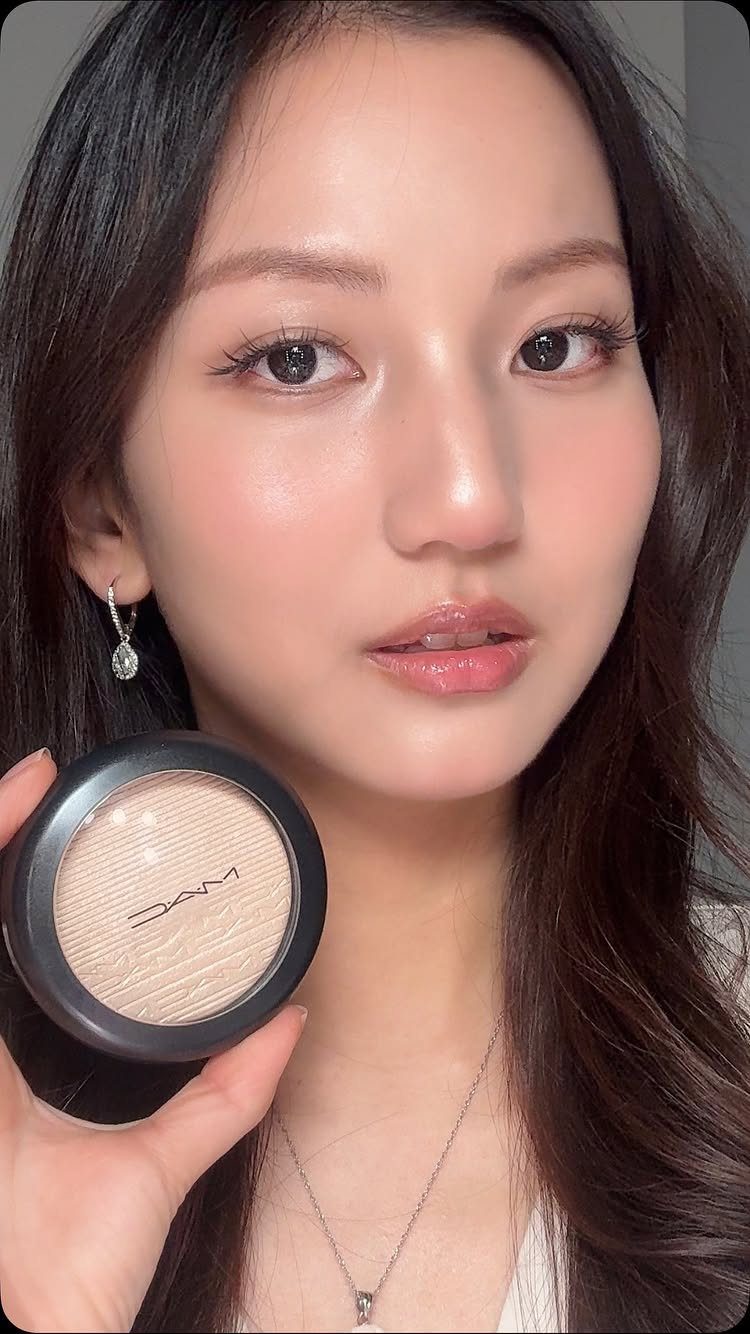
A compact is easy to control, whether you press it on with a fingertip or pick it up with a small brush.
Less is better. Tap off the extra product first, and add a second layer only when you want a stronger shine.
Skip areas with texture or breakouts, since shimmer draws the eye right to them. One compact lasts a long time, so it is a sensible buy on a tight budget.
Understanding Skin Types
Skin type decides which formulas will sit well on your face, so settle it before you buy anything.
Dry skin feels tight, flakes in patches and looks dull, and it needs rich hydration with gentle cleansing. Oily skin shines by midday, shows enlarged pores and breaks out easily, so it does better with lightweight hydration and oil control.
Combination skin runs oily through the forehead, nose and chin, with dry cheeks.
Choose balanced formulas that neither strip the skin nor weigh it down. Normal or sensitive skin is mostly even but irritates easily, so fragrance-free formulas are the safer pick.
Chances are you already know roughly which type is yours.
Not sure? Begin with formulas made for normal or combination skin, then adjust as you see how your face responds.
Cleanse gently and add a light moisturizer before any color. Makeup applied over hydrated skin blends more smoothly and has less to cover.
Makeup Tools
Good tools only stay good if they are clean. Dirty brushes and sponges blend unevenly, and the oil and residue they hold sit against your skin.
A simple schedule keeps this manageable:
- Each day, take a dry tissue or a makeup wipe and blot the leftover product off your brushes.
- Once a week, work a mild cleanser or a little baby shampoo into your brushes and sponges under warm water.
Match the tool to the job, too.
A foundation brush or makeup puff picks up and blends base product. Concealer goes on with a small brush, one dot right on the spot, and then a fingertip taps the edges until they fade.
Tapping matters more than the tool. Thin layers hide less than you expect at first, but thick ones draw the eye to exactly what you want to cover.
Common Beginner Mistakes
Shade matching trips up more beginners than any other step, and the back of your hand is the wrong place to test.
Swipe the shade along your jawline instead, where face meets neck. When the match is right, you won’t see a line at all.
Blending is the next fix.
Blend with a sponge that’s been dampened or with a brush, and tap or press the product in instead of dragging it. Work outward toward the hairline and jaw so no edges show.
Foundation also needs a moisturized base. On dry skin it clings to patches and flakes off by afternoon.
As for amount, a single pump of foundation usually covers everything from forehead to chin. Blend it fully before deciding you need more, because adding product to a patchy spot almost always makes it look worse.
Consider this a makeup beginner’s outline to layering your makeup, step by step.
— Self