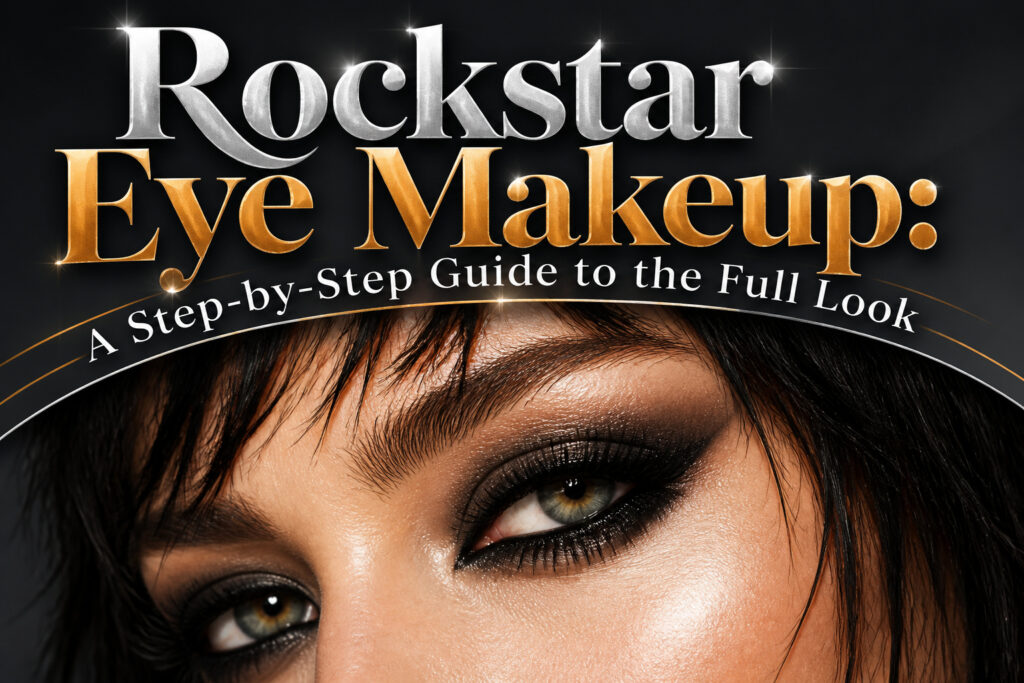
Rockstar eye makeup is a full-face construction built around a smoky, heavily lined eye that reads as deliberate rebellion rather than costume. The difference between pulling it off and looking like you’re wearing a mask comes down to prep: without hydrating cream and primer laid down first, the bold shadow and liner turn cakey under any light stronger than a desk lamp. Courtney Love’s smudged, slept-in liner and Gwen Stefani’s precision-with-excess gave the look its blueprint in the ’90s, and the modern version still chooses between those two instincts.
Start with a Flawless Canvas
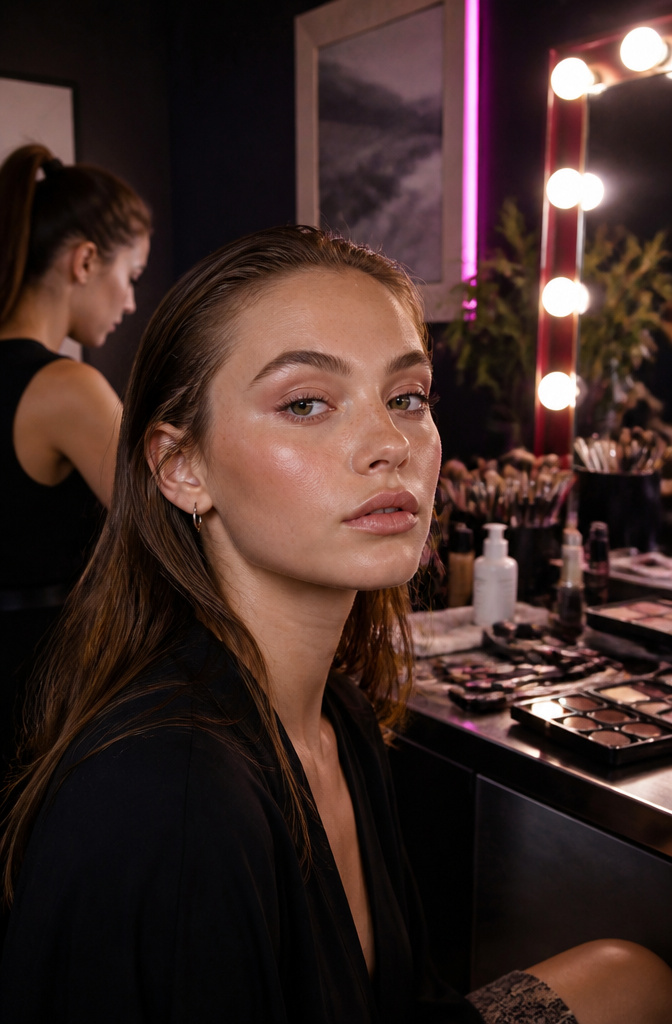
A rockstar eye makeup look needs skin that can take stage lighting without turning cakey, which means prep is where the whole thing lives or dies. I start with hydrating cream, then primer, because dewy skin underneath keeps the later layers from looking painted on. The primer gives that healthy glow the bold colors need to sit against; without it, foundation grabs at dry patches and the whole look reads tired by hour two.
Foundation gets applied from the center of the face and blended outward. That center-out motion matters more than the brand of brush: it keeps the product heaviest where pores and redness cluster and feathers to nothing at the hairline and jaw, so the edge never shows. Rockstar makeup is dramatic by design, but the base should disappear.
Highlight and Control Shine
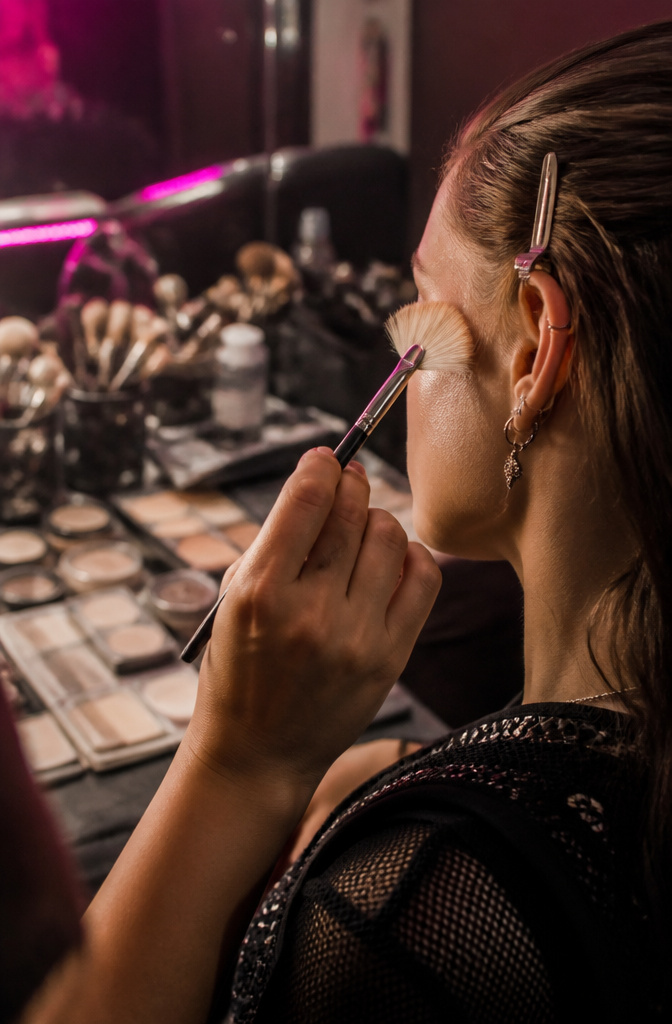
Pressed powder is where the rockstar eye makeup look shifts from backstage chaos to stage-ready polish. The right application erases the shine that reads as sweat under hot lights and knocks out the redness that can creep up around the nose after blending shadow for ten minutes.
I reach for a fan brush instead of a fluffy powder brush because the shape deposits product exactly where I want it without dulling the work underneath. Swipe it across the cheekbones first, where highlighter would normally go in a softer look; here it creates that matte, sculpted plane the style depends on. The tip of the nose and the cupid’s bow come next, two spots that catch light and can throw off the whole mood if they stay glossy. The cupid’s bow in particular tends to collect shine from talking, sweating, or just existing under bulbs, and powdering it keeps the lip line clean for whatever bold color comes later.
Pressed rather than loose matters here. Loose powder travels, and with dark shadow already laid down, fallout onto a finished lid is not a mistake you want to fix at midnight.
Sharpen Your Cheekbones
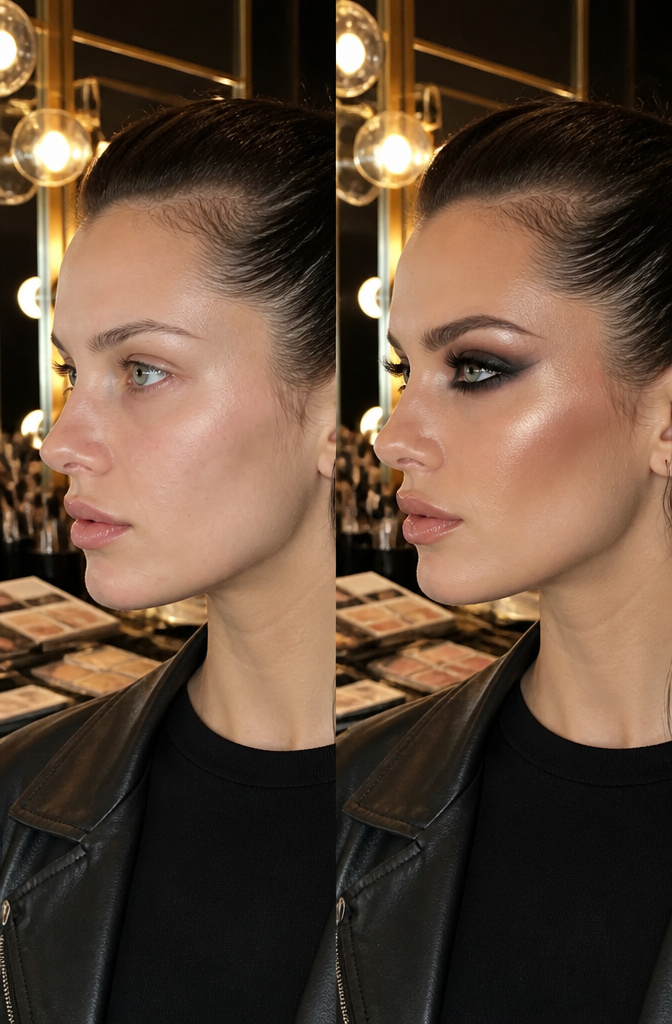
Sharp cheekbones are what separate a rockstar look from plain dark eyeshadow. The first time I tried contouring for this style, I skipped the bronzer and went straight to shimmer, which left my face looking flat in photos. Bronzer belongs in the hollows of your cheeks, along the sides of your nose, and across your jawline — three placements that carve out structure before anything reflective goes on top.
After the bronzer is blended, a gold or silver blush finishes the job. The metallic sheen catches light the way stage lighting would, so your cheekbones read as the high point of the face even under dim bar lights. I learned the hard way that putting shimmer directly on bare skin reads as sweat, not glamour. The bronzer layer underneath is non-negotiable if you want the sparkle to look intentional.
Create With an Eye for Detail
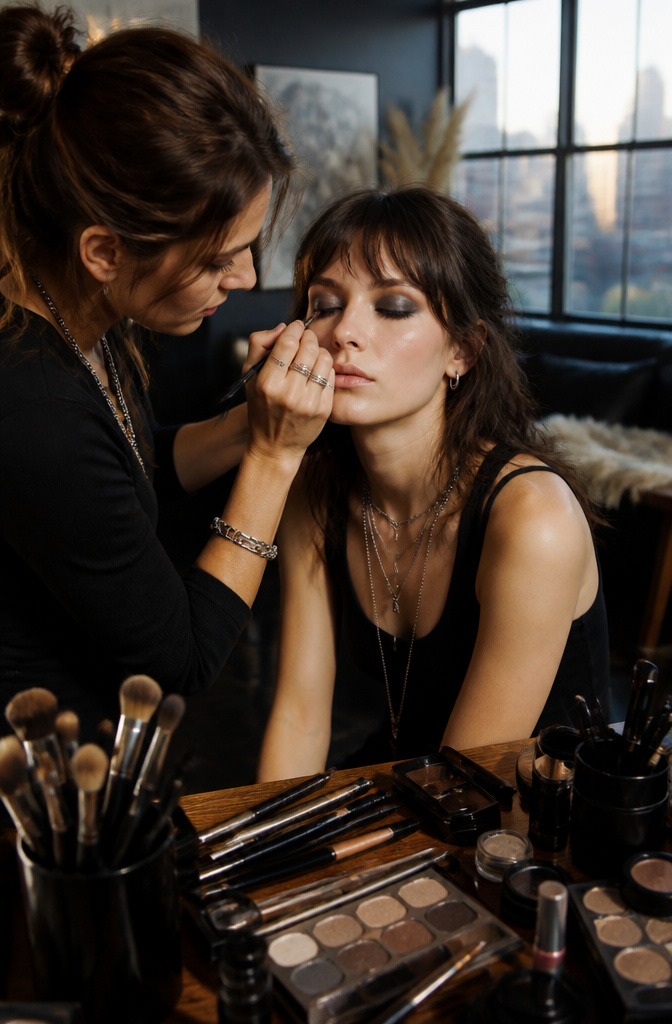
Brows frame the whole rockstar eye makeup look, so I spend real time getting them right before any shadow touches the lid. A strong arch gives the smoky eye its anchor; without it, the darkness pools instead of lifts. I fill sparse spots with short strokes, set with a clear wax, and move on before perfectionism takes hold.
The smoky eye itself wants layering, not one slashed-on color. I start with a mid-tone gray swept through the crease, press charcoal along the lash line, and blend the edge with a clean brush until the skin shows through in a soft gradient. A thick layer of mascara finishes the shape, wiggled at the root so the lashes hold their lift and combed through to the tips so they don’t clump into spikes. The whole eye sequence runs about fifteen minutes in my hands, longer if the blend fights back.
Go Smoky
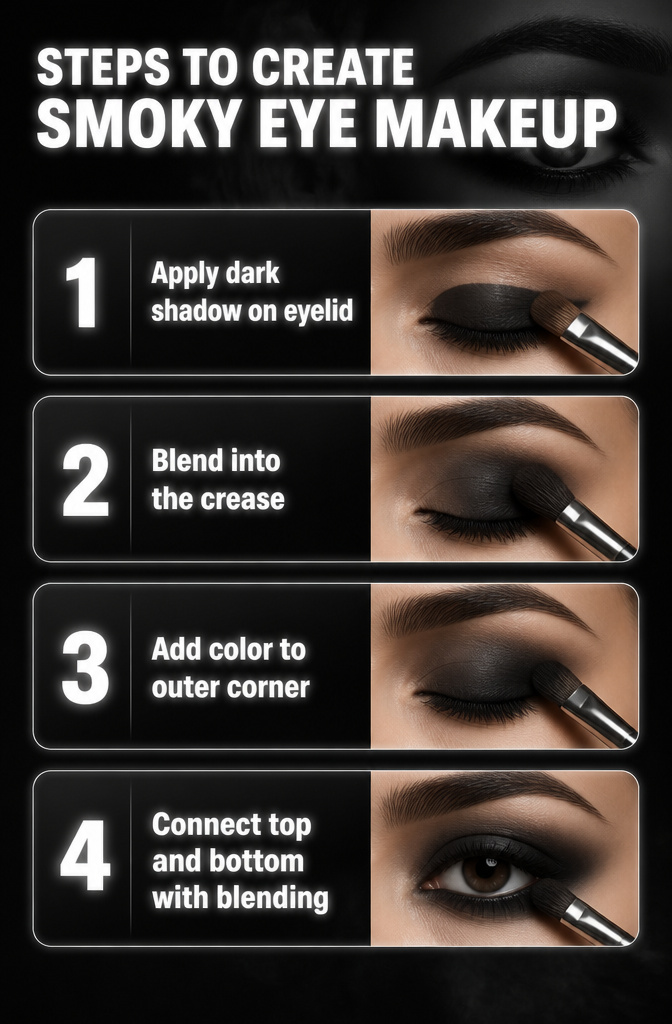
A flat eyeshadow brush lays down the first layer of dark shadow across your entire eyelid. The brush shape matters here: flat packs color on without scattering it, and a dense pack of bristles keeps the pigment where you put it.
Next, switch to a fluffy, tapered brush and blend that same color into your crease. The taper lets you soften the edge where lid meets socket bone without blowing the color out too wide. Stop when the line looks diffused, not when it disappears completely.
Return to the flat brush and build extra shadow onto the outer corner of your eye. This is where the smokiness gathers its depth. Layer in stages; you can always add more, but pulling pigment back off requires starting over.
Finish by marrying the two zones with a smaller blending brush. Run that same brush beneath your lower lash line, smudging the darker shadow as you go so the top and bottom connect at the outer corner.
Enhance Your Eyes With a Flick
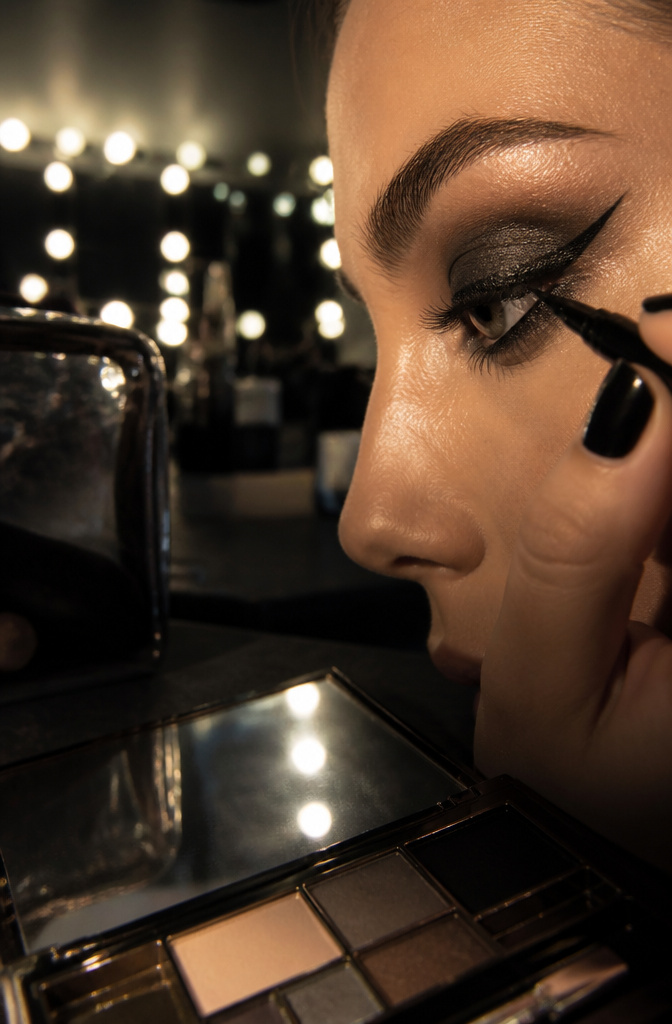
Black eyeliner gives rockstar eye makeup its finishing attitude, and the cat-eye flick is where that attitude lives. The shape starts at the inner corner, runs the upper and lower lash lines, and ends in a wing that points upward toward the temple. Getting both eyes to match took me longer than the smoky shadow underneath; the second eye always wants to pull higher or fall shorter.
A pencil with real pigment keeps you from going over the same line five times, which is how wings get thick and muddy. The Makeup by Mario Master Pigment Pro Eyeliner Pencil deposits enough color in one pass that the wing stays crisp. I draw the flick first, outward from the outer corner, then connect it back along the lash line so the angle stays consistent. Filling in after the fact tends to lift the tail.
Go Bold With Your Lashes
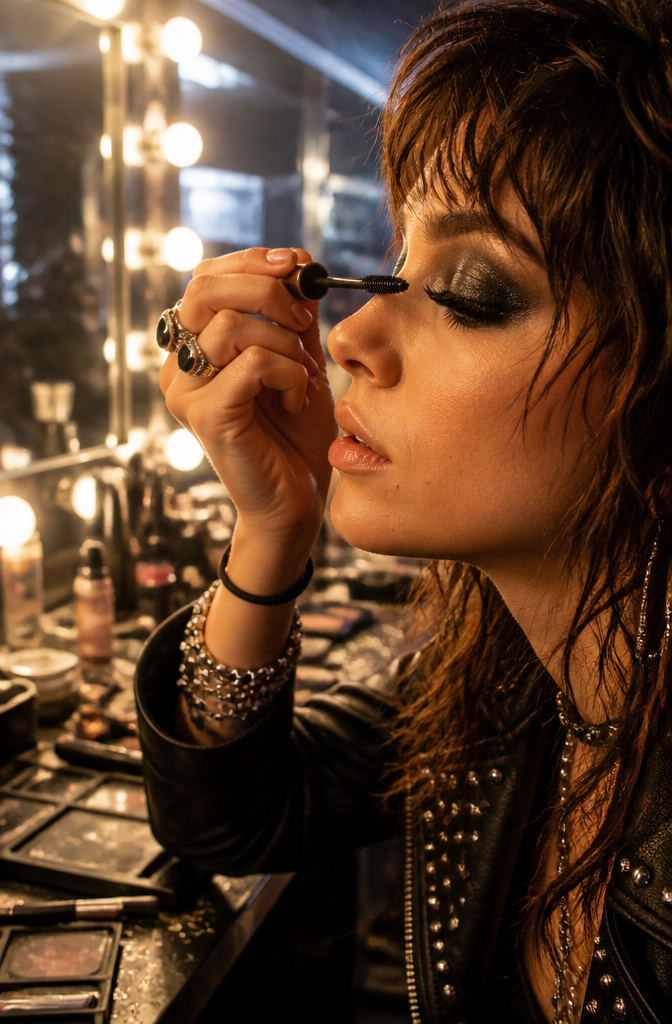
The eyes are where a rockstar look lives or dies, and most of that time goes into precision work like brows and smoky shadow. Once that base is built, lashes are what push the whole thing over the edge from polished to actually dangerous.
A thick layer of mascara on both top and bottom lashes is what creates that heavy, almost slept-in intensity the style demands. Talias, the makeup artist behind several of the more convincing rockstar tutorials, reaches for Yves Saint Laurent Lash Clash Extreme Volume Mascara for this step specifically. Multiple coats are the point here, not a mistake to correct. The bottom lashes especially need that weight to balance a dark lid without looking half-finished.
The difference between one cautious coat and three deliberate ones is the difference between office-appropriate and stage-ready. If your lashes clump slightly, that texture reads as part of the look rather than against it.
Finish With a Kiss
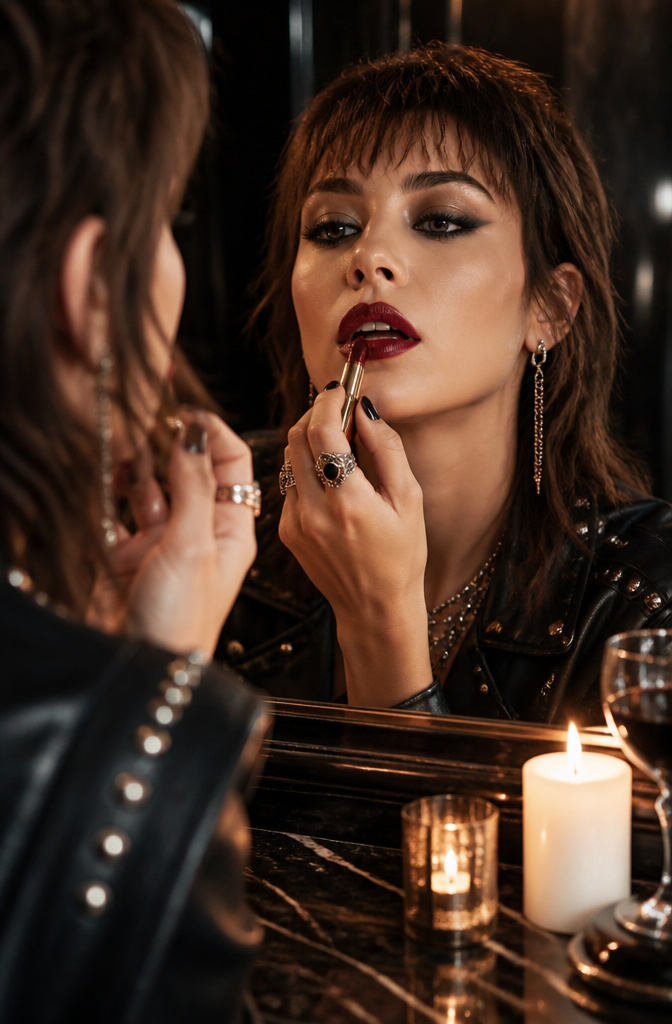
The eyes have done their job, but a rockstar look still needs the mouth to match. A shiny, dark lip color locks the whole thing together, and red is the shade that reads rock goddess rather than wallflower.
MAC Lipstick Matte in a deep red delivers exactly that finish: enough pigment to hold its own against heavy liner and shadow, with the matte texture keeping the shine from competing with whatever gloss you might already have on the lid. When I line up the elements, the lip is where I stop adding more eye product and start balancing downward.
For anyone leaning more grunge than glam, the same line in Marrakesh, that rich terracotta brown, works as the counter-choice. It is the ’90s reference without the costume feel. Either way, a bold lip is the full stop at the end of this sentence.
Set Your Makeup
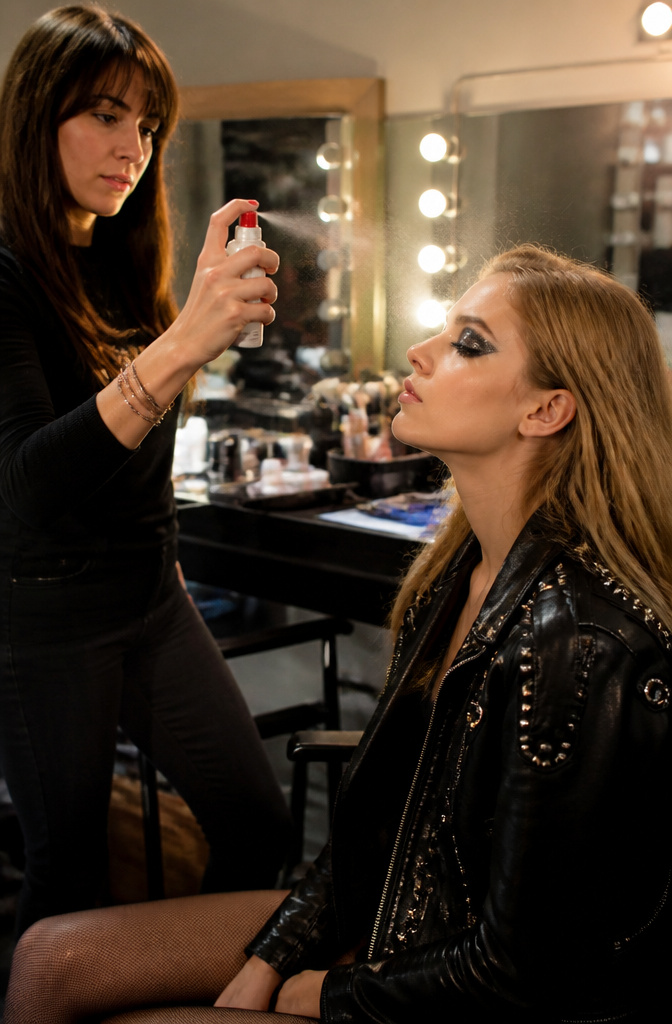
Setting spray is the last thing you touch before the music starts. A full face of rockstar eye makeup, smoky and deliberately messy, can still look intentional at 2 a.m. if you lock it down right. Mist it evenly across closed eyes and let it dry without fanning; the formula does the work while you load the car.
The gap in most tutorials is real. They mention setting spray and stop there. No one talks about whether primer underneath changes the equation, or if patting shadow over a cream base buys you extra hours. Those variables still matter, but the sources leave them alone, so I will too. What is confirmed: a proper setting spray, applied after lashes and liner are fully dry, keeps the whole construction from sliding south under hot lights. That is the move that closes the night the way you started it.
Makeup Techniques That Define the Look
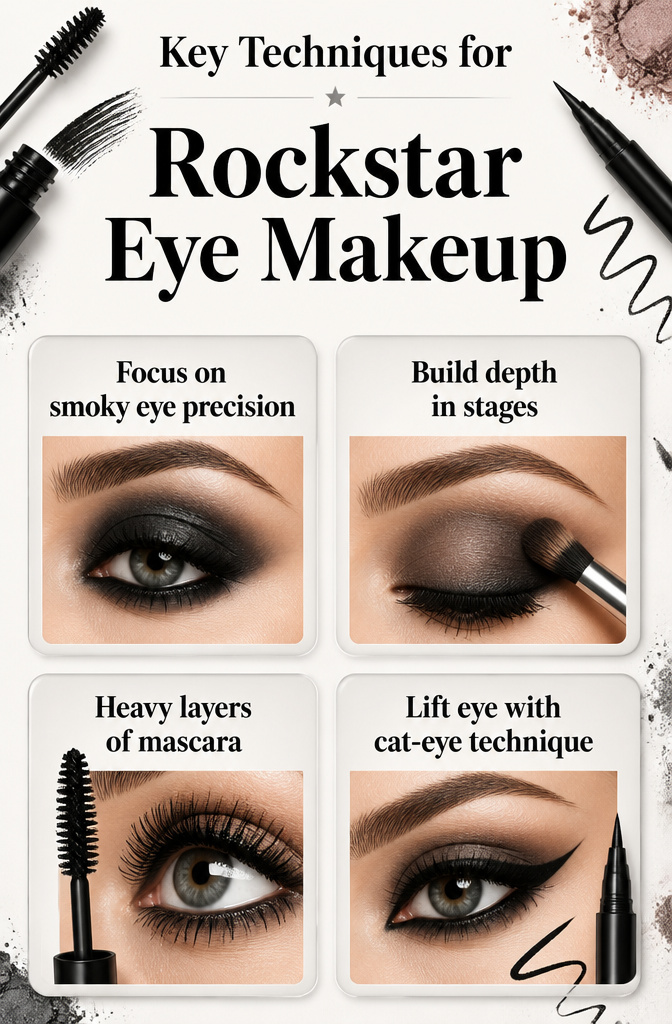
The smoky eye sits at the center of this look, and precision matters more than product. What convinced me, reading through a dozen breakdowns, is that most sources spend the bulk of their time on the eyes and treat everything else as support. Start by building depth in stages: a dark base swept across the lid, then a softer shade blended up toward the brow bone so the color graduates rather than stripes. The blend at the crease is where the look lives or dies; a hard line reads costume, a soft fade reads rockstar.
Lashes come next, and the sources agree on heavy layers. Curl first, then build mascara on top and bottom lashes until they read as fringe rather than individual hairs. One makeup artist stacks multiple coats of YSL’s Lash Clash Extreme Volume Mascara, which gives the dense, almost clumped effect that photographs under stage lights.
For the cat-eye finish, draw black liner tight to the upper and lower lash lines, then wing it outward at the corner. The flick should lift the eye, not drag it down, so the angle follows the lower lash line’s natural trajectory upward.
Cheekbones get their definition from placement, not just color. A contour shade sits under the bone, not on the apple, and the blend stops before it reaches the center of the face. The sources that mention this step keep it subtle; the drama stays in the eyes, and the cheeks provide structure without competing.
Icons Who Shaped the Style
The 90s and early 00s gave rockstar eye makeup its real blueprint, and two names still stand out when I picture the look. Courtney Love’s smudged, slept-in liner was deliberate chaos, the kind of black that started at the lash line and wandered upward like she had better things to do than blend. Gwen Stefani took that energy and sharpened it, pairing precision with excess, red lips with heavy shadow, a collision of polish and rebellion that made the style wearable past midnight.
"I think every decade and era has its version of ‘rockstar women’ who pushed the boundaries and put together groundbreaking and iconic looks."
— Glamour
What this means for anyone building the look now: you are not copying a costume. You are choosing between two valid instincts, the smudgy matte black eye with loads of mascara that defined that era, or the sculpted, highlighted version with visible lip liner that Stefani made her own. Both routes work. The mistake is trying to split the difference and ending up neat, which kills the whole point.
Products That Deliver
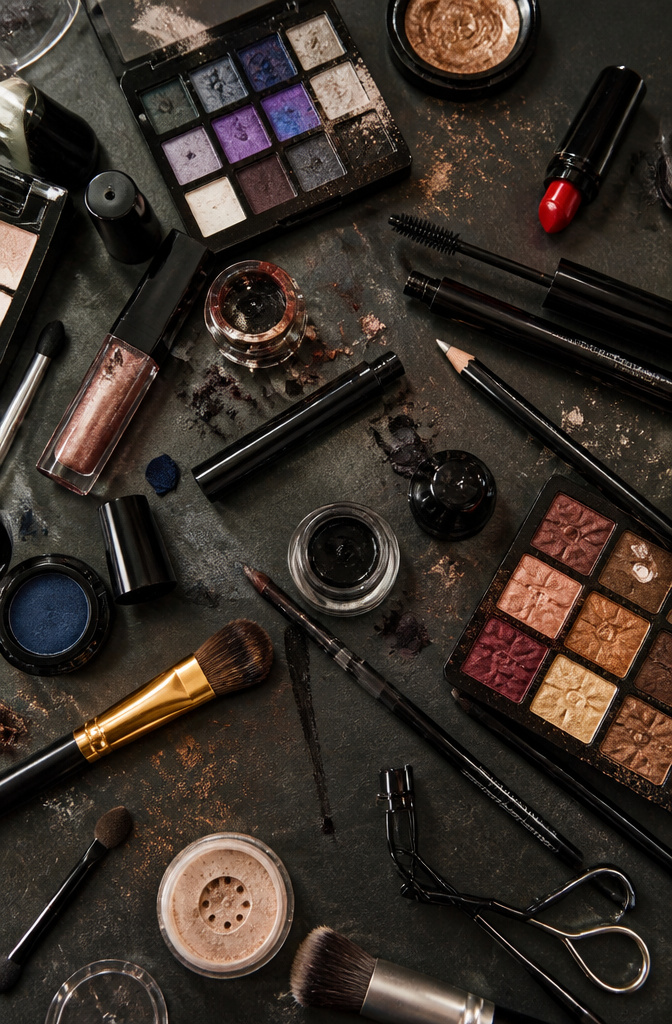
The right pencil changes how the whole eye reads. I keep coming back to the Makeup by Mario Master Pigment Pro Eyeliner Pencil for the waterline and tightline work; the pigment density means one pass deposits enough color without dragging the lid.
• For lashes that read as volume first, length second, Yves Saint Laurent Lash Clash Extreme Volume Mascara builds without the clumps that cheaper formulas leave on the second coat.
• The Natasha Denona Glam Eyeshadow Palette is where I spend my blending time. The range runs cool enough for a true smoky depth without drifting into bruise territory.
• A rockstar lip needs to hold its own against that eye weight. MAC Lipstick Matte in a shade like Marrakesh gives the terracotta brown that reads ’90s without costume. For readers who want the mouth slightly softer, pair MAC Whirl Lip Liner under YSL #10 and press rather than swipe.
Frequently Asked Questions
What are the key elements of rockstar eye makeup?
The three non-negotiable pieces are a smoky eye, heavy lashes, and sharp cheekbone structure. Brows need a strong arch to anchor the darkness, and a bold lip locks the whole thing together so the eyes do not float on an otherwise bare face.
How can I achieve a smoky eye?
Pack dark shadow across the lid with a flat brush, then blend it into the crease with a fluffy tapered brush until the edge softens but does not vanish. Build extra pigment on the outer corner in stages, and marry the top and bottom by smudging the same shadow beneath your lower lash line with a smaller blending brush.
What lip colors work best with this look?
Deep red reads rock goddess; MAC Lipstick Matte in a shade like Russian Red holds its own against heavy liner. For a grunge tilt, MAC’s Marrakesh gives that ’90s terracotta brown without slipping into costume territory. Either way, matte texture keeps the mouth from competing with any gloss on the lids.